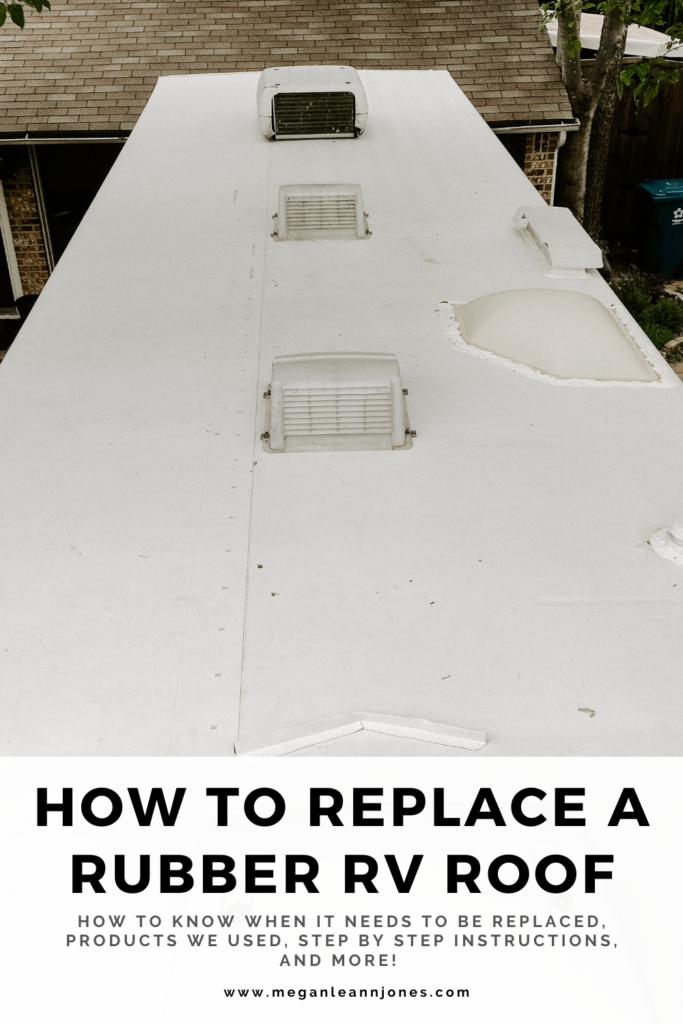
It was time. That long dreaded moment in an RV owner’s journey. Our RV roof was at the end of its life, and in order to prevent a costly water related catastrophe, we prepared to replace the roof. In this post we will detail the process step by step so you can see exactly how to remove and replace an RV rubber roof.
Step 1. Determine if your RV Roof needs to be replaced or simply resurfaced.

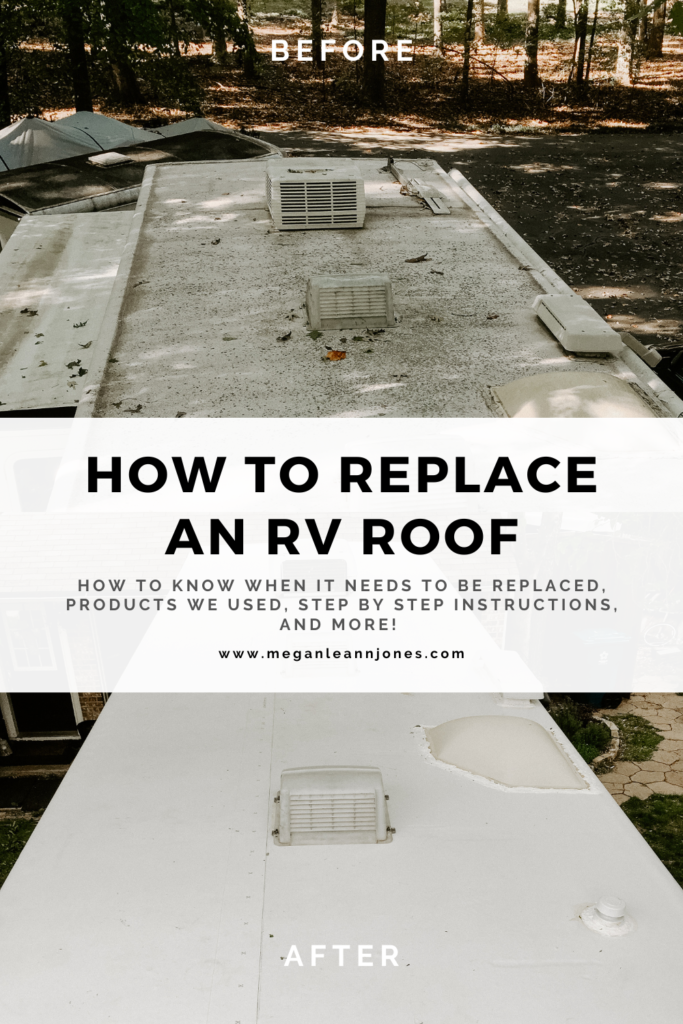
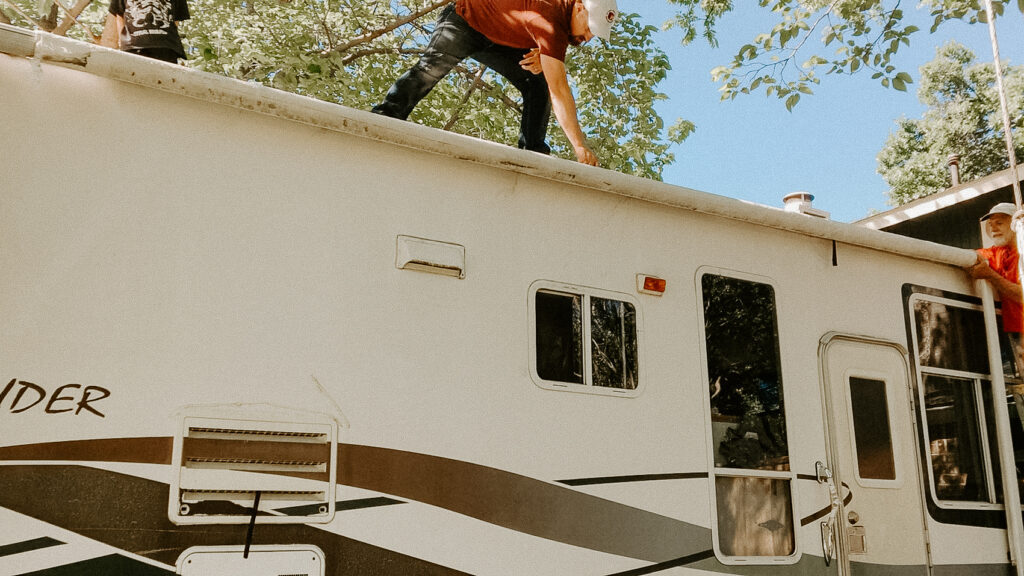
The first step is to determine if your roof needs to be replaced, or if it can simply be resurfaced. Our roof was about 20 years old and had small cracks in it and a white powder of deterioration was covering the surface. We decided it would be best to replace the material altogether, rather than risk trouble down the road. My brother also works for an industrial roofing company and had a scrap piece that fit perfectly, he also helped us with the install.
Pro Tip – If you decide to resurface your rubber roof, you will need to determine if it is EPDM or TPO to ensure the proper resurfacing product is used.
EPDM Resurface Coating
If you decide you don’t need to replace the whole roof, this stuff is great for minor repairs (for EPDM roofs only!).
Rubber Roof Coating
If you decide you don’t need to replace the whole roof, this stuff is great for minor repairs (for rubber roofs only!).
Step 2. Gather everything (and everyone) you need before starting.
If you determine that your roof needs to be replaced, you will want to ensure you have everything you need before you begin. This would include tools, materials, sealants, and helpers!
You may be able to purchase a roof replacement kit that has everything you will need, or you may have to piece meal a custom kit together, depending on your specific RV and roof dimensions.
Here are a few of the TPO all inclusive kits we would recommend:
Here is the EPDM all inclusive kit that we would recommend:
You will likely also need to wait until the forecast shows at least two days without rain, simply because this project involves removing the roof, and exposing the wood underlayment to the elements!
If you’re planning to replace your RV roof, make sure to check out our Amazon storefront for a comprehensive list of all the products you’ll need! We do earn a small commission if you decide to purchase anything, at no extra cost to you. Thank you for your support!
https://amzn.to/3XWQ0ZK
Step 3. Remove the old roof.
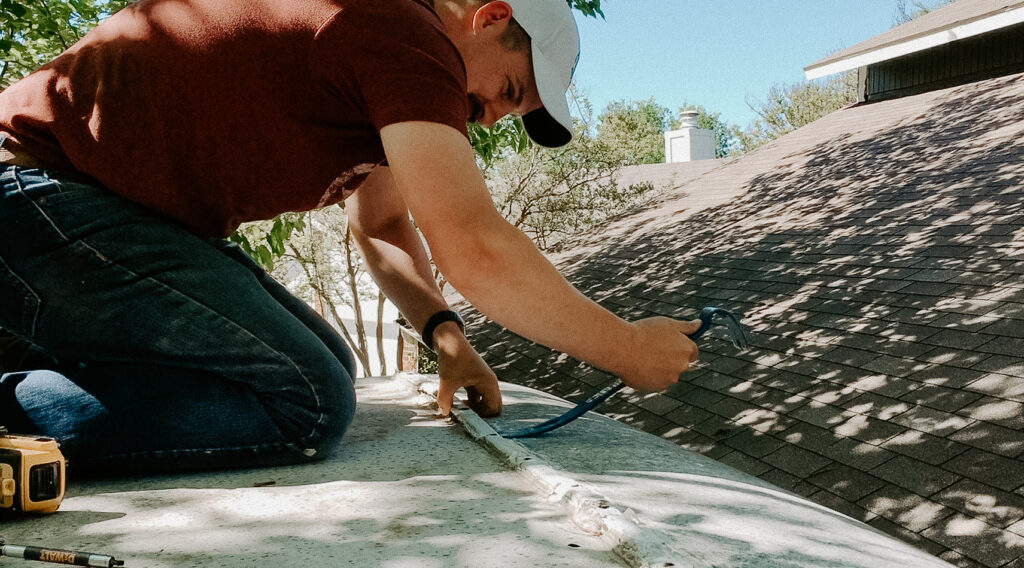
Begin by removing all the covers from vents and the A/C units, this may require scraping away old caulk and sealant.
Next, remove the batten bars holding down the roof, ours had four of these, two running the length of the RV and two on top where the rubber roof meets the fiberglass end caps.
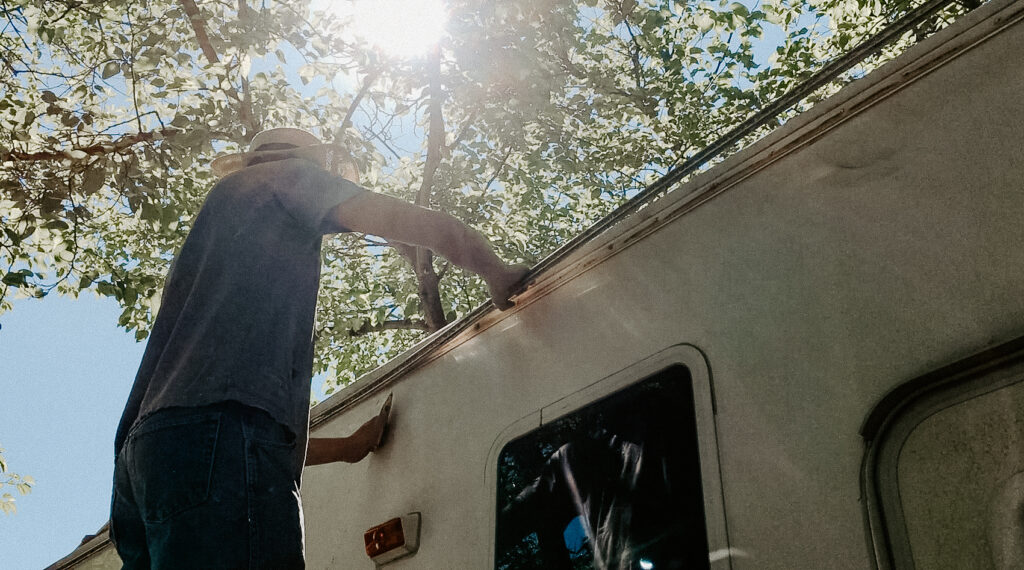
We also had to remove the pull out awning.
Finally remove the A/C unit(s). You may have to access the A/C from inside the RV to remove the bolts and wiring. Use caution when handling electrical wires, and be sure the breaker is turned off. If you are not comfortable with handling the electrical components, I would recommend hiring a professional.

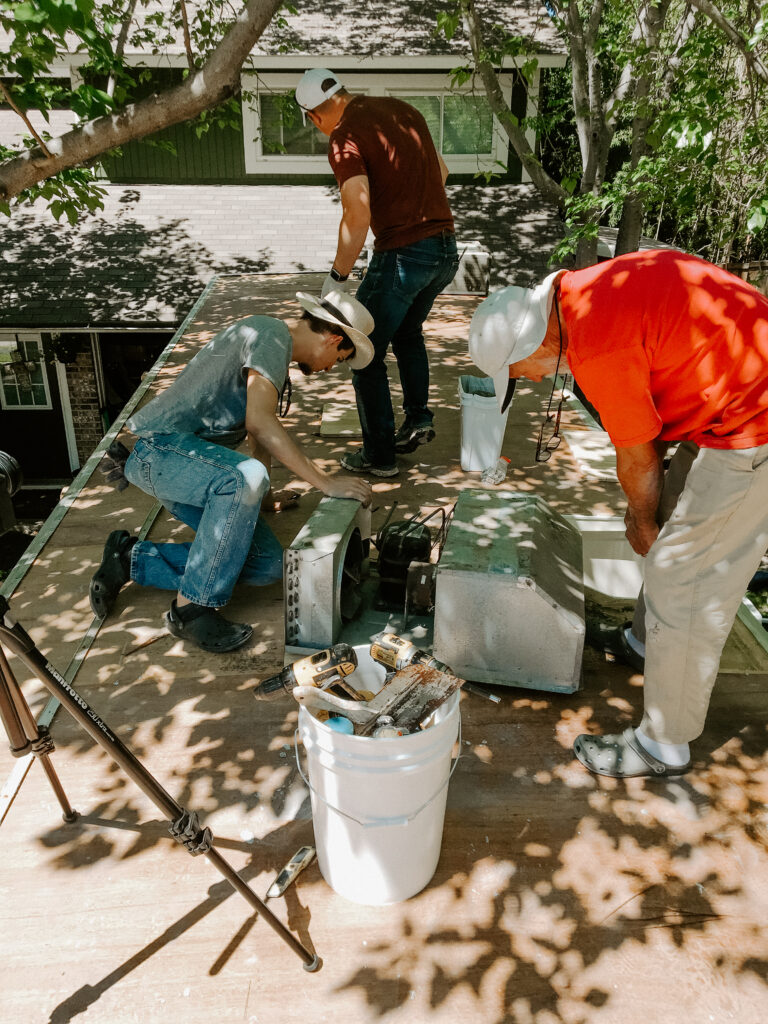
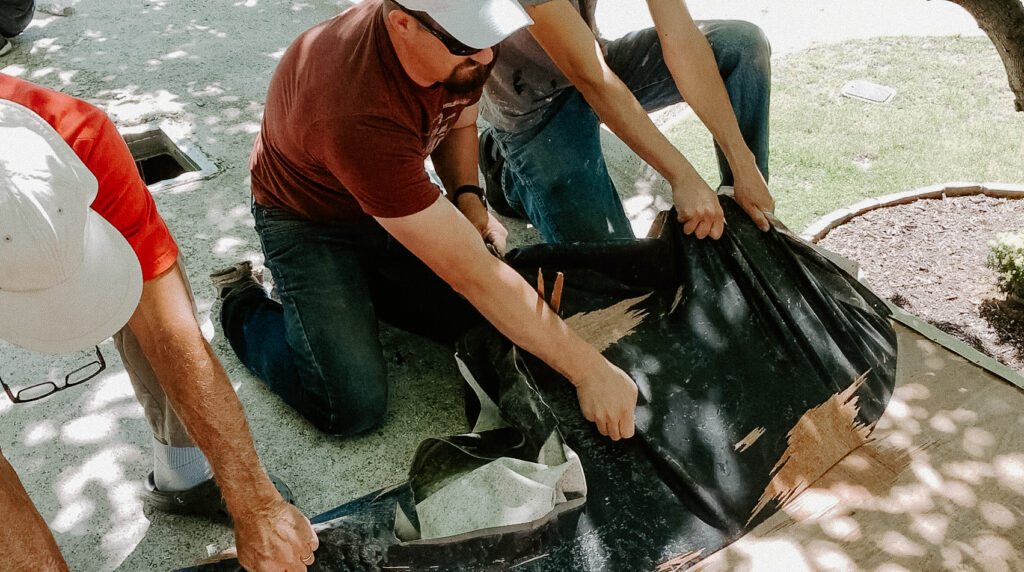
Now that all the fixtures are removed, you can begin to pull up the rubber material. Our roof was glued to the wooden underlayment, so it took some effort to pull it all up.
Step 4. Install the new material.
If you have any rotten underlayment wood, now is the time to make repairs.
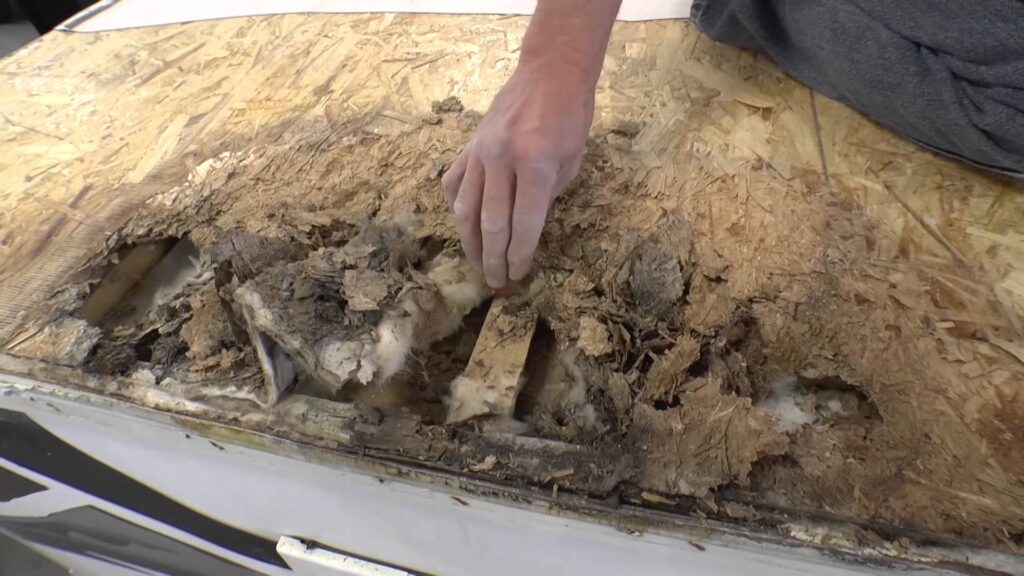
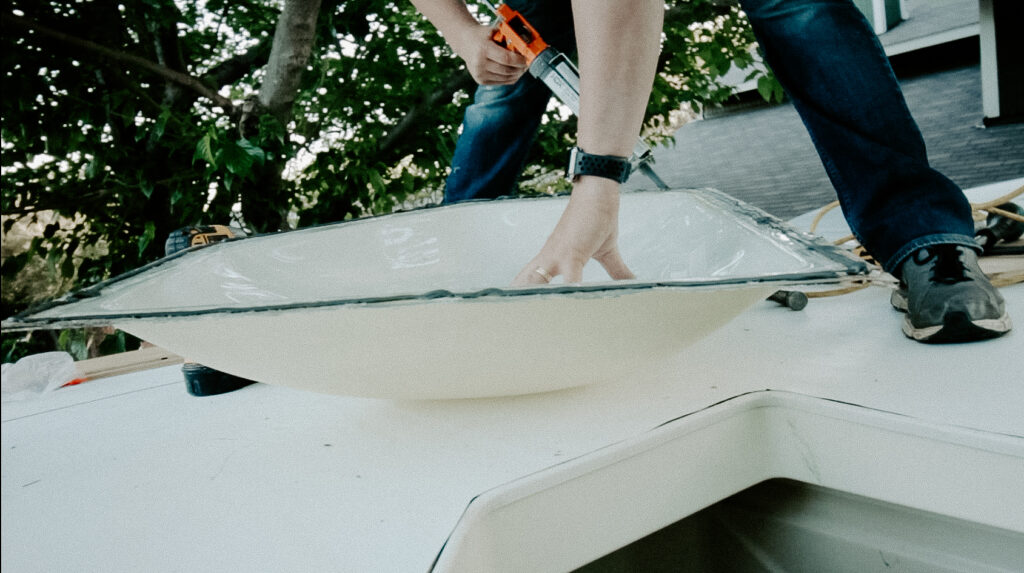
Fortunately our roof underlayment was in good shape, so we began laying out the new rubber material on the roof. The material my brother had was a heavy duty 45mil TPO, so this new roof will last at least another 20 years!
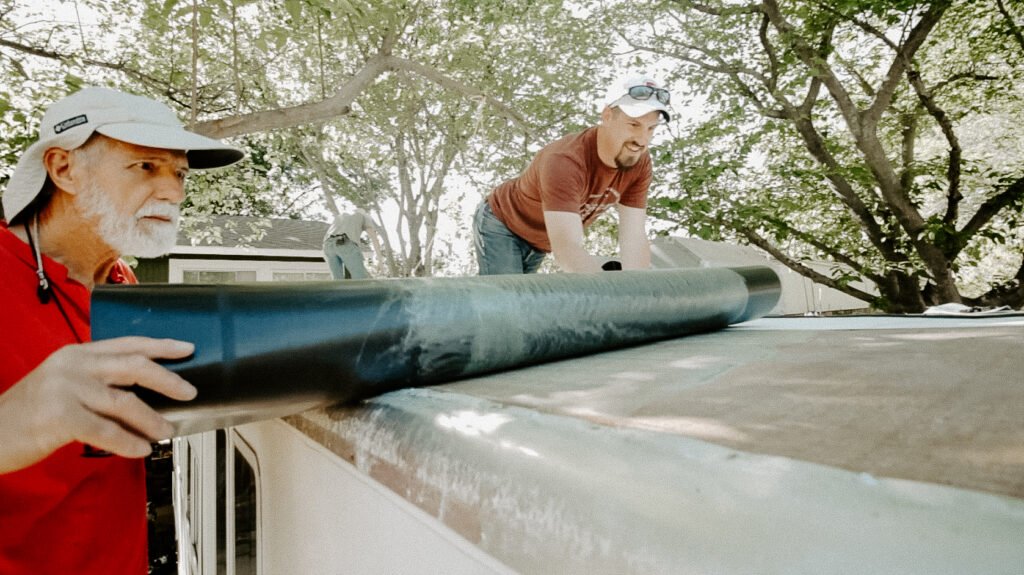
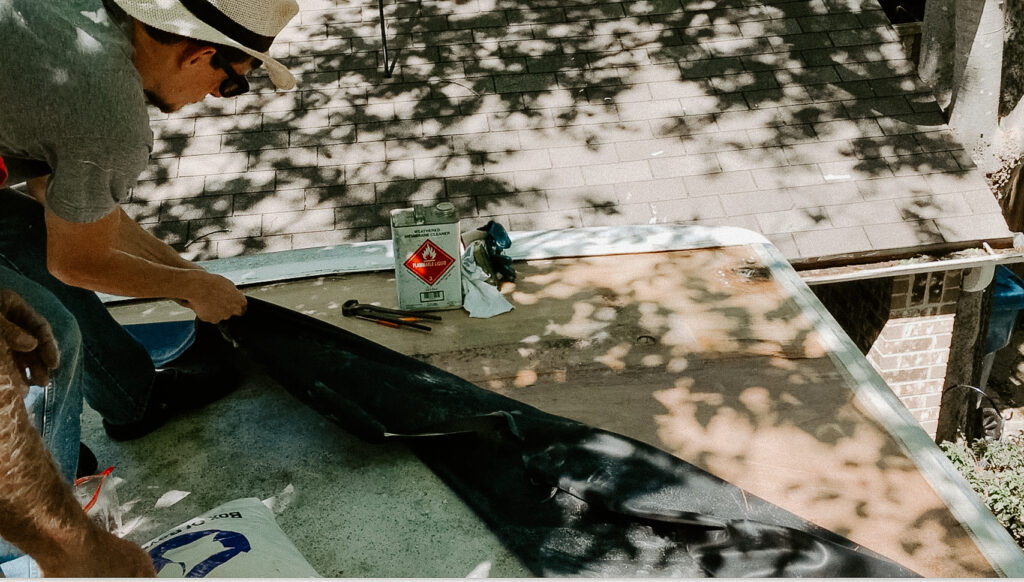
We cut it to length, leaving a few extra inches on each end which we will trim later. Then I marked all the holes in the roof (A/C, Vents) with a sharpie, and didn’t cut them out just yet.
Next, we began adhering the TPO with a low VOC spray adhesive called CavGrip. Starting with the outside edge, we lifted the TPO and sprayed adhesive underneath, working our way down the length of the RV.
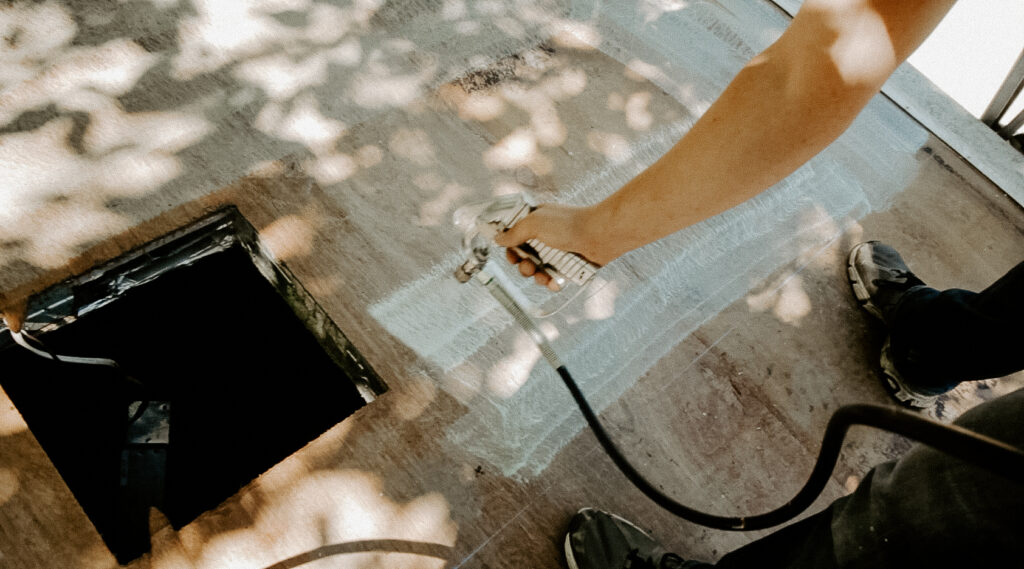
You don’t need to use a super fancy sprayer to spray on the adhesive, we only did that because my brother had access to all the professional tools. You can simply purchase a bonding adhesive, and apply it to your roof with a roller.
Here’s are a few examples of great bonding adhesives from Amazon!
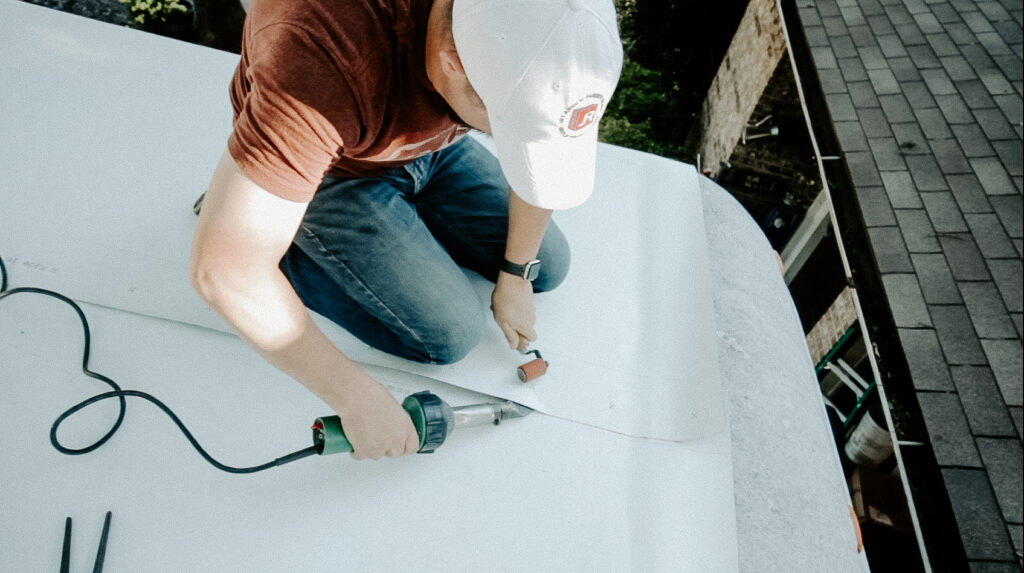
Then, we worked our way across the RV, pressing down the material as we went. Also, the TPO we had was not wide enough, so a specialized heat gun was used to seal the seam. This may not be necessary if you have material that spans the width of your roof (most RV replacement kits come with material that’s pre cut to the correct width).
Once all the material was glued down, we reinstalled the batten bars, applying a water cut off mastic underneath. Then we trimmed any excess rubber from the edges.
We also cut an X shape in all the vent holes and stapled the excess to the inside. This is a very important step, you don’t want to have water coming in through the vents!
Step 5. Reinstall your fixtures.
If you need any new vents, covers, or A/C units, now is the time to replace them.
The A/C units should go back just as they were. There should be a foam gasket to seal between the unit and the roof.
Need a new A/C unit? Here’s our recommendation:
When replacing the vents, be sure to apply plenty of sealant as you reinstall. Make sure to also cover any screw heads and all around the cover edges.
Need a new Vent Cover? Here’s our recommendation:
Use sealant on all the screws for the batten bar, and anywhere else water may leak through.
Here’s the link to the sealant we would recommend:
Finally, reinstall your awning and any other fixtures you removed.
Clean up, and you’re done! Keep in mind that the sealants may need 24 hours with no rain to set properly.


If you’re planning to replace your RV roof, make sure to check out our Amazon storefront for a comprehensive list of all the products you’ll need! We do earn a small commission if you decide to purchase anything, at no extra cost to you. Thank you for your support!
https://amzn.to/3XWQ0ZK
We hope you enjoyed this post! If you learned something, we would love to hear from you in the comments below.
Thanks for reading!
Timothy and Megan
Pin this post to save it for later: