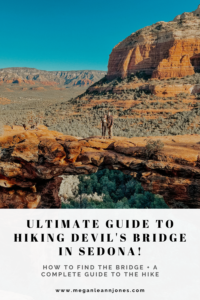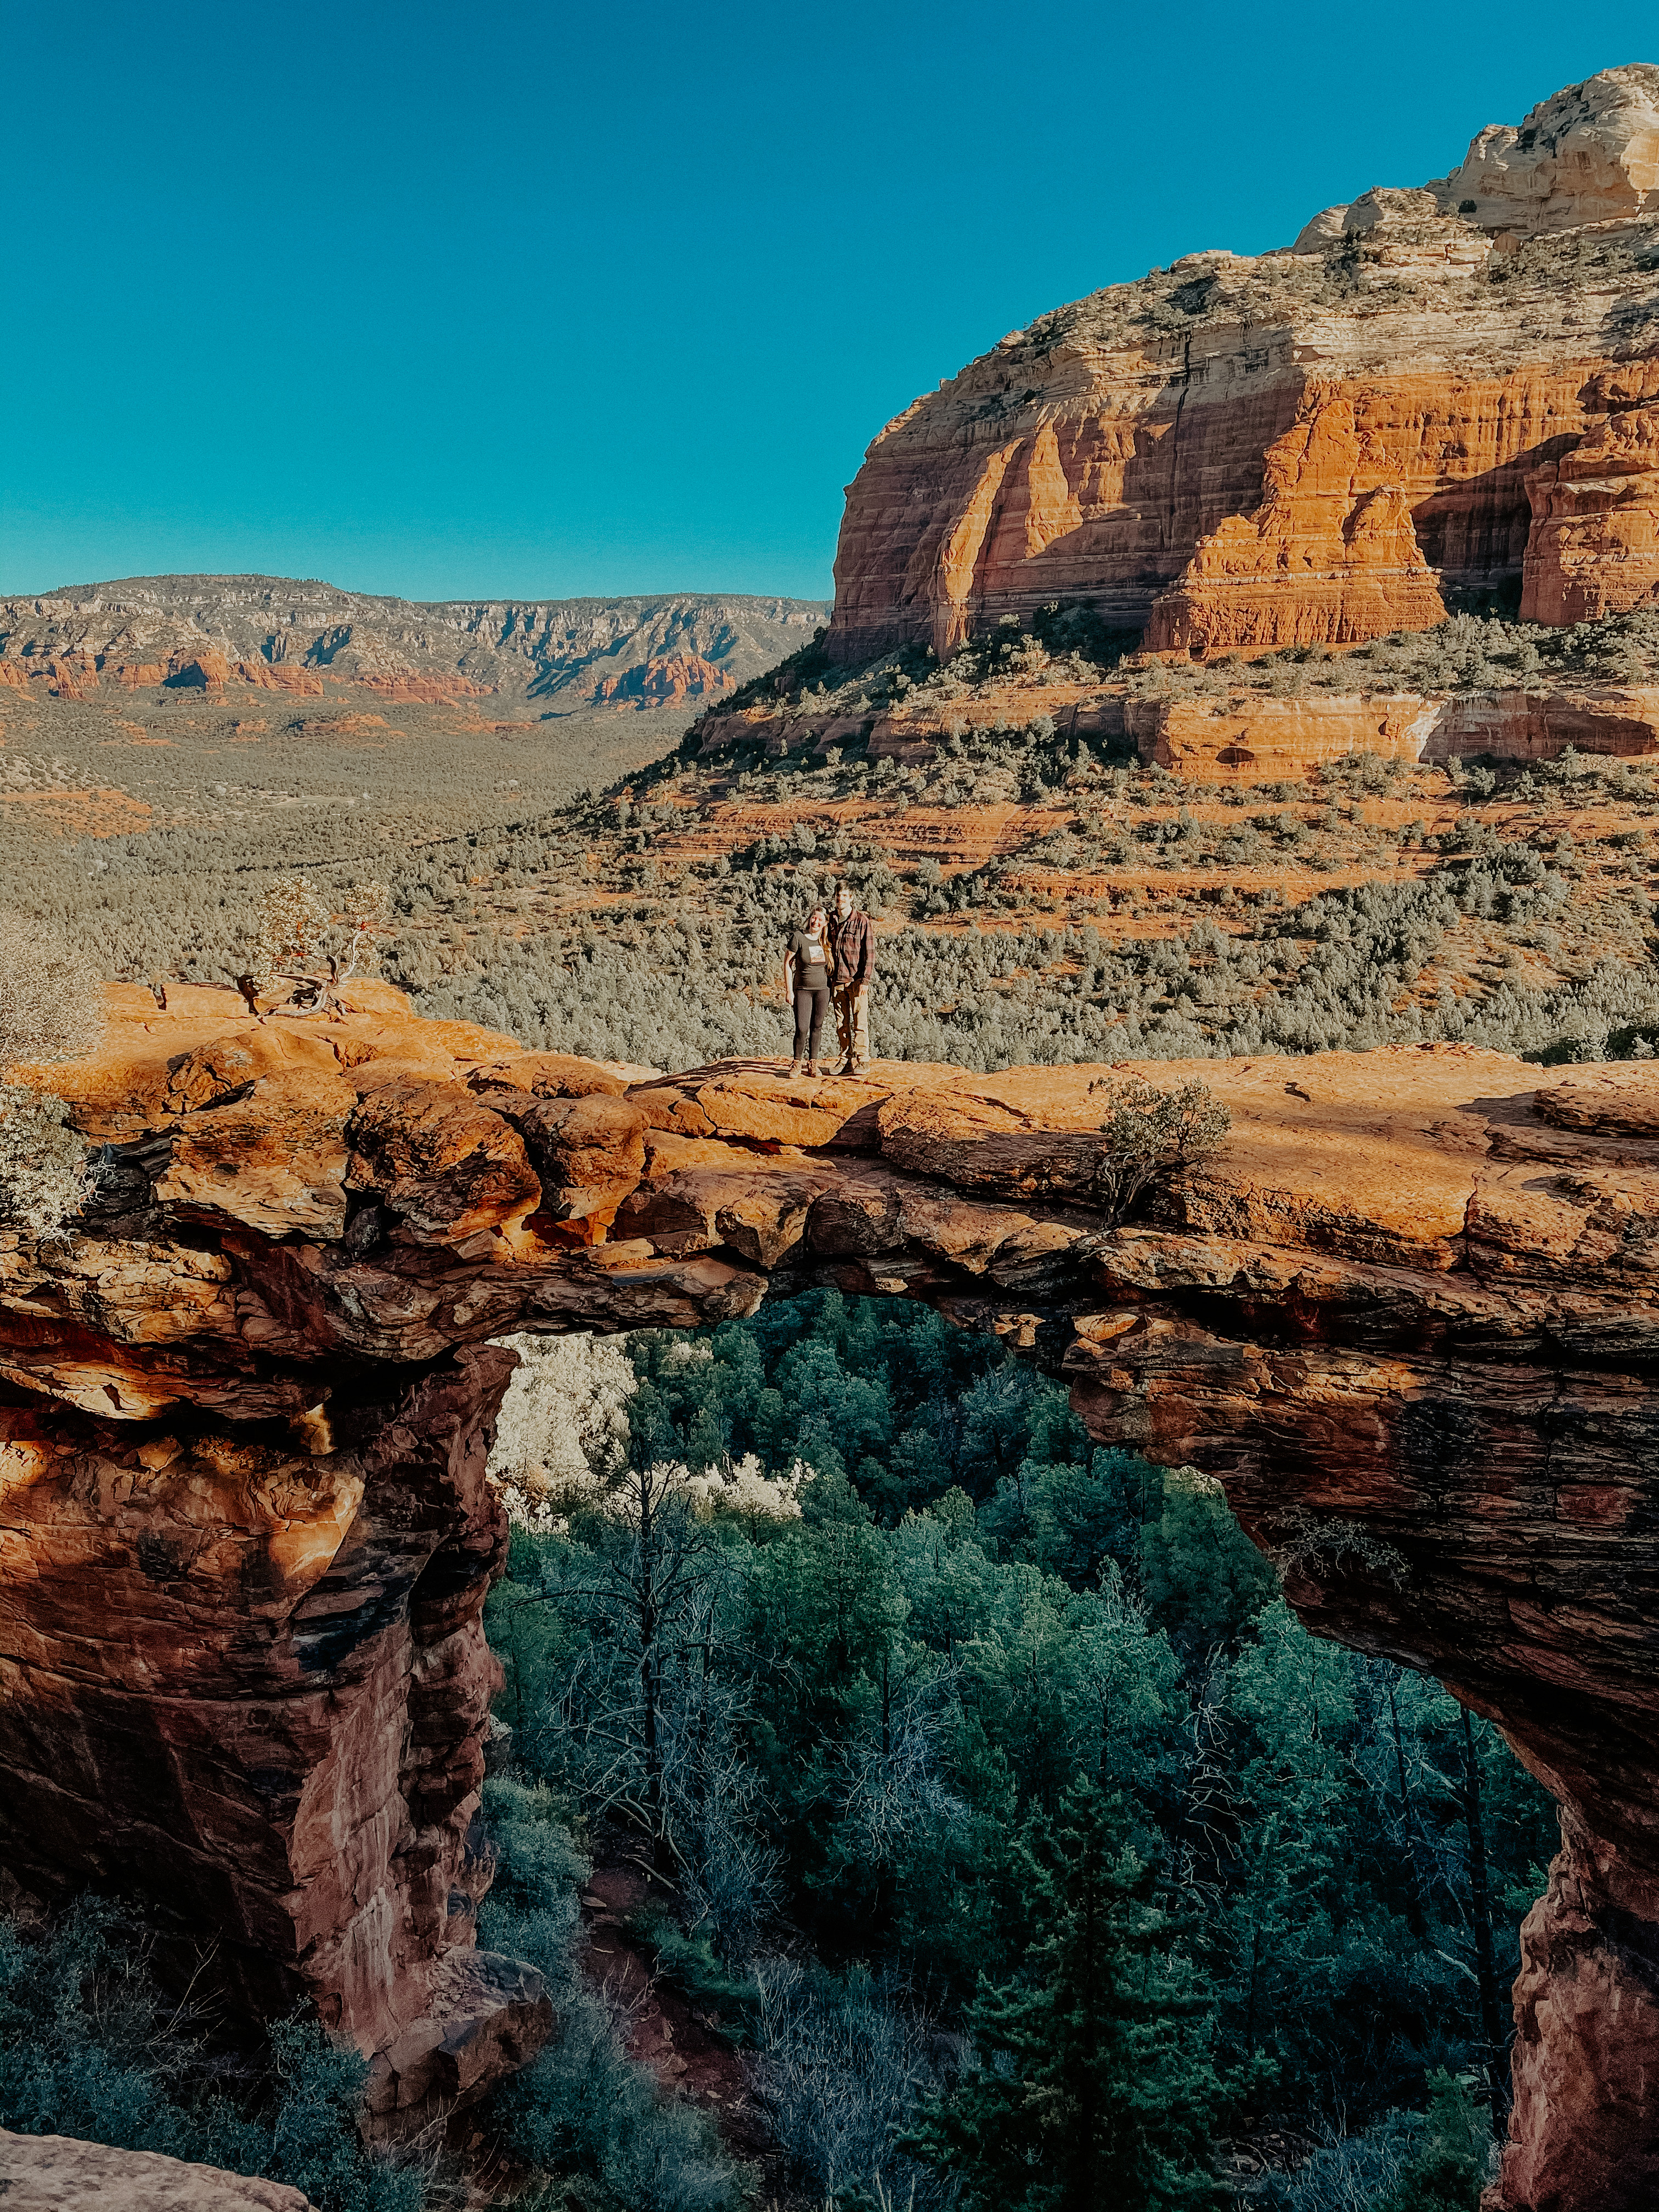
Devil’s Bridge has become one of the most sought-after hiking destinations in Sedona, and it’s easy to see why! This iconic trail leads to a breathtaking natural sandstone arch—the largest in the Sedona area—that you can walk across for an unforgettable experience. The combination of stunning views, a touch of adventure, and endless photo opportunities makes it a favorite for both locals and visitors alike.
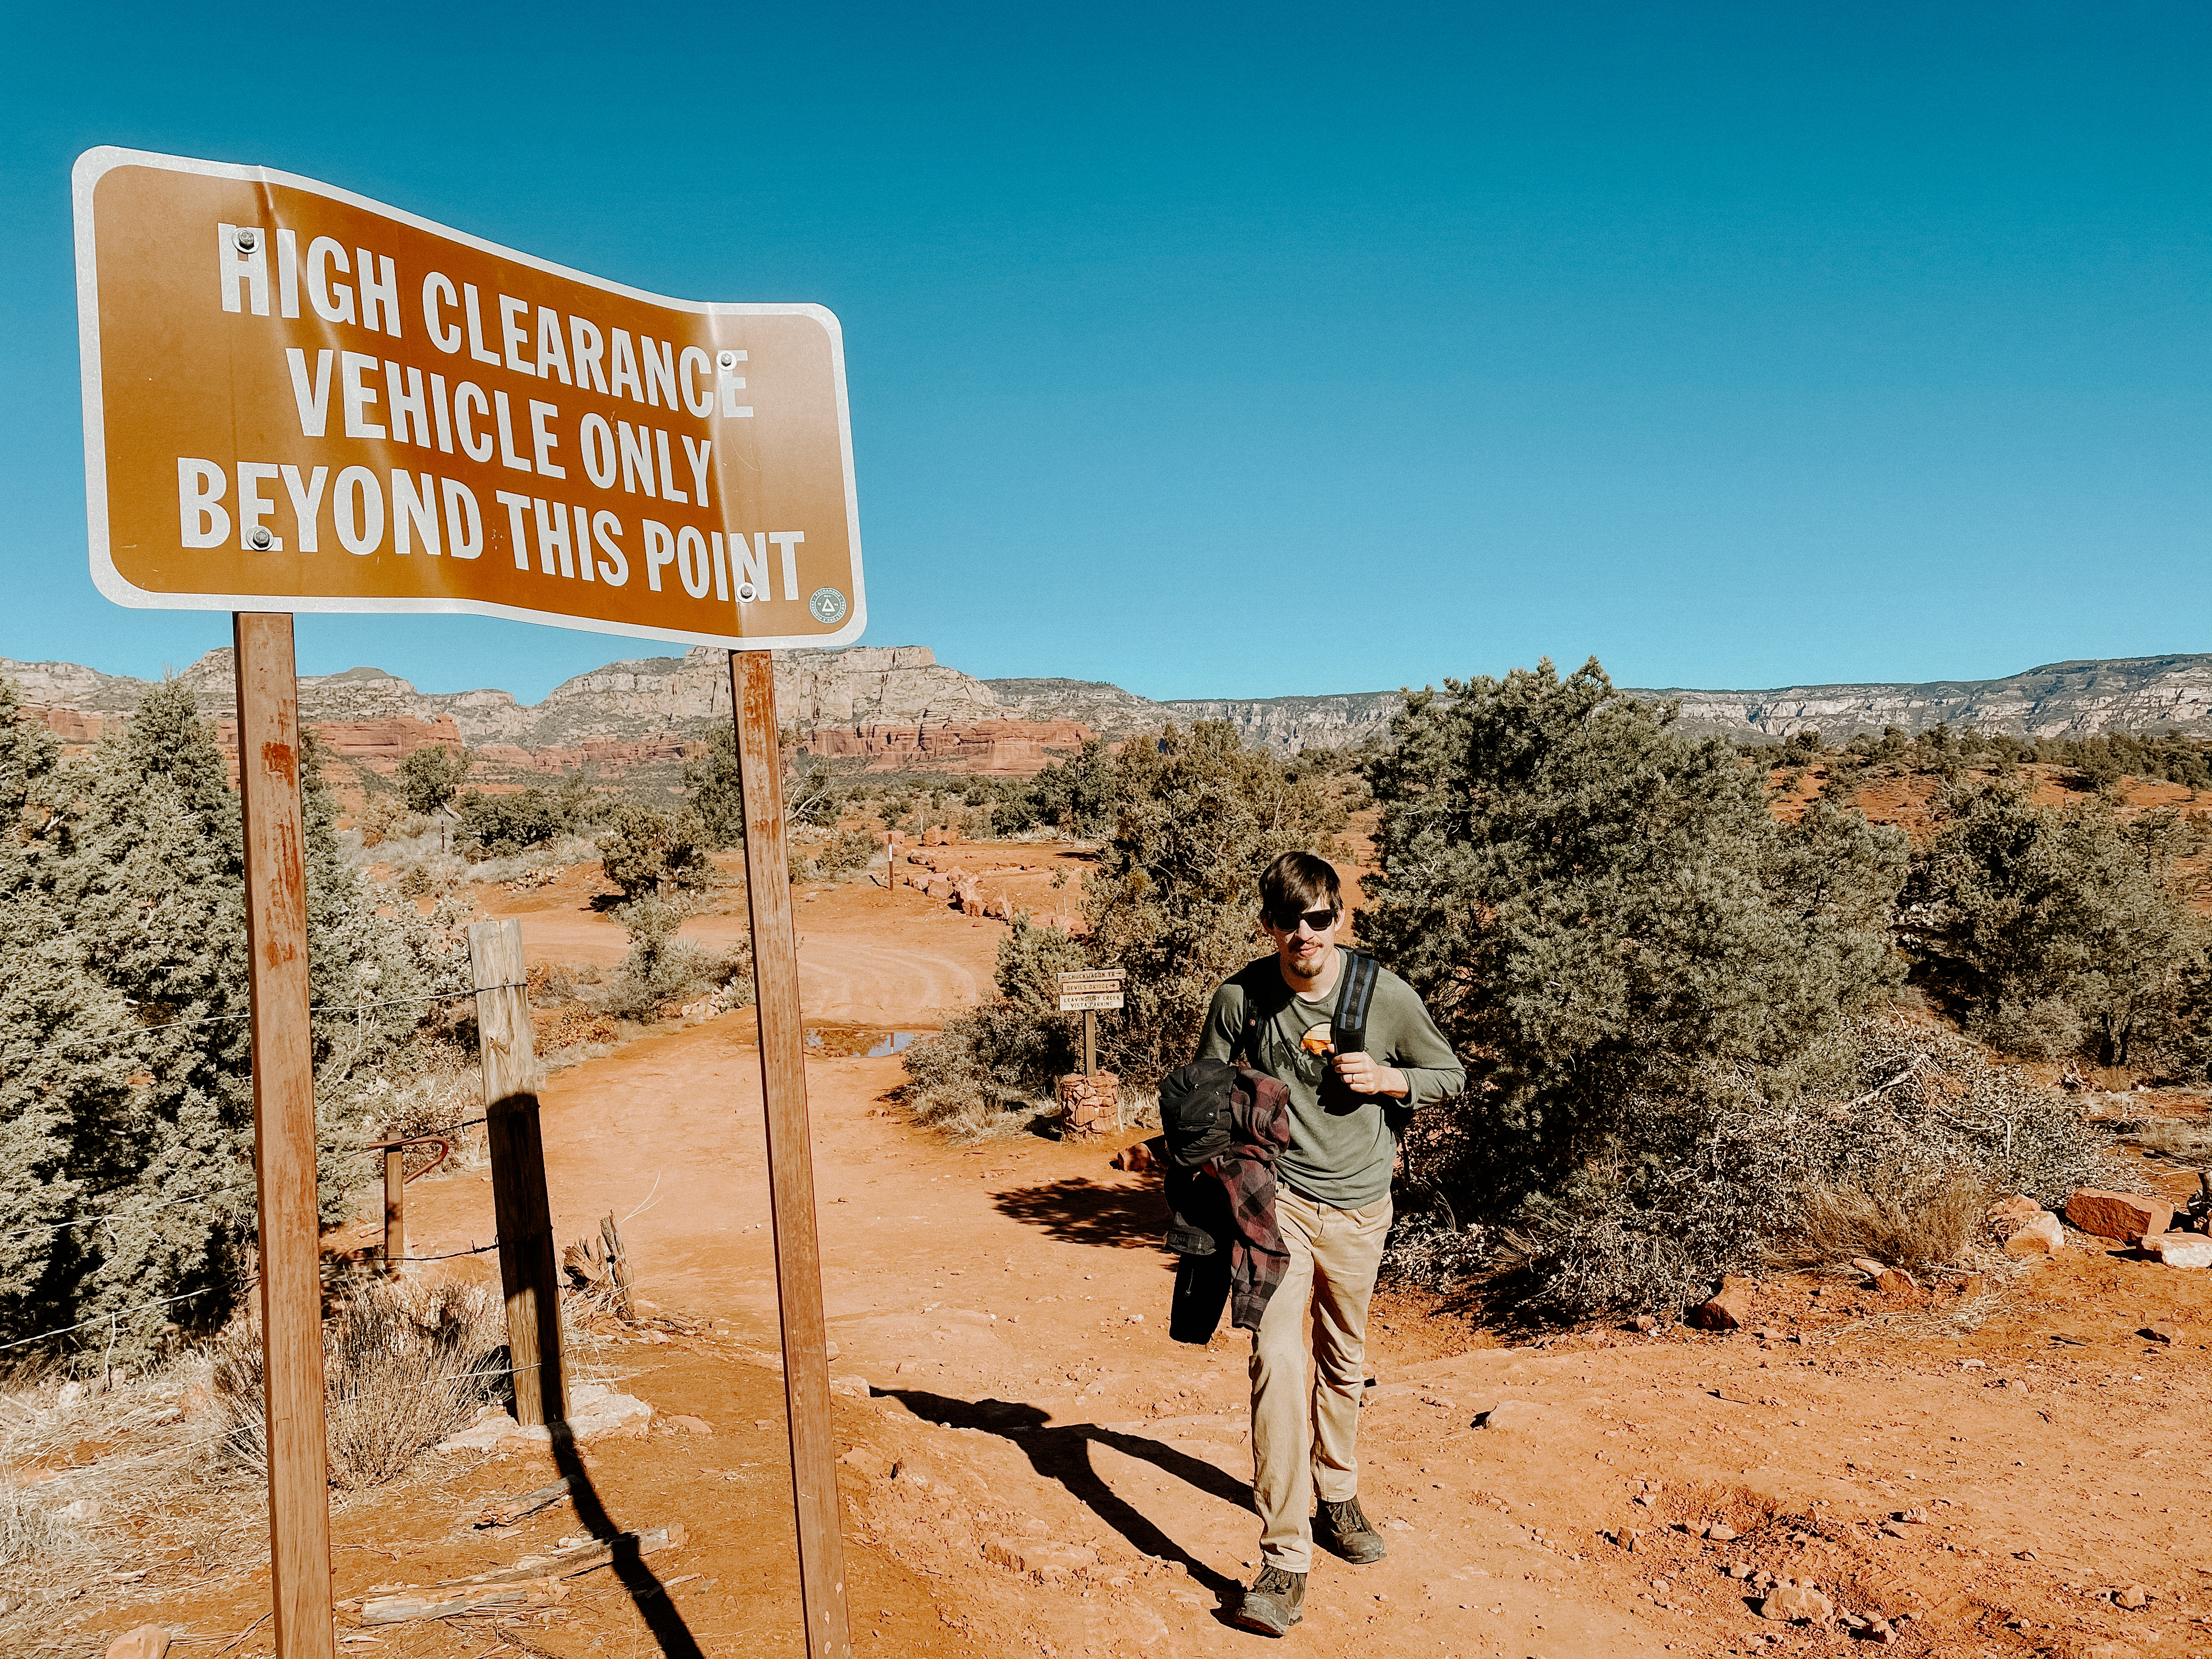
What makes Devil’s Bridge even more unique is the variety of ways to access it, catering to hikers of different skill levels and preferences. Depending on where you start, the trail can range from a short, moderate hike to a longer, more challenging journey. If you have a 4×4 vehicle or ATV, you can navigate the rugged Forest Road 152 to get closer to the trailhead, significantly reducing the hiking distance. For those without off-road vehicles, there are several parking options available along the main route for a more traditional hiking experience.
Whether you’re an avid hiker or just visiting Sedona for its incredible landscapes, Devil’s Bridge is a must-see destination. In this guide, I’ll break down everything you need to know about the hike, from the best routes and parking tips to what to expect along the way, so you can make the most of your adventure.
Details about Devil’s Bridge Hike:
Distance: 3.9 Miles Roundtrip
Difficulty: Moderate, 521 Foot elevation gain
Cost: FREE to park at Dry Creek Vista Trailhead
Time needed: You could spend as little as 2 hours or up to half of a day on this hike!
Travel Smarter with My Must Have Essentials!
Planning your next adventure? Check out our curated Amazon Storefront filled with budget-friendly travel gear, RV must-haves, and family travel essentials. From packing hacks to on-the-road comforts, we’ve got everything you need to make your trip stress-free and unforgettable.
Where to Stay on a Budget in Sedona
Click the name of the hotel to be redirected to the hotel on Expedia!
1. Sedona Village Lodge
- Cost: $85–$150 per night (depending on the season)
- Details: Located in the Village of Oak Creek, this lodge offers clean, simple rooms with great views of Bell Rock. It’s close to hiking trails and more affordable than staying in central Sedona.
- Tip: Book early for the best rates, and look for weekday discounts.
2. GreenTree Inn Sedona
- Cost: $120–$150 per night (varies by season).
- Details: Located near West Sedona, this hotel offers clean, comfortable rooms with free breakfast, Wi-Fi, and a pool. It’s a short drive to popular attractions like Tlaquepaque Arts & Shopping Village and Cathedral Rock.
3. Baby Quail Inn
- Cost: $100–$140 per night.
- Details: A quaint and cozy inn in a quieter area of Sedona. Rooms are simple but well-maintained, and the property includes a hot tub. It’s close to hiking trails and downtown Sedona.
Tips for Hiking in Sedona:
#1 – Go Early.
I feel like this is such an obvious tip, but it’s true for any of the popular hikes in Sedona. The earlier you go, the less people. Another reason to go early is to get less sun exposure. Most hikes in Sedona are in the full sun, with very little shade.
#2 – Bring more water than you think you’ll need.
I don’t think I really need to expound on this one. You probably already know that Sedona is in the desert and it gets very dry and hot (even in Winter/Early Spring!). Please make sure to stay hydrated and bring more water than you think you’ll need!
#3- Bring lunch if you can.
On most of the hikes we did in Sedona, we spent more time exploring than we thought we would. I always tried to bring lunch or at least a good snack with us so we don’t get hangry!
#4 – Take a photo of the trail map on each hike you go on.
It’s very very easy to go off the trail in Sedona. Tourists have started to make their own well worn side trails, please do your best to stay on the marked trail!
#5 – Leave no trace!!
As Sedona becomes more and more popular, it seems tourists think leaving trash and graffitiing the red rocks is okay. Please don’t be this person. Please hike responsibly, stay on trails as much as you can, and pack out all of your trash! Let’s keep Sedona beautiful so that as many people as possible can enjoy it’s beauty!
Hiking Devils Bridge Trail
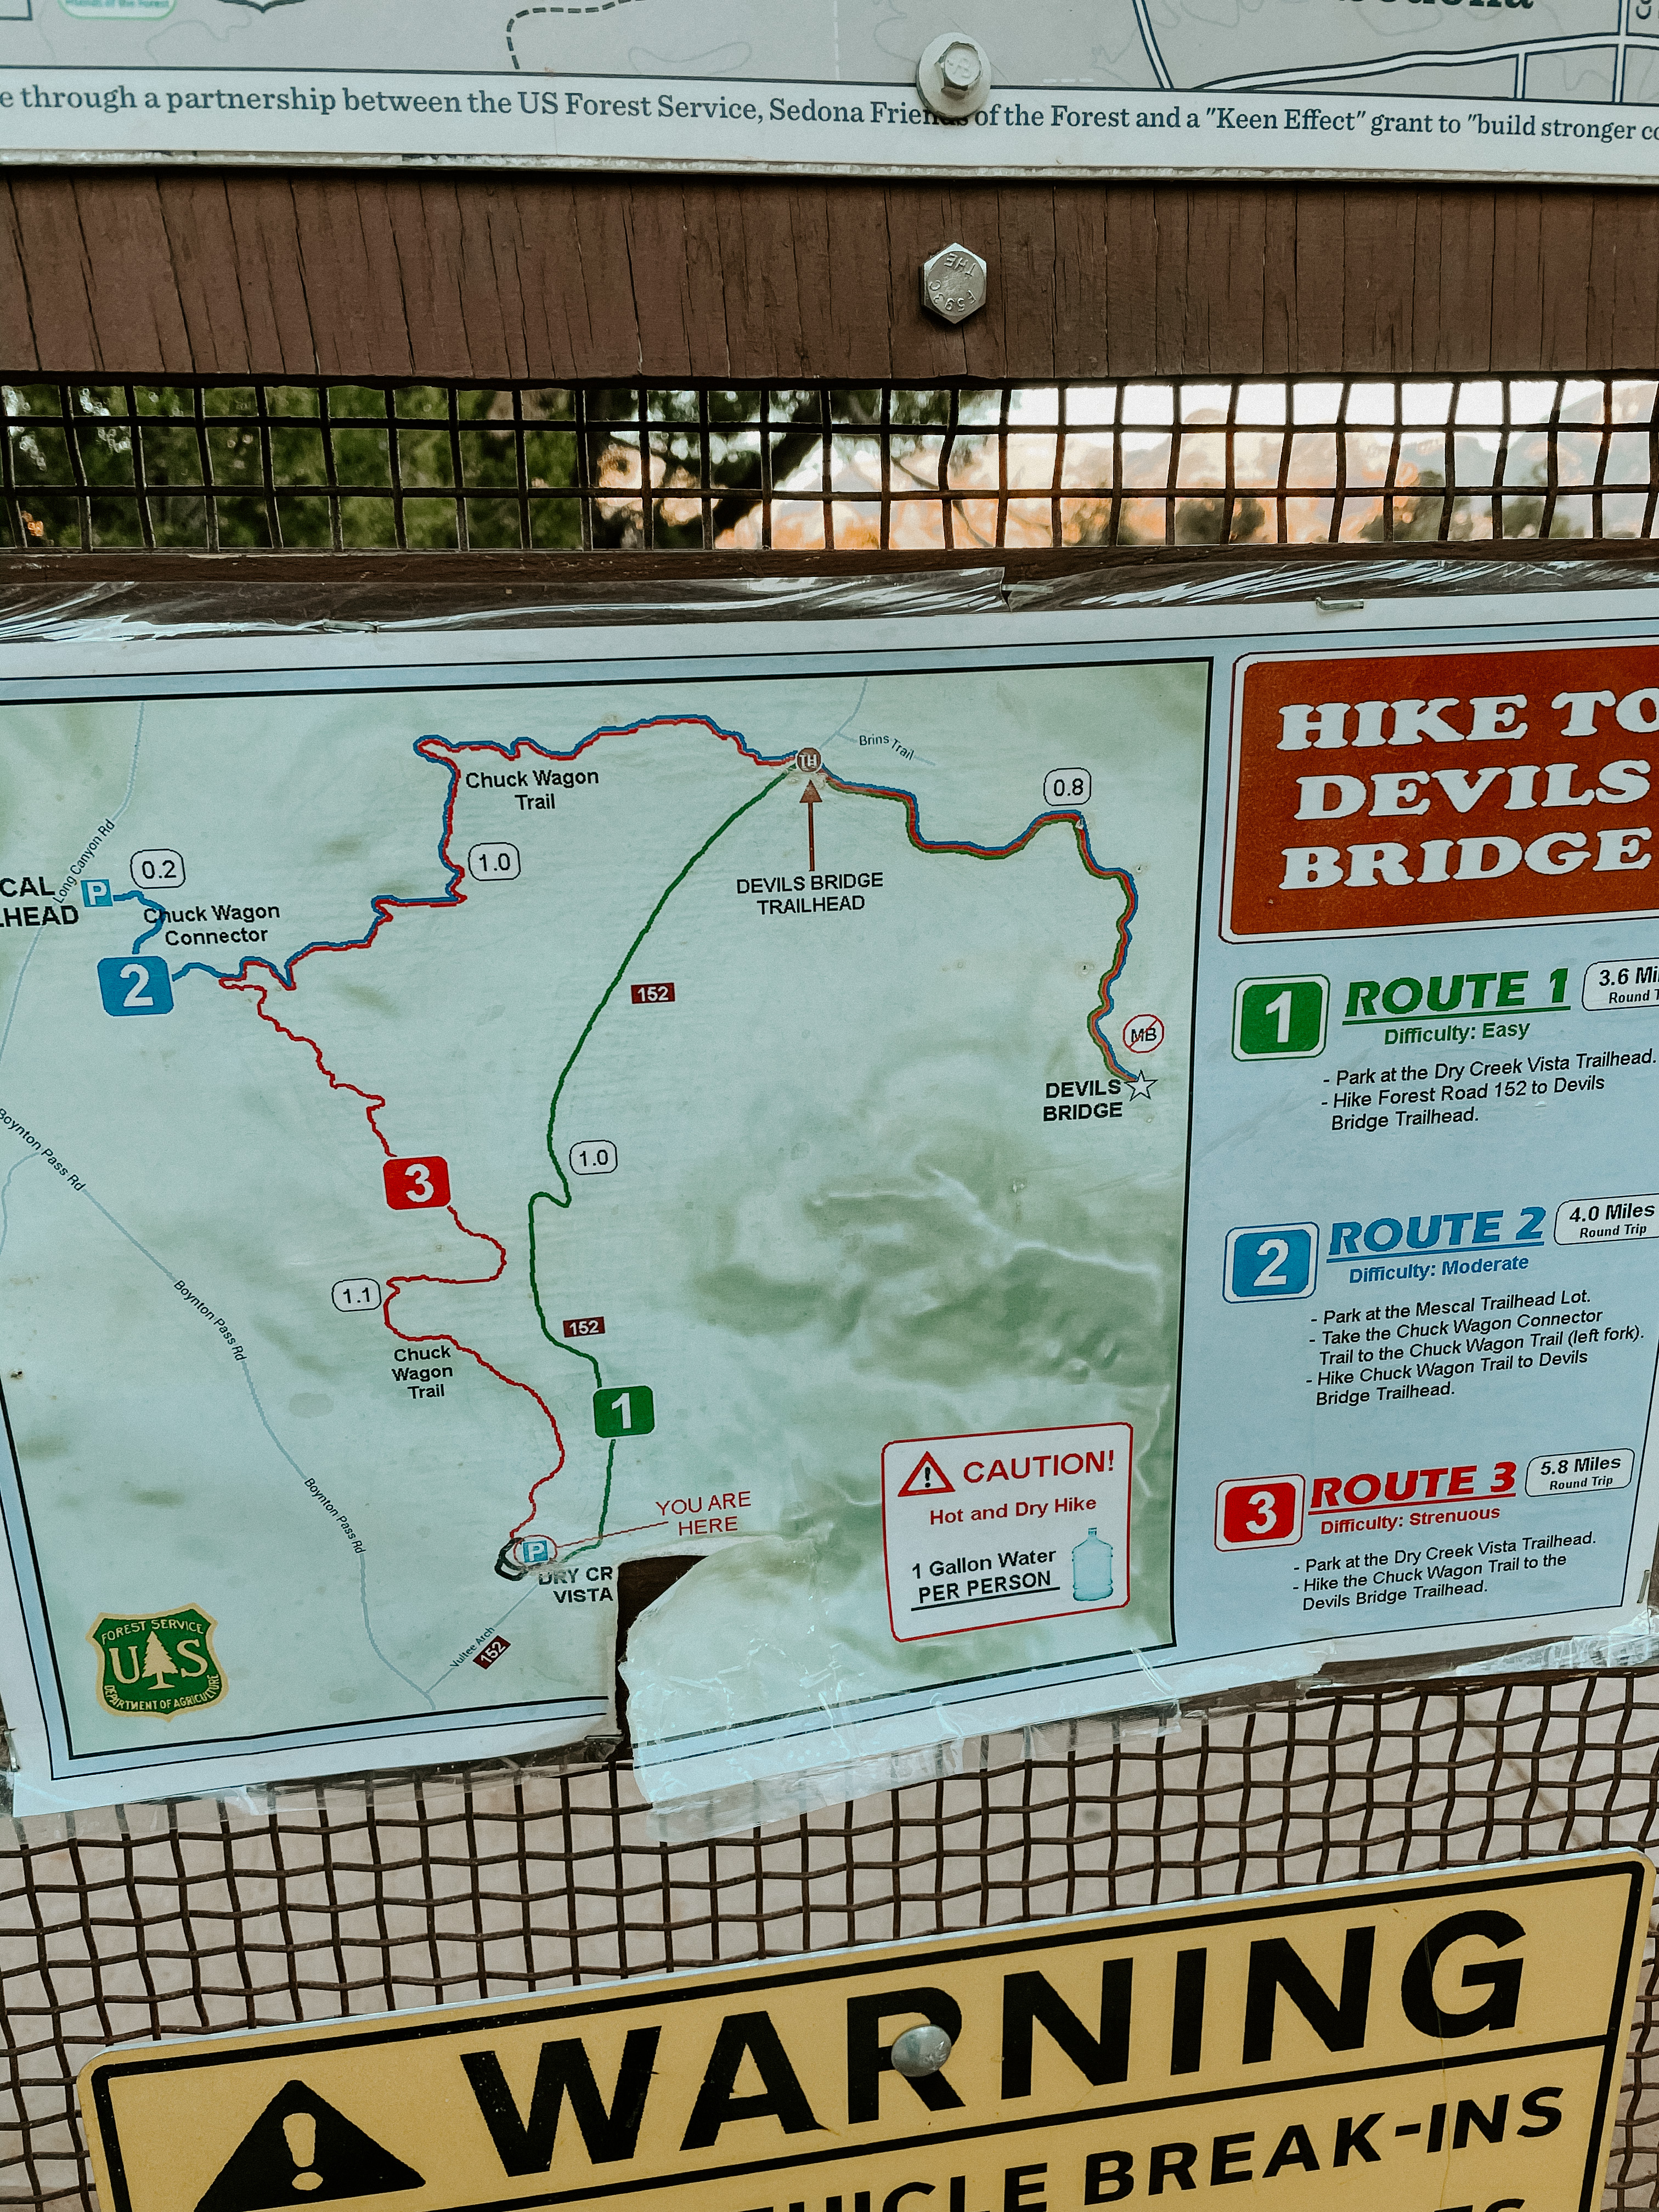
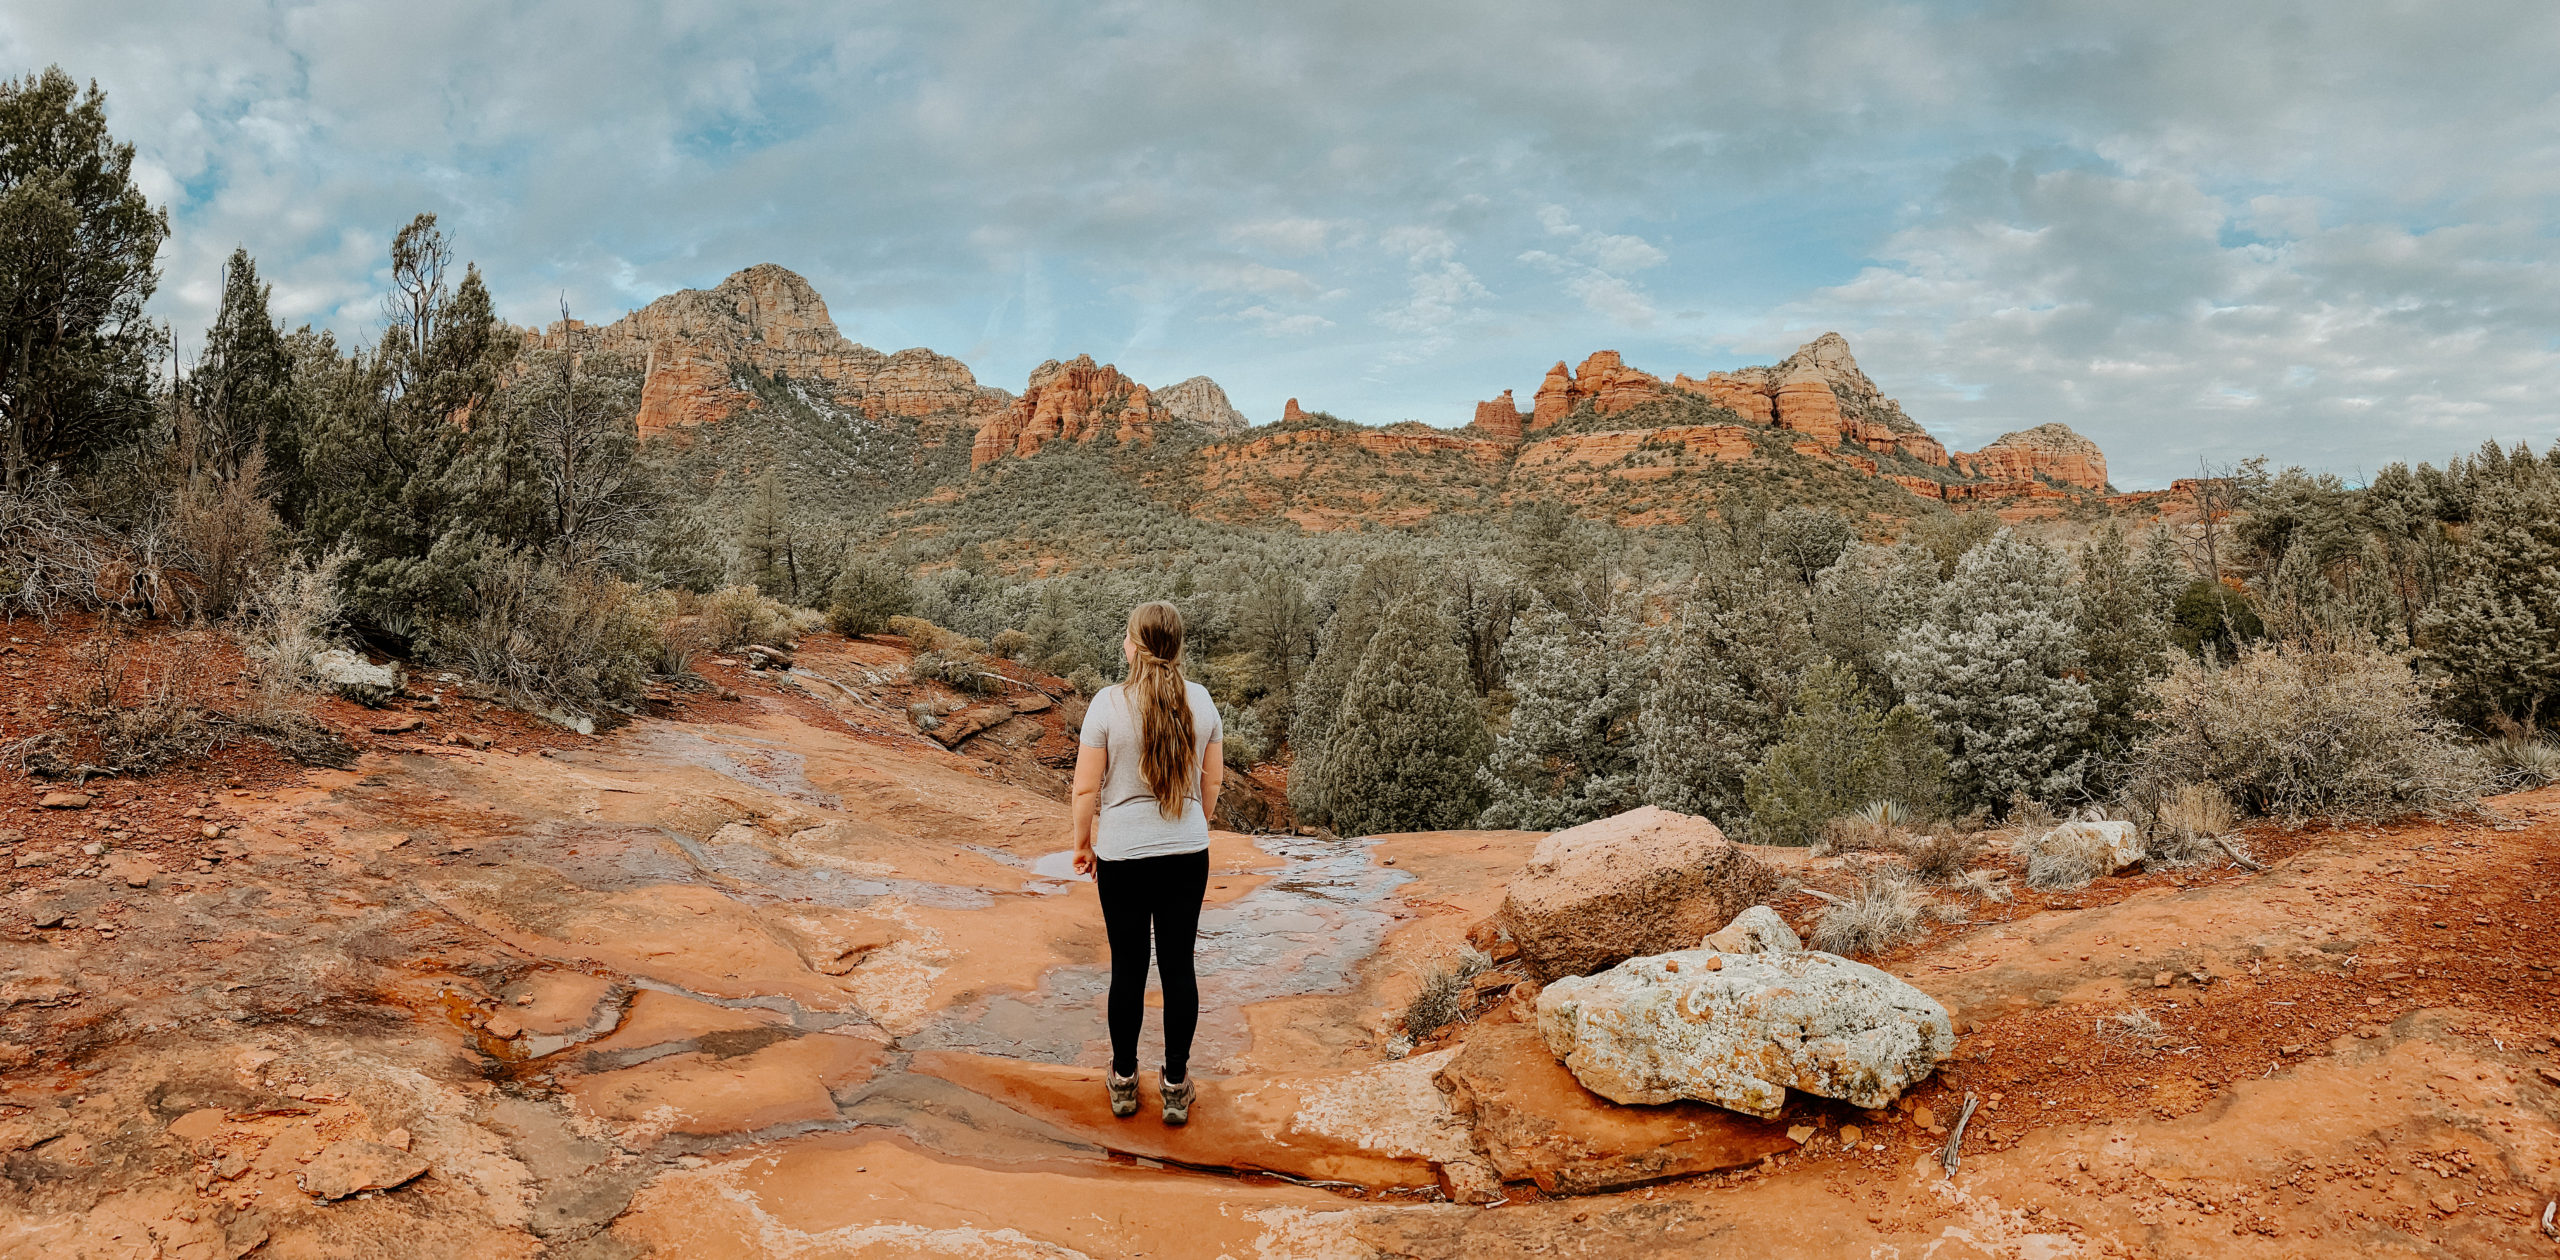
First of all, there are 3 different ways you can access and hike this trail. Here’s a photo that I took of the US Forest Service map at the trailhead, and you can decide which route you’d like to take. We decided to go the easiest route, and parked at the Dry Creek Vista Trailhead parking lot. From there we took Route 1, which was easy to follow and had beautiful views. We only passed a few people on that portion of the trail.
Fun fact: if you have a 4×4 vehicle or ATV, you can actually get all the way to the Devil’s Bridge Trailhead! Just simply follow Dry Creek Road until you get to the 4×4 parking lot!
Once we got to the actual Devil’s Bridge Trailhead (see map), that’s when we started seeing more people and the hike got more difficult. Make sure to pace yourself on this part of the hike, it keeps getting steeper all the way until the Bridge!
Best time to hike to Devil’s Bridge
The best time to go on the Devil’s Bridge hike is early! Although, I have heard some reports that it can be really crowded in the morning on weekends, with people wanting to get their sunrise pictures on the Bridge.
I would recommend visiting Sedona in general in the middle of the week. I would never ever go on the weekend if you want to avoid crowds. Expect to wait to take your picture on the Bridge, there will most likely be a line no matter when you go!
Is the Bridge super narrow?
I know that pictures make the Bridge itself look really scary and narrow, but as someone who is very afraid of heights, I can assure you that it’s much wider than it looks! It is definitely weird to realize that the only thing standing between you and falling is a rock that is suspended in the air. I told myself that tons of people go out on the Bridge every day and are totally fine, and that helped a lot! If you don’t feel comfortable going on the Bridge itself, you can still look at it from a safe distance and get some great photos!
What if I want a photo and I’m hiking by myself?
If you are going on this hike by yourself, don’t worry! When we went, everyone was more than happy to take photos for each other! In all, we probably waited about 10 minutes to get our photo, and everyone was very gracious and took turns without any drama.
Overall, this is such a cool hike, and an absolute must do when you’re in Sedona.
Are you planning a trip to Sedona or Devil’s Bridge soon? If you have any questions about this hike or Sedona in general, please don’t hesitate to leave a comment below, I’m happy to help answer them!
Megan
Heading to Sedona soon? Check Out These Related Blog Posts:
Pin this post to save it for later: