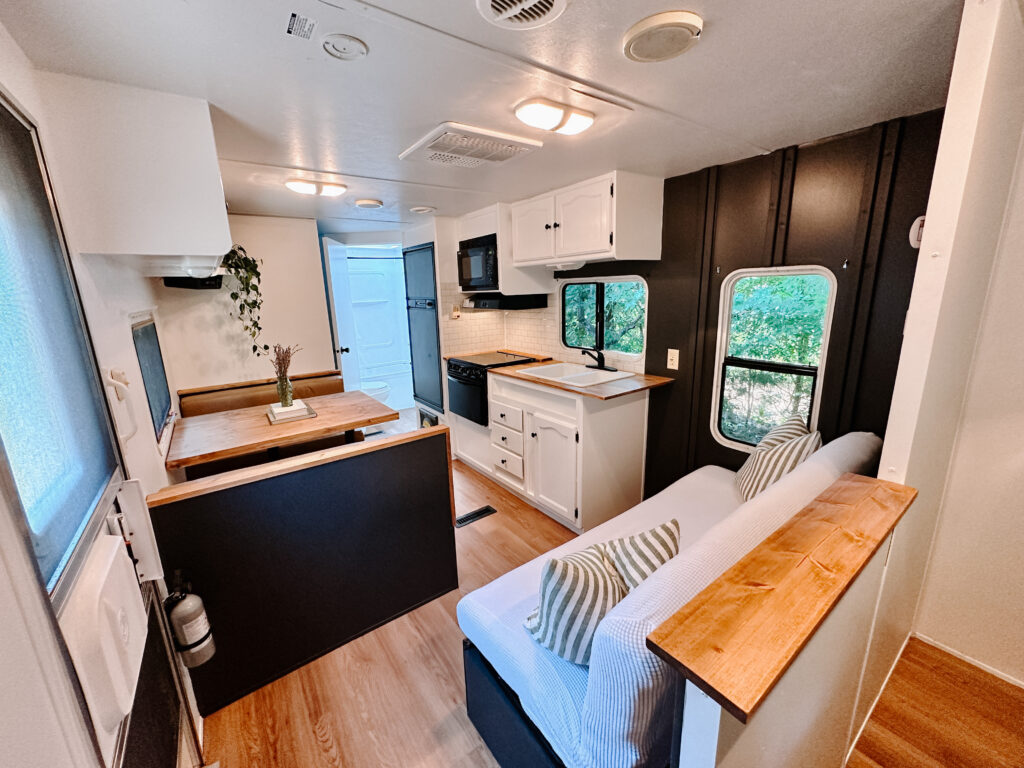
If you’re looking to add some character and charm to your RV without breaking the bank, creating an accent wall with furring strips is the way to go! We did this recently in our travel trailer renovation, and it really elevated the space without adding too much weight. You only need a few simple tools to make it happen, and this entire project could be completed in an afternoon. Here’s how we did it!
What You’ll Need:
- Furring strips (we used 2 per section)
- Liquid Nails adhesive
- Trim nailer
- Caulk (paintable)
- Paint (in the color of your choice)
- Paintbrush or roller
- Measuring tape and level
How to Choose Which Wall
Sometimes deciding which wall to use as an Accent Wall is the hardest part of this whole project! Here are some things to consider when deciding.
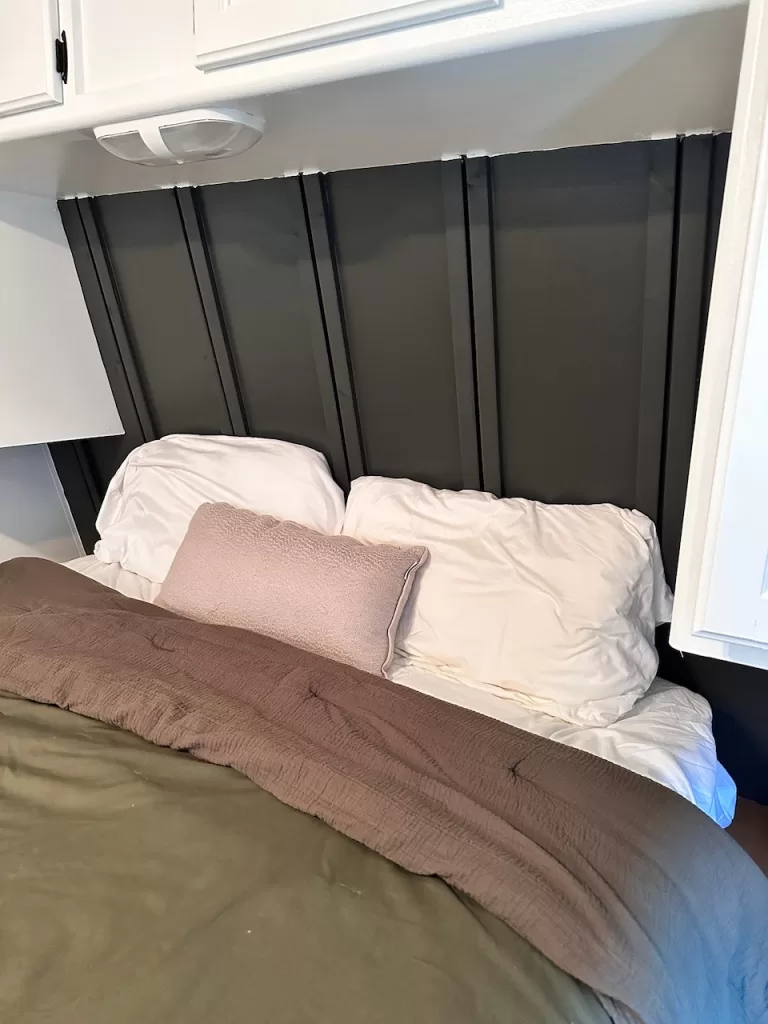
Start by considering which wall or walls naturally draw attention or could serve as a focal point of your RV living space. Typically, this might be the wall behind the bed in the bedroom, the seating area in the living space, or even a small partition wall. Think about the overall flow of your RV’s design and how the accent wall will complement it.
For added impact, consider using a contrasting paint color to make the accent wall stand out. For example, we painted most of our RV white to brighten it up, then chose a charcoal gray for the accent wall, creating a dramatic contrast. Additionally, think about how the accent wall will tie into your furniture and decor—neutral colors pair well with most interiors, while bolder choices can make a statement. Don’t forget to take lighting into account, as darker colors can make a space feel smaller, while lighter tones help maintain a spacious feel.
Step-by-Step Instructions:
1. Measure and Plan Your Wall Design
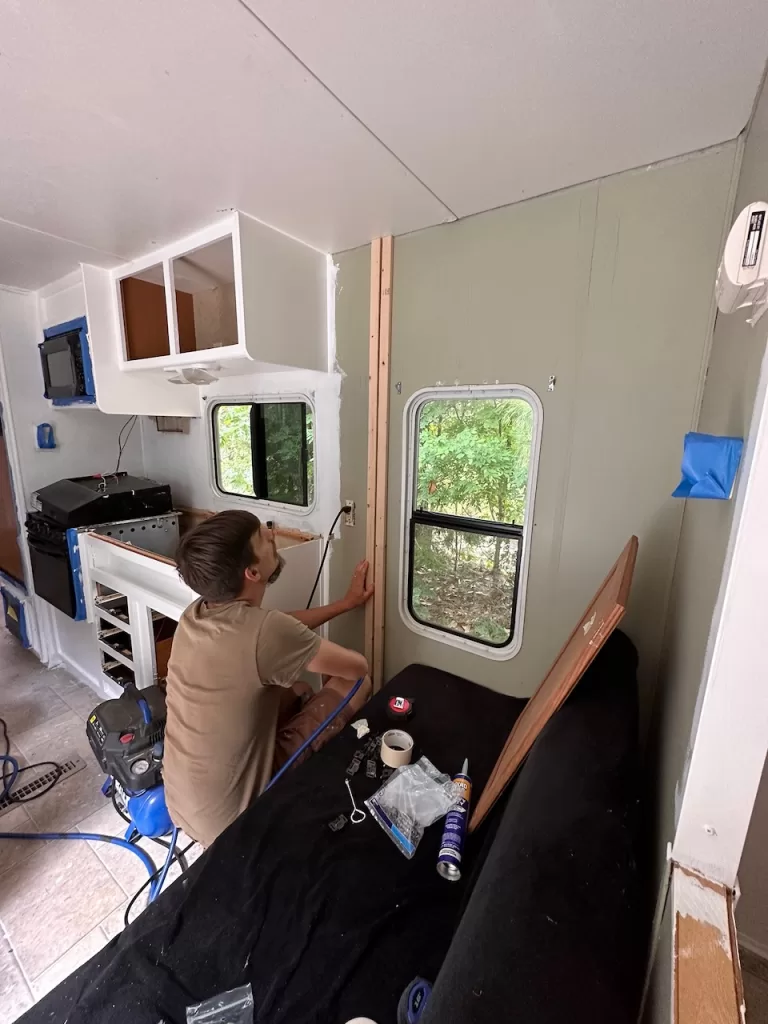
Before you get started, plan out how far apart you want each section of furring strips to be. We chose to space them about 1 foot apart, but feel free to adjust the spacing based on your personal preference. You can go closer for a more tightly spaced look, or farther apart for a more relaxed, airy design.
2. Cut Your Furring Strips
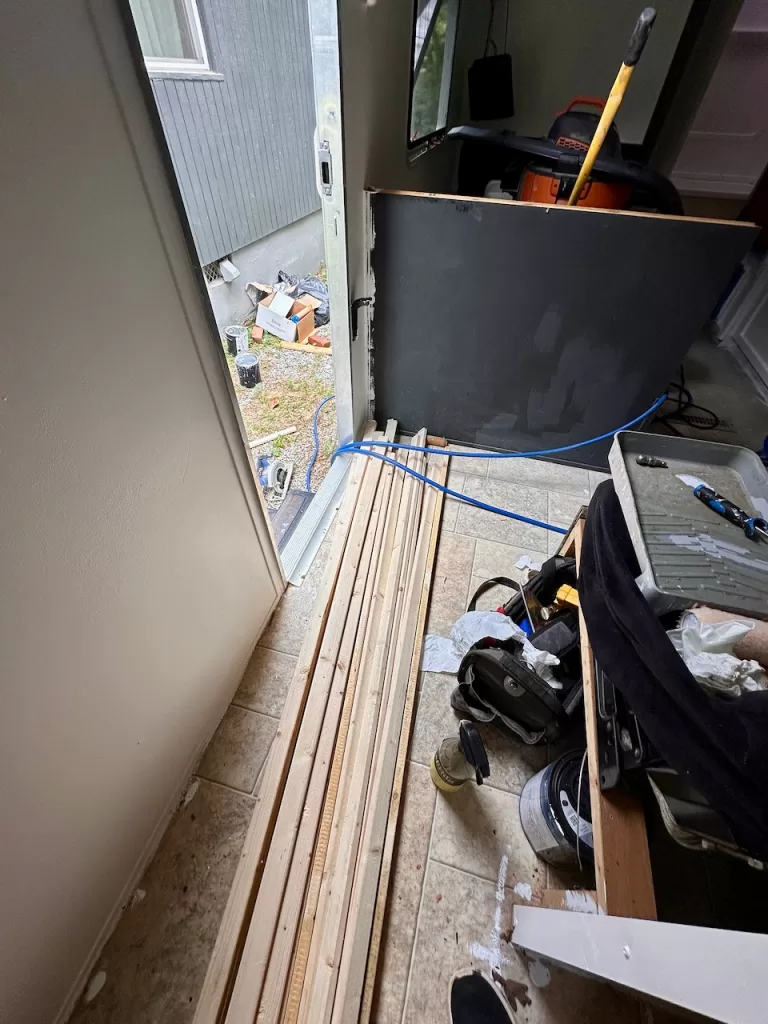
Once you have your design mapped out, measure and cut the furring strips to the desired length. Make sure to measure twice before cutting to avoid any mistakes.
3. Apply Liquid Nails Adhesive
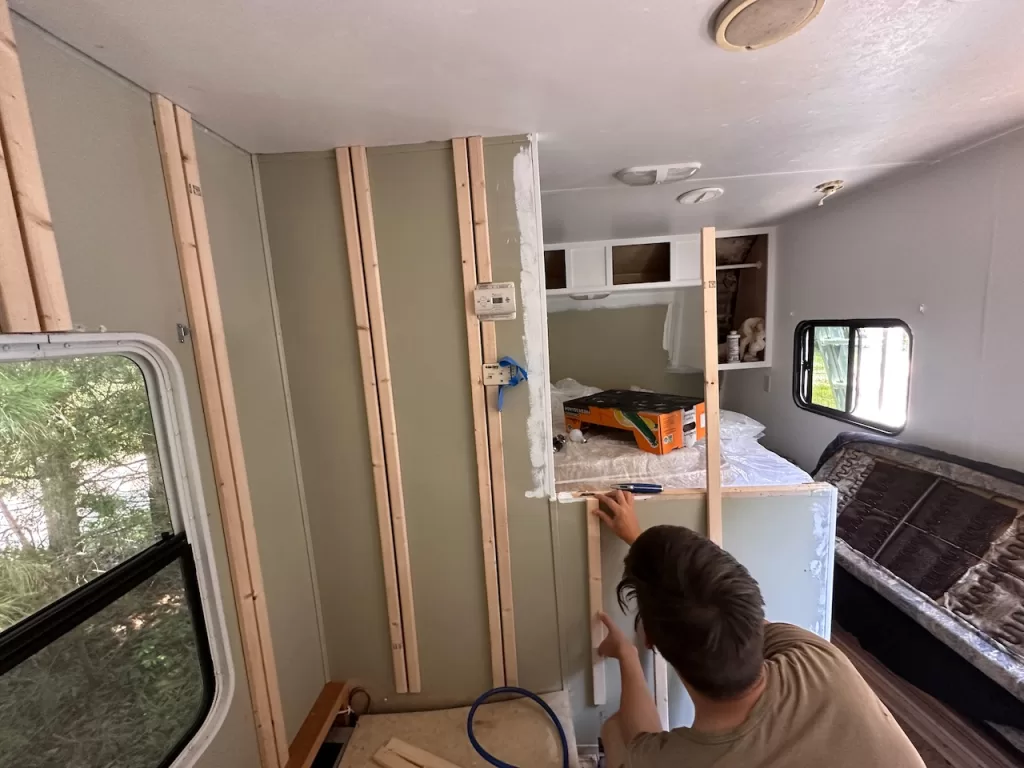
To initially adhere the furring strips to the wall, apply a generous amount of Liquid Nails adhesive to the back of each furring strip. Press the strip firmly against the wall, ensuring it’s level.
4. Nail the Furring Strips in Place
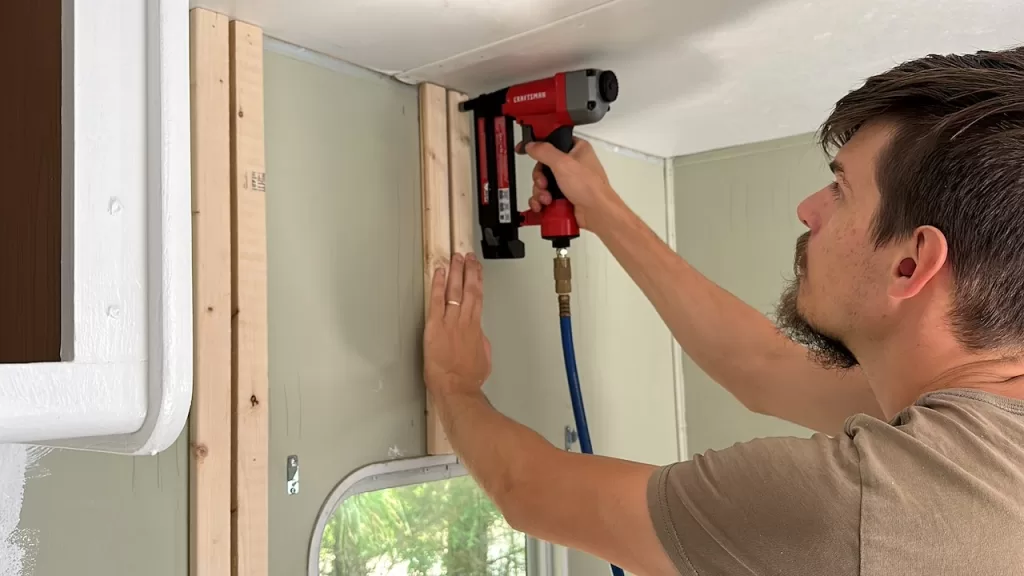
Using a trim nailer, secure the furring strips to the wall for added durability. The Liquid Nail adhesive will hold them in place initially, but the nails will ensure they stay put for all of your adventures!
5. Space the Sections
For our accent wall, we placed two furring strips per section, leaving about a foot between each set. You can adjust the spacing based on how dramatic you want the look to be. Keep the sections even by measuring as you go, and make sure to check that the furring strips are level as you work. We used a pencil to ensure the space between the two furring strips in each section stayed consistent.
6. Caulk the Seams and Nail Holes
To make the accent wall look sleek and professional, use caulk to fill in the seam between the furring strips and the wall. If you can, also fill the nail holes from using the trim nailer to attach the strips to the wall. This will help eliminate any visible gaps and create a smooth, seamless finish.
7. Paint the Furring Strips
Once the caulk has dried, it’s time to paint! We chose to paint our furring strips the same color as the wall, but you can also choose a contrasting color for a bolder statement. Use a paintbrush or roller to apply an even coat, and allow it to dry completely.
8. Enjoy Your New Accent Wall!
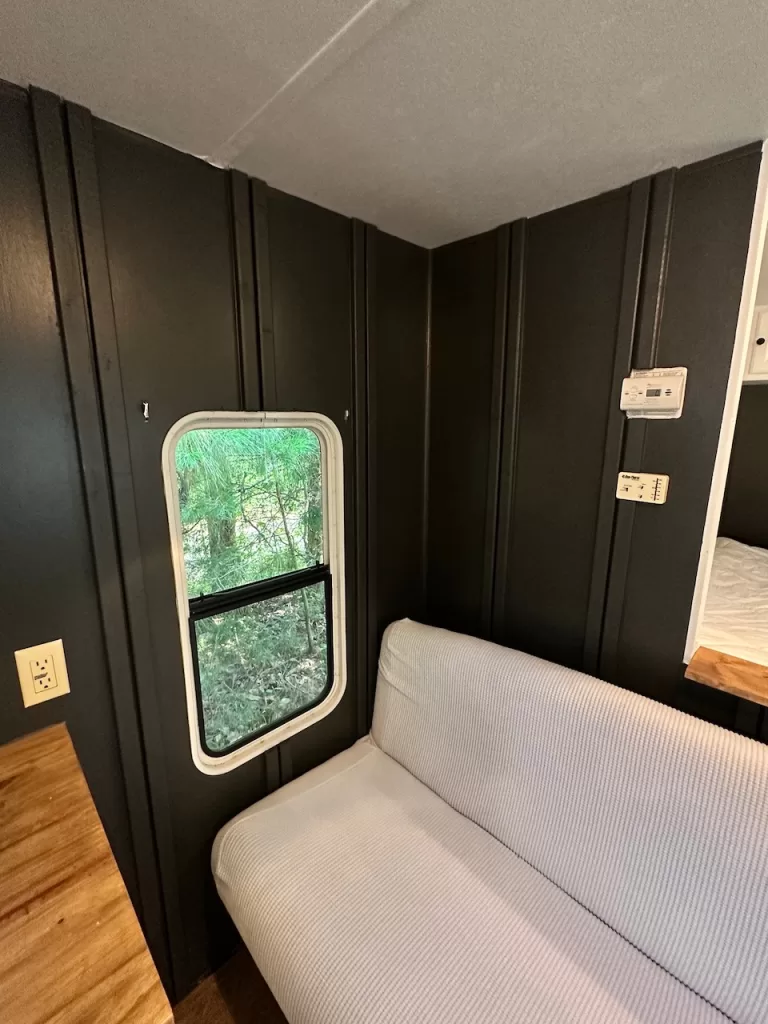
Once the paint is dry, step back and admire your handiwork! The furring strips give the wall texture and depth, making your RV feel like a cozy, stylish home. Whether you’re lounging inside or hosting friends, this accent wall will surely be a conversation starter.
Creating an accent wall with furring strips is an easy and affordable way to update the interior of your RV. It’s a DIY project that requires minimal tools and materials but delivers stunning results. We will do this in every RV Renovation moving forward, I just love how it adds great contrast to the space on a budget!
Thanks so much for reading!
Megan
Pin this post to save it for later:
2