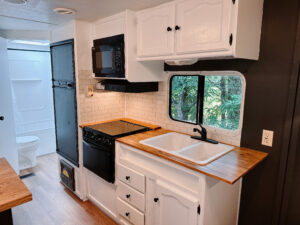
If there’s one thing we’ve learned from living in an RV for three years and renovating several RVs since, it’s that the kitchen is the heart of your tiny home on wheels. Upgrading the countertops is one of the easiest and most cost-effective ways to make your RV feel more like home.
We’ve tried different materials and methods over the years, but creating custom countertops with edge-glued boards has become our go-to solution. They’re durable, lightweight, and budget-friendly—perfect for RV living. Plus, the process is straightforward, even if you’re not a DIY expert. Here’s how you can do it, too!
What you Need to Create Custom RV Countertops
- Measuring tape
- Pencil or marker (for marking cut lines)
- Jigsaw (for sink and stove cutouts)
- Drill and screws (for securing the countertop)
- Sandpaper (120-grit and 220-grit)
- Electric sander (optional, for faster and more even sanding)
- Paintbrush or lint-free cloth (for applying stain and polyurethane)
- Clamps (optional, to hold the board in place during installation)
- Edge-glued board (sized to fit your RV countertop space)
- Wood stain (your choice of color)
- Polyurethane (at least two coats recommended)
- Liquid nail construction adhesive
- Clean rags (for wiping away dust after sanding and excess stain or sealant)
Step 1: Start with the Right Wood
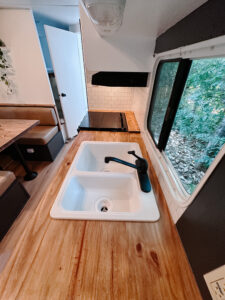
The first step is picking the right edge-glued board. These boards are sturdy, smooth, and available in sizes perfect for RV countertops. Measure your counter space (don’t forget to account for the sink and stove cutouts!) and choose a board that will fit your needs.
Pro tip: Make sure the board you choose is lightweight enough for your RV. Every pound counts when you’re on the road!
Step 2: Cut It to Fit
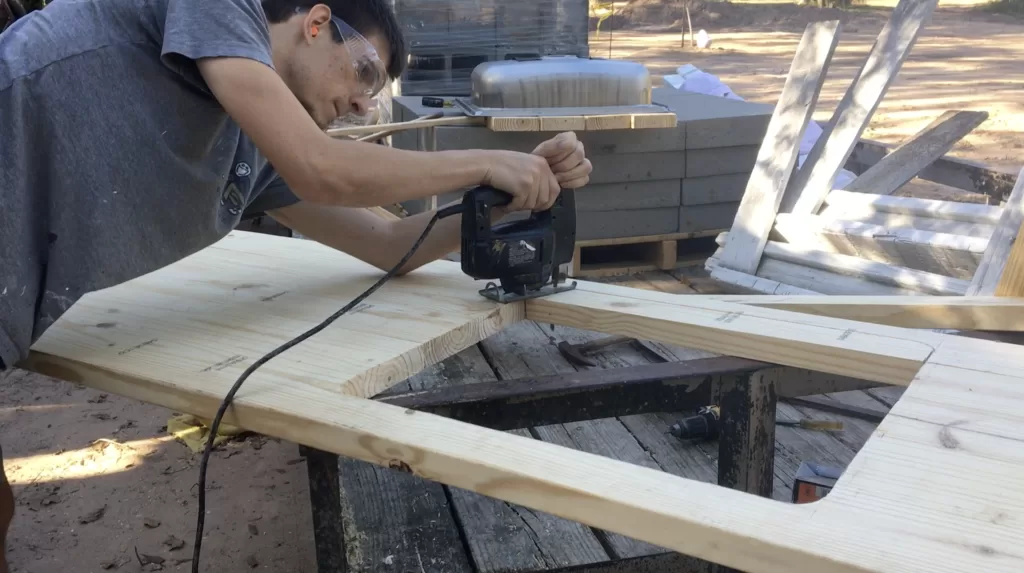
This part is where your kitchen counter takes shape! Mark where your sink and stove will go with a pencil (make sure to measure twice and cut once!), and use a jigsaw to cut out those spaces. It’s always better to make the cutouts smaller at first and adjust as needed. You want those cutouts to fit perfectly around the sink and stove area with no gaps.
If you’ve never used a jigsaw before, don’t sweat it—it’s easier than it looks. Maybe try practicing with a small piece of inexpensive plywood first if you’re hesitant. Just take your time, and you’ll do great.
Step 3: Smooth Things Out
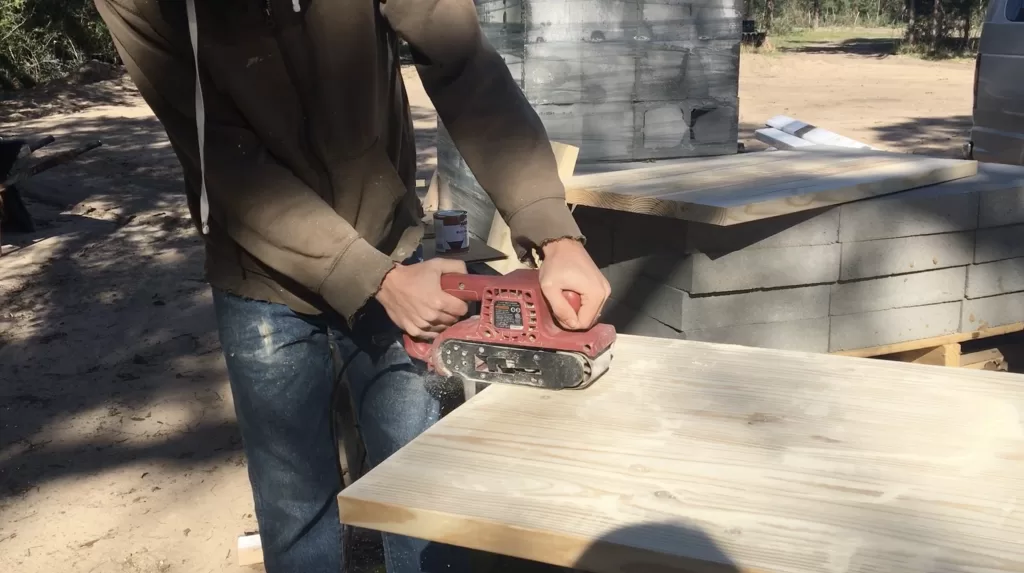
Once your board is cut to size, it’s time to sand. Start with 120-grit sandpaper to remove any rough patches or splinters, then move to 220-grit for a buttery smooth finish.
We’ve found that spending a little extra time on sanding makes a huge difference. A smooth countertop not only looks and feels better, but also makes staining and sealing a breeze.
Step 4: Find the Perfect Stain
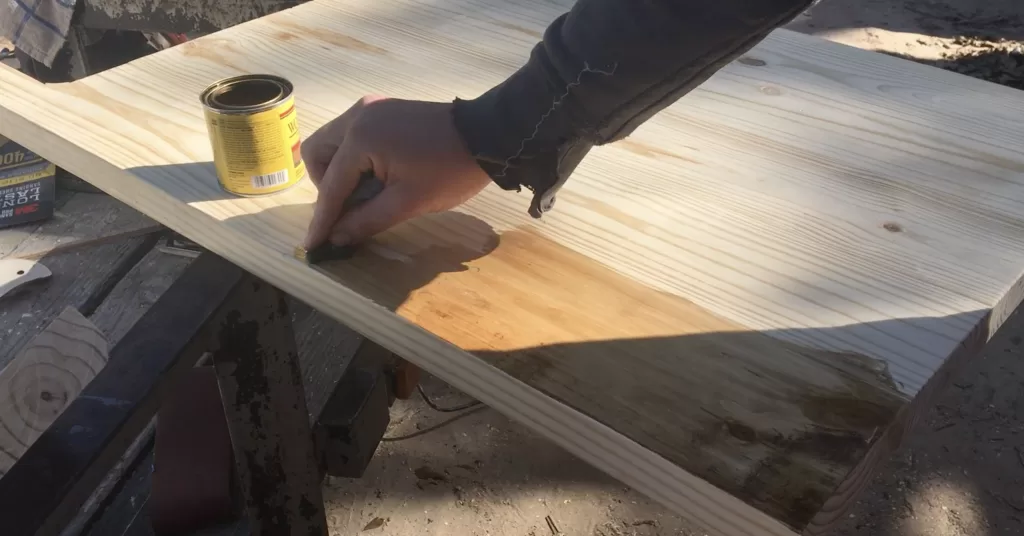
Here’s a fun part—choosing your stain color! We like to test different shades on the sink cutout or the underside of the board. It’s a safe way to make sure the color works with your RV’s interior before committing.
Once you’ve chosen your stain, apply it evenly across the countertop. Watch as the wood grain comes to life—it’s such a satisfying step!
Step 5: Seal It for the Road
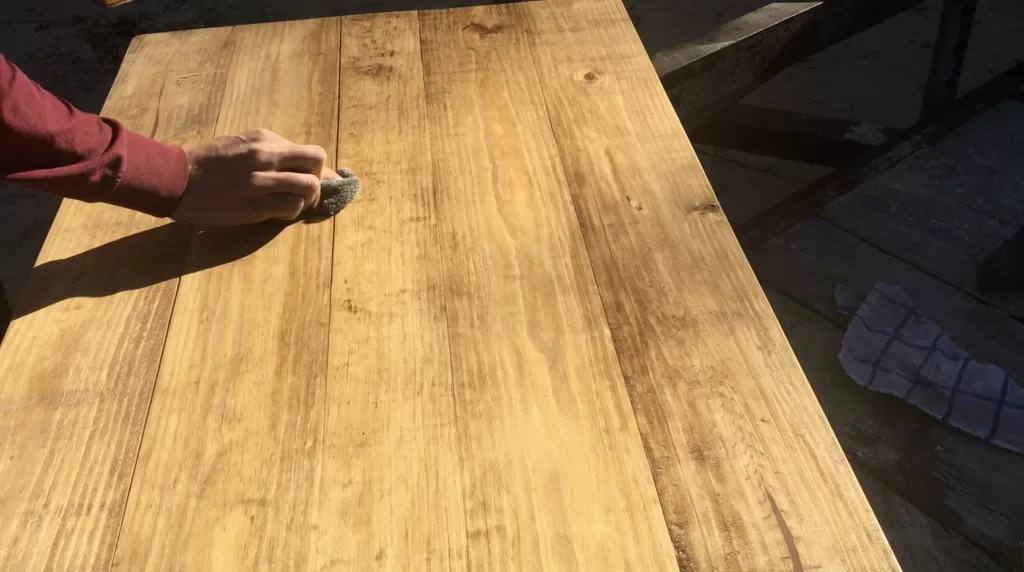
RV life can be tough on surfaces, so sealing your countertop is non-negotiable. We recommend using polyurethane and applying at least two coats. This will protect your countertops from moisture, spills, and everyday wear and tear.
Make sure to let each coat dry fully before applying the next one. Trust us, your patience will pay off when you see how durable and easy to clean your counters are. We had wood countertops in our RV for 3 years, and absolutely loved them!
Step 6: Install Like a Pro
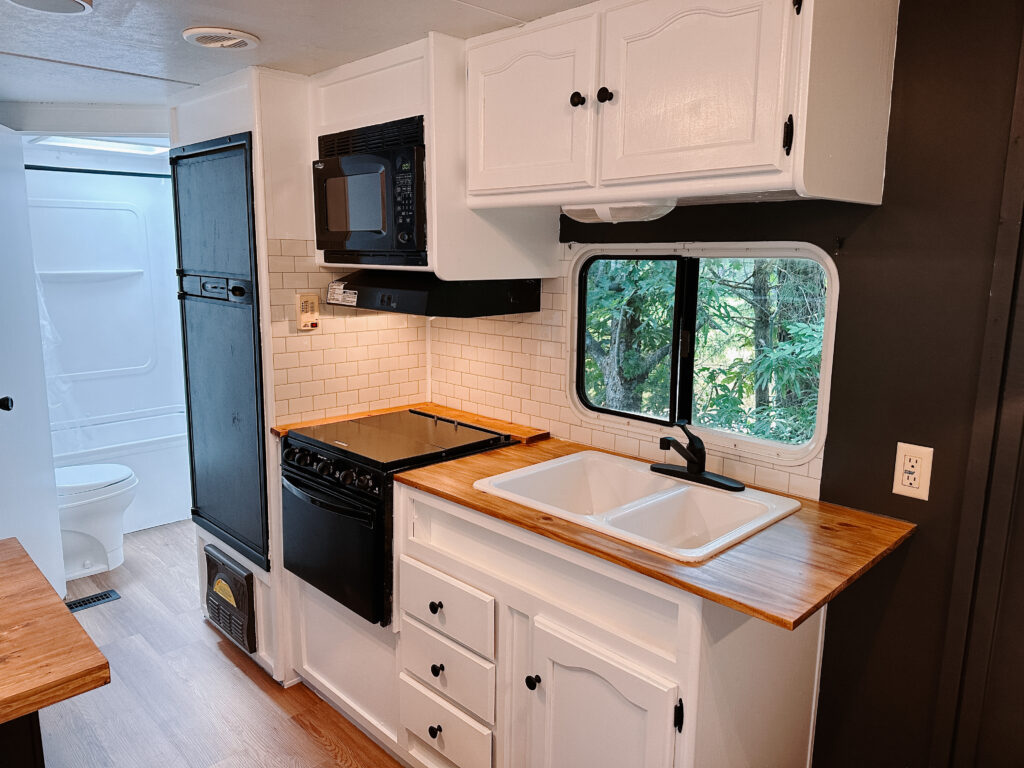
Now for the grand finale—installation! Use liquid nail construction adhesive to secure the countertop in place, then reinforce it with screws. Make sure the screws are positioned where they won’t interfere with appliances or cabinet doors. This part might be a little different depending on your specific RV, so feel free to comment below if you have any questions about specific installation!
FAQ’s
1. What type of wood is best for RV countertops?
Edge-glued boards made from hardwoods like birch, oak, or maple are excellent choices because they are durable, resist warping, and look great when stained. Pine is a more affordable option, but it’s softer and might dent more easily.
2. How do I prevent the wood from warping over time?
Warping can be a concern, especially in environments with fluctuating temperatures and humidity (like RVs). To minimize the risk:
- Make sure the board is properly sealed on all sides, including the edges and undersides.
- Avoid overly wet or humid environments before sealing the wood.
3. What kind of jigsaw blade should I use for cutting?
A fine-tooth blade for wood (10-12 TPI or higher) is best. It provides smoother cuts and prevents splintering, especially on hardwoods.
4. How do I avoid mistakes when cutting the sink and stove cutouts?
- Measure twice, cut once. Double-check your measurements before cutting.
- Use painter’s tape along the cut lines to reduce splintering and improve visibility.
- Start with a small cut and adjust as needed.
5. How do I ensure a smooth finish?
- Sand the wood thoroughly, progressing from coarse (120-grit) to fine (220-grit) sandpaper.
- Wipe away dust with a damp rag before staining or sealing.
- Apply stain and polyurethane in thin, even coats, and sand lightly with fine-grit paper between sealant coats for the smoothest finish.
6. What’s the best stain for RV countertops?
Choose a stain that matches your RV’s style and provides some contrast to the walls or cabinets. Oil-based stains tend to penetrate better and offer richer colors, but water-based stains dry faster and are easier to clean up.
7. What type of polyurethane should I use?
A clear, water-based polyurethane is ideal because it dries quickly and doesn’t yellow over time. Choose a satin or semi-gloss finish for a polished look that’s easy to clean.
8. What if I want to add a backsplash?
You can add a simple wood backsplash by using a leftover strip of your edge-glued board. Stain and seal it to match, then attach it with adhesive and screws for a cohesive look.
9. How do I maintain the countertop after installation?
- Wipe up spills promptly to prevent moisture damage.
- Avoid cutting directly on the surface—use cutting boards to prevent scratches.
- Reapply a coat of polyurethane every year or two to maintain durability.
Why This Method Works
After renovating several RVs, we can confidently say this is the best way to create durable, affordable countertops. Edge-glued boards are cost-effective and surprisingly long-lasting, even with the bumps and vibrations of the road. Plus, the process is simple enough for most DIYers to tackle. They are also super lightweight, which is essential to stay within your RV’s weight limit!
If you’re dreaming of upgrading your RV kitchen, give this method a try. It’s a great way to add a personal touch to your space without breaking the bank.
Have you renovated your RV kitchen? We’d love to hear your tips and stories in the comments below! Let’s inspire each other to create RVs that feel like home.
Thanks so much for reading!
Megan
Explore more RV Renovation Posts:
Installing a Tile Backsplash in an RV
How to Renovate a Travel Trailer on a Budget
Full Time RV Living for Beginners
How We Remodeled Our RV Kitchen on a Budget
Pin this post to save it for later:
What a fascinating read! I’ll definitely be returning
to this site for more content like this.