Have you always wanted to take a cross country trip, but the cost of the trip is holding you back? I’m so excited to be sharing how we took a 3 week trip out west for less than $1500! That includes gas, food, lodging, things we did, everything! Here are the exact things we did to save money, and tips on how you can too!
Going on a cross country trip soon? Check out our Amazon list for all the essentials you’ll need for your trip:
https://amzn.to/3UII0MQ
1. Car Camping
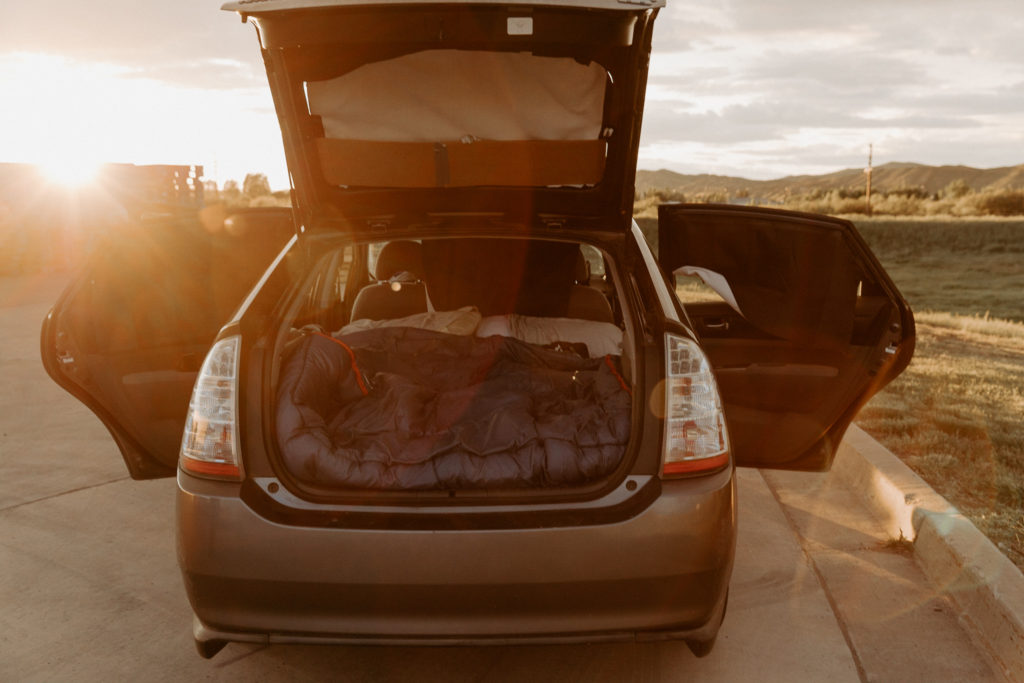
We’ve taken several car camping trips in the last 5 years, and it’s always an adventure! It gives us SO much flexibility when traveling across the country. We’ve camped both in our Prius and our Hyundai Tucson. Over the years, we’ve made our setup more and more comfy, including adding a car rack to the hitch of our Tucson, so that we can bring more things like a changing tent, more cooking equipment, etc.
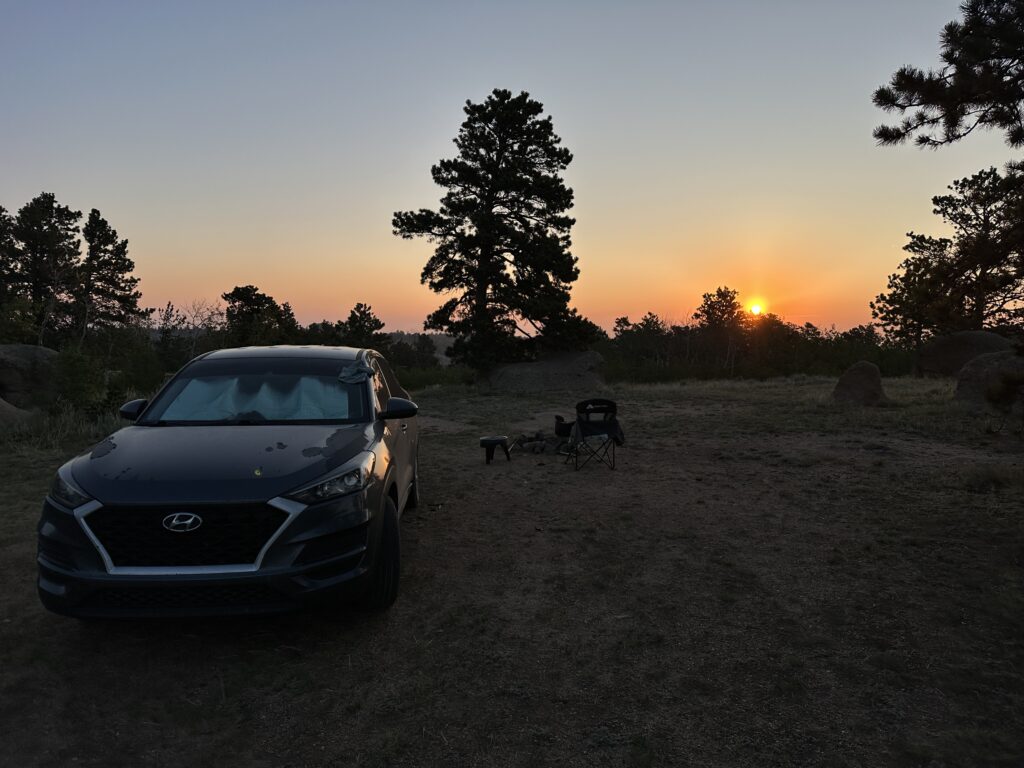
So now you’re probably thinking, well how in the world did you make the back of a car comfortable? And where did all of your stuff go?
How we set up our car for success!
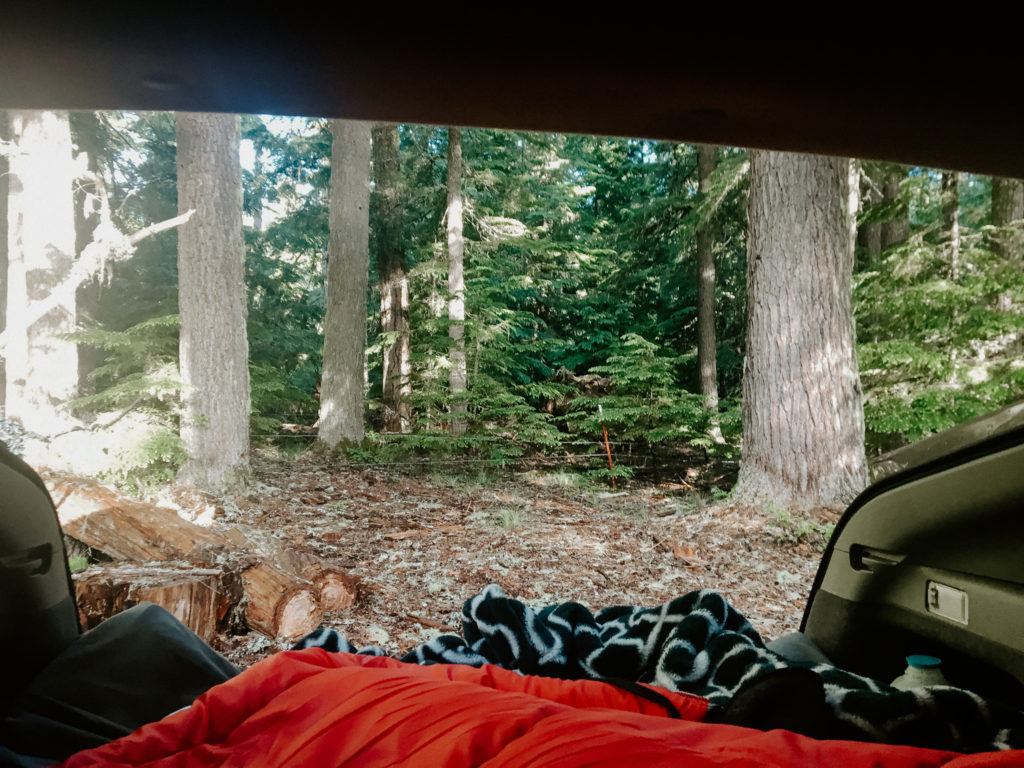
For the bed, we got a mattress pad and sleeping bag from Walmart, which cost around $50, and we modified it to make sure the whole area was padded.
To make it flat, we fold the back seats down. We then scoot the front seats up as far as they can go, and then in the space between the front seats and back seats (where your feet would normally go) we have our backpacks full of clothes, and stack bins full of dry food for our pillows to lay on. We wanted to make sure that if we were going to be sleeping in it every night for 3 weeks, that we didn’t wake up every morning with aching backs. And we didn’t!
As far as where the rest of our stuff goes when we’re sleeping, we put everything in the front seats. We bring our bear proof cooler, dry food, and camera equipment in the front.
To keep the bed clean, we roll it up every single morning and secure it using the back seat seatbelts. It takes us about 15 minutes to set everything up every night, but it honestly just becomes a part of our nightly routine!
For the windows, we bought black out curtains from Amazon for $10 and put them up in all the windows. I would definitely recommend doing this, because not only does it create some privacy, it keeps the street lights in the Walmart parking lots from shining in your eyes while you’re trying to sleep! I would also recommend a mosquito net on your windows, so that you can keep your windows open at night!
Here’s the link to black out curtains:
Here’s the link to the mosquito nets we used:
Going on a cross country trip soon? Check out our Amazon list for all the essentials you’ll need for your trip:
https://amzn.to/3UII0MQ
2. Camping in National Forests
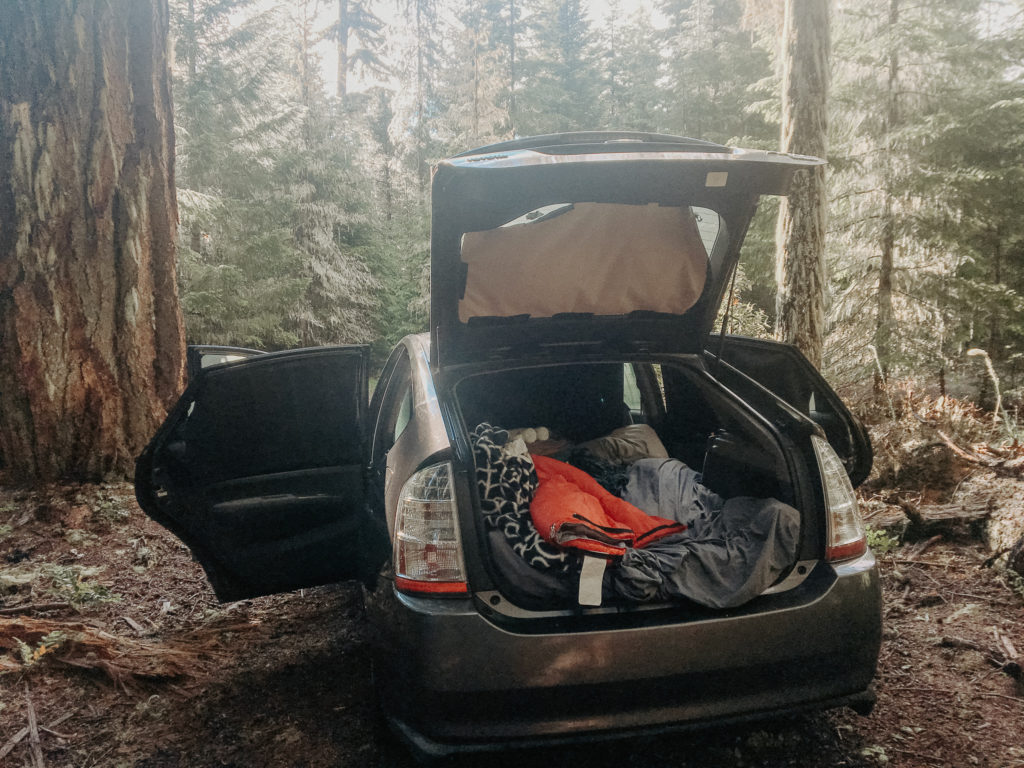
Did you know you can camp for FREE in pretty much any National Forest? We simply explored side roads within each National Forest and found incredible primitive camping spots—often just clearings designated for campers. Most of the time, we had these peaceful spots all to ourselves, though we occasionally saw a few other campers. The settings were stunning, perfect for unplugging from the world. We even enjoyed campfires at some of these spots; just be sure to check local fire regulations, as some states require permits for open fires.
Another fantastic resource we used for finding free campsites was The Dyrt app. This app made it so easy to locate primitive campsites all across the U.S., including in National Forests and other public lands. With The Dyrt’s extensive campsite database, we found several secluded spots with amazing views at no cost.
3. Showering at Travel Centers
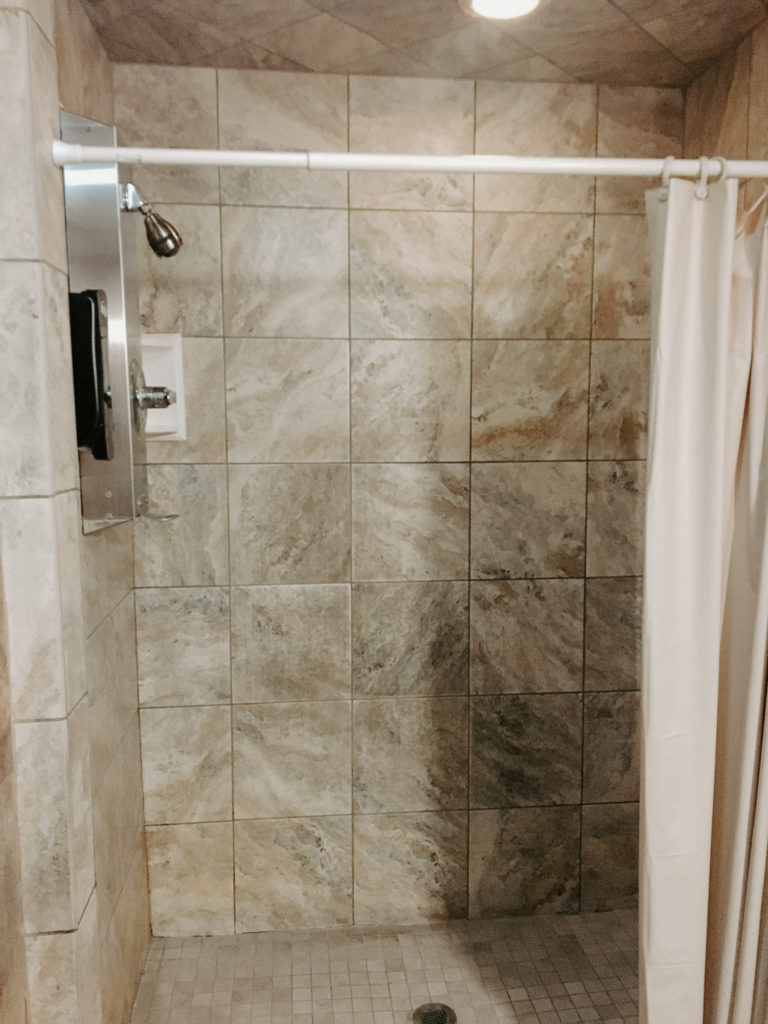
You might be thinking, well that sounds great and all, but did you just not shower for 3 weeks? Trust me when I say that I wouldn’t have put up with that! Of course we showered! We discovered that you can shower at travel centers like Pilot and Love’s! I know that sounds weird and I was super skeptical at first, but it turned out to be super clean! We literally haven’t have one negative experience. You can take as long of a shower as you want for only $12! So instead of getting a hotel or camp site every few days, all you need to do is find a Travel Center with a shower.
Here’s a few things we learned about using Travel Center showers:
If you can, try to shower at odd times of day, not in the morning or at night. Most gas stations only have a few showers, so since most truckers want their showers in the evening, you’ll end up having to wait a really long time in line. We had this happen to us a few times and it really sucked.
Make sure to check in the areas you’re traveling to that they even have Travel Centers with showers! Canada didn’t have any, and we were hard pressed to find ones with showers even when we got back into the US.
If you need to charge anything like camera batteries or toothbrushes, doing that while taking your shower is a great option!
4. Cook your own meals
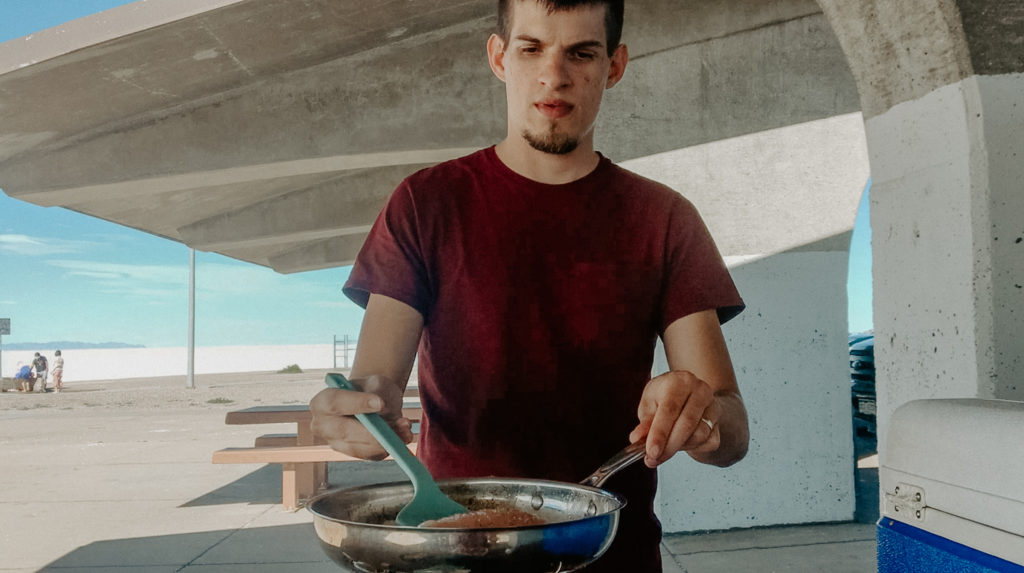
Okay, now moving onto food! Even if you don’t want to sleep in your car, cooking and eating your own food saves SO MUCH MONEY. We brought about a week’s worth of food with us to start, and then as we were gone longer, we went shopping and cooked!
Here are some meal ideas if you’re interested in making your own food for a trip:
Dinner
Rotisserie Chicken + Brown Rice:
Buy a rotisserie chicken the day that you want to eat it, and then either buy frozen brown rice that you could microwave at a gas station, make it before you leave, or cook some over a single burner propane stove. Then use the leftover chicken for another meal or sandwiches!

Veggie + Sausage Bake:
I made a big batch of this right before we left, and we were able to eat it for 2 dinners! It’s basically a package of Chicken Sausage (I love the Italian kind), butternut squash, onion, Brussel sprouts, and tons of Italian spices. You could also have it with a side of sweet potatoes and grass fed butter for some carbs and healthy fat.
Burrito Fixings:
Pre cook rice and beans, or bring microwavable rice and cans of beans. Pre cook chicken and shred or ground beef. You could make a taco salad, a burrito, or even nachos!
Chili:
I made a big pot of chili with noodles before we left, and we were easily able to heat it up at gas stations.
Side dishes/Snacks:
- Trail Mix
- Protein bars
- Sweet potatoes with butter/cinnamon that you can just heat up
- Apples
- Oranges
- Dried fruit with no added sugar
- Chips
- Guacamole
Breakfast:
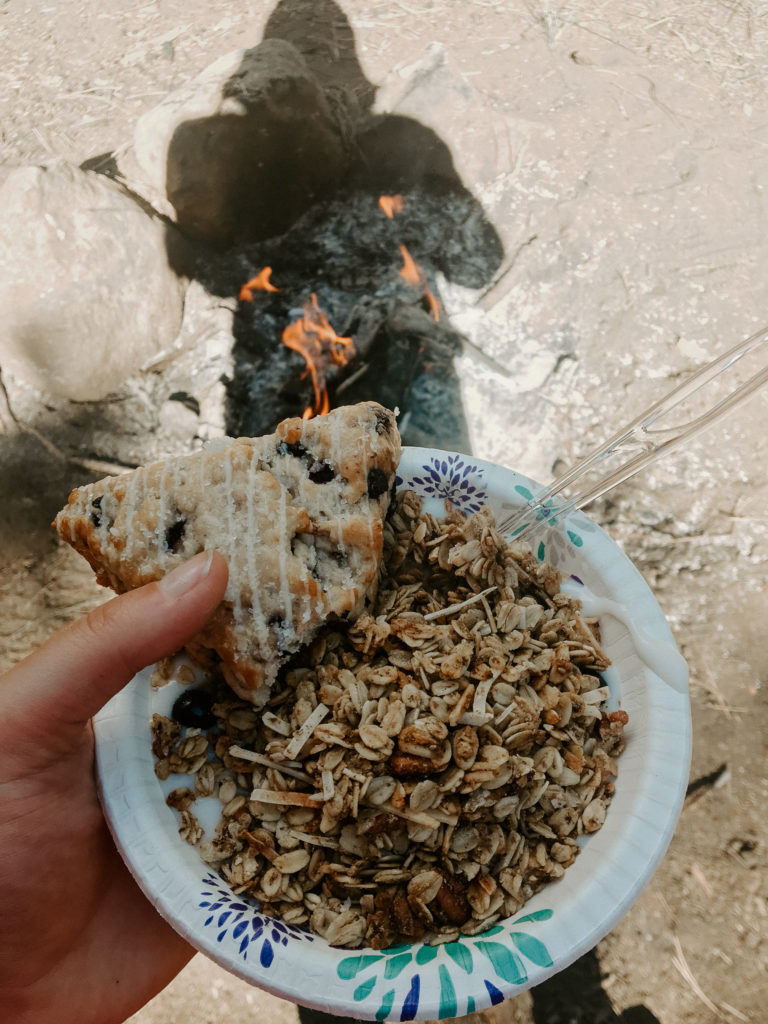
- Greek Yogurt with blueberries and granola
- Muffins (make before you leave)
- Cereal
- Pancakes using Kodiak Cakes mix (a healthier version of Bisquick) and cooking them using a single burner propane stove
Coffee:
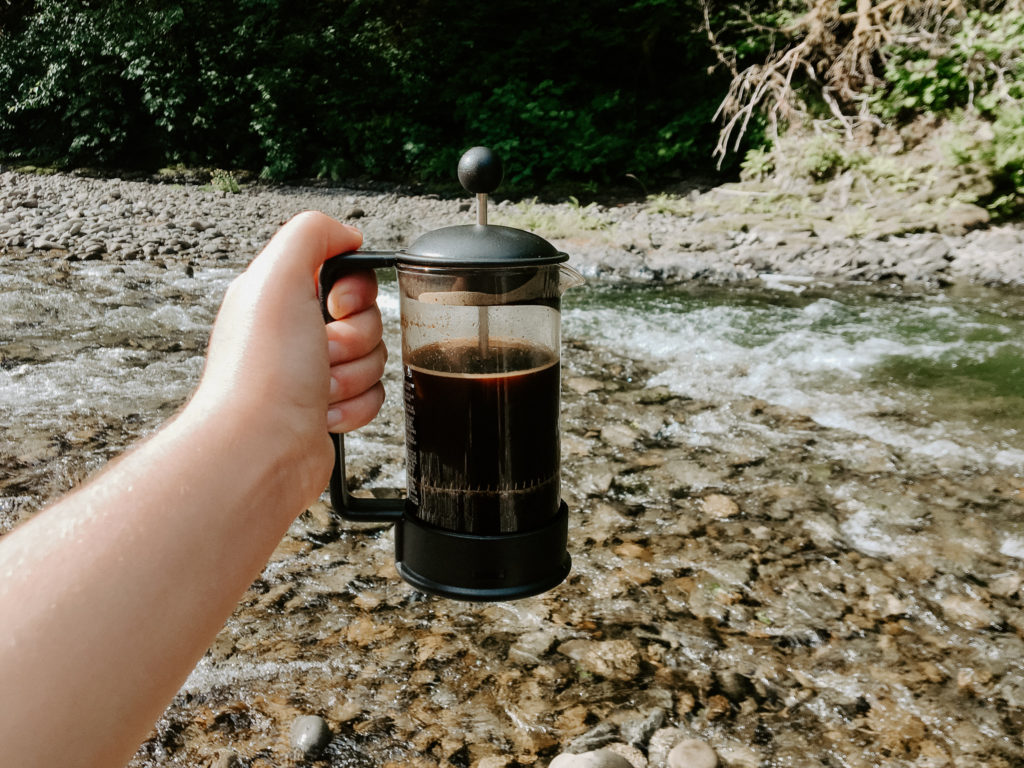
We also brought everything to make coffee, because buying coffee every day would’ve cost upwards of $100 for the whole trip! We brought a small French press and ground coffee. We would go into Starbucks or a gas station and ask for a cup of hot water (free!) and a cup of ice (if you want it iced like me!). Then we had milk in the cooler and voila! Delicious iced coffee on the road! You also buy or make cold brew for the road if you don’t have a french press.
Lunch
- Sandwiches with different kinds of meats/toppings
- Egg Salad Sandwich with Avocado
- Quesadillas
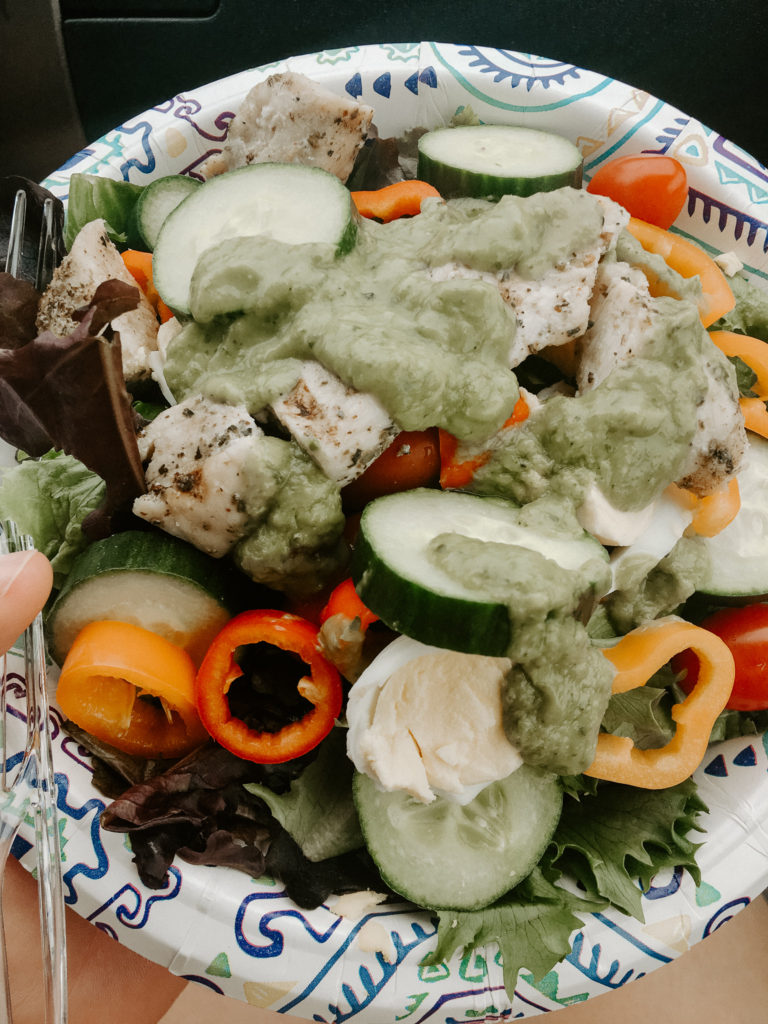
- Salads with chicken, peppers, tomatoes, boiled egg, and a simple dressing
Those are some of the meals that we really enjoyed while on the road! We tried to save most of our eating out for the end of our trip, because we knew that the longer we were away, the harder it would be to prep and cook meals.
As far as storing food goes, we brought our cooler and to keep everything cold, we would buy ice and then put it inside non leak bags that we got off of Amazon. These were lifesavers! Last time we did a trip like this, the ice would melt and we were left with a puddle of water in the cooler, and it spoiled a lot of our food. Here’s the link to the bags, they also have a spout so that you can re use the melted water for washing dishes!
Here’s the link to the ice bags:
We stored all of our dry food in bins behind the passenger seat. It was somewhat tricky to get to all the time, so we put snacks and things that we needed for every meal like utensils and bowls in a bag that was easily accessible.
Going on a cross country trip soon? Check out our Amazon list for all the essentials you’ll need for your trip:
https://amzn.to/3UII0MQ
5. Buy a National Parks Pass
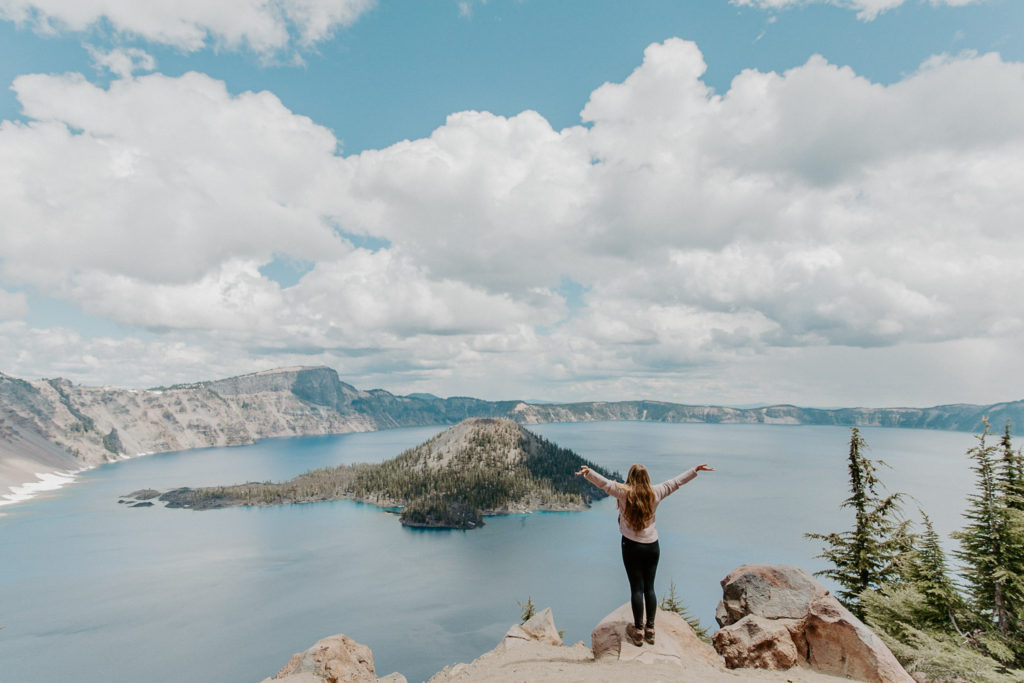
For $80, you can get into any of the National Parks for free for one year! There are so many beautiful parks to visit, so we would definitely recommend getting a park pass if you plan to go to enough parks to make it worth it, because then you’ll have it for a whole year after that.
If you want to get your park pass online, here’s the link:
Otherwise, you can get them at pretty much any park at the fee station.
I hope these tips were helpful! If you have any questions, feel free to leave them in the comments!
Megan
Pin this post for later:
