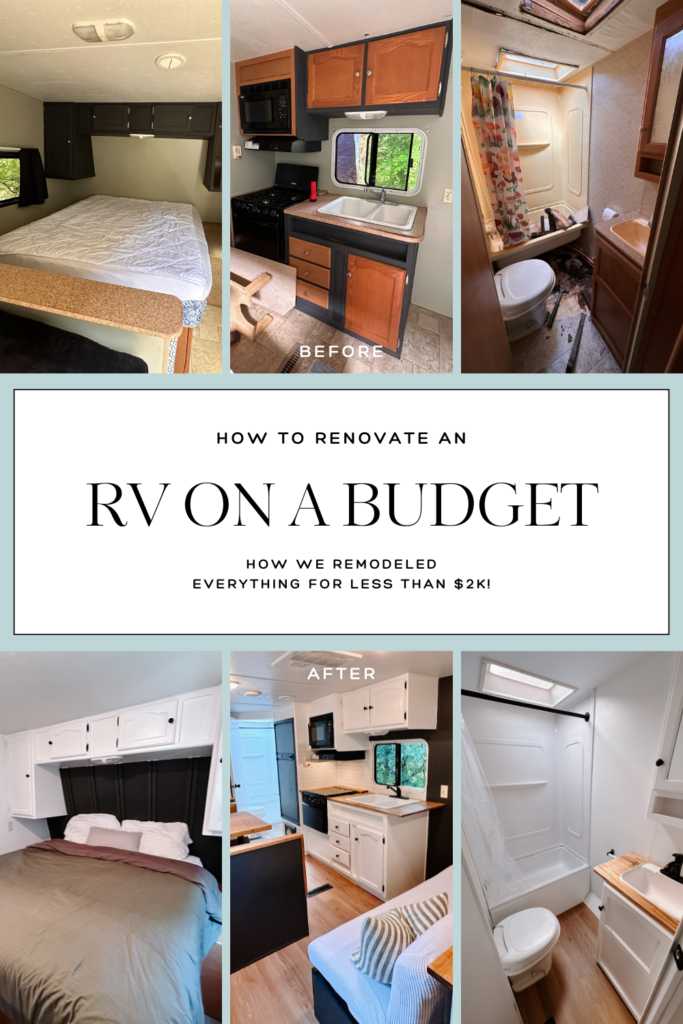
We recently bought a 2007 Dutchman Four Winds Travel Trailer for a renovation project. While the travel trailer was in decent condition, it was seriously outdated and in desperate need of a makeover. My goal was to transform it into a bright, warm, and inviting space, but with a strict budget in mind, I had to find creative ways to update it without breaking the bank. If you’re looking to renovate your travel trailer or RV on a budget, keep reading!
In this post, I’ll walk you through the exact steps we took to turn our dark, outdated camper into a modern, minimalist RV—spending less than $2000! From budget-friendly camper remodel tips to cost-saving hacks, you’ll learn how to create a beautiful and functional space for less.
Note: this guide contains affiliate links, which means that if you use the links provided and make a purchase, we get a small commission at no extra cost to you. Thank you for supporting us!
Before and After


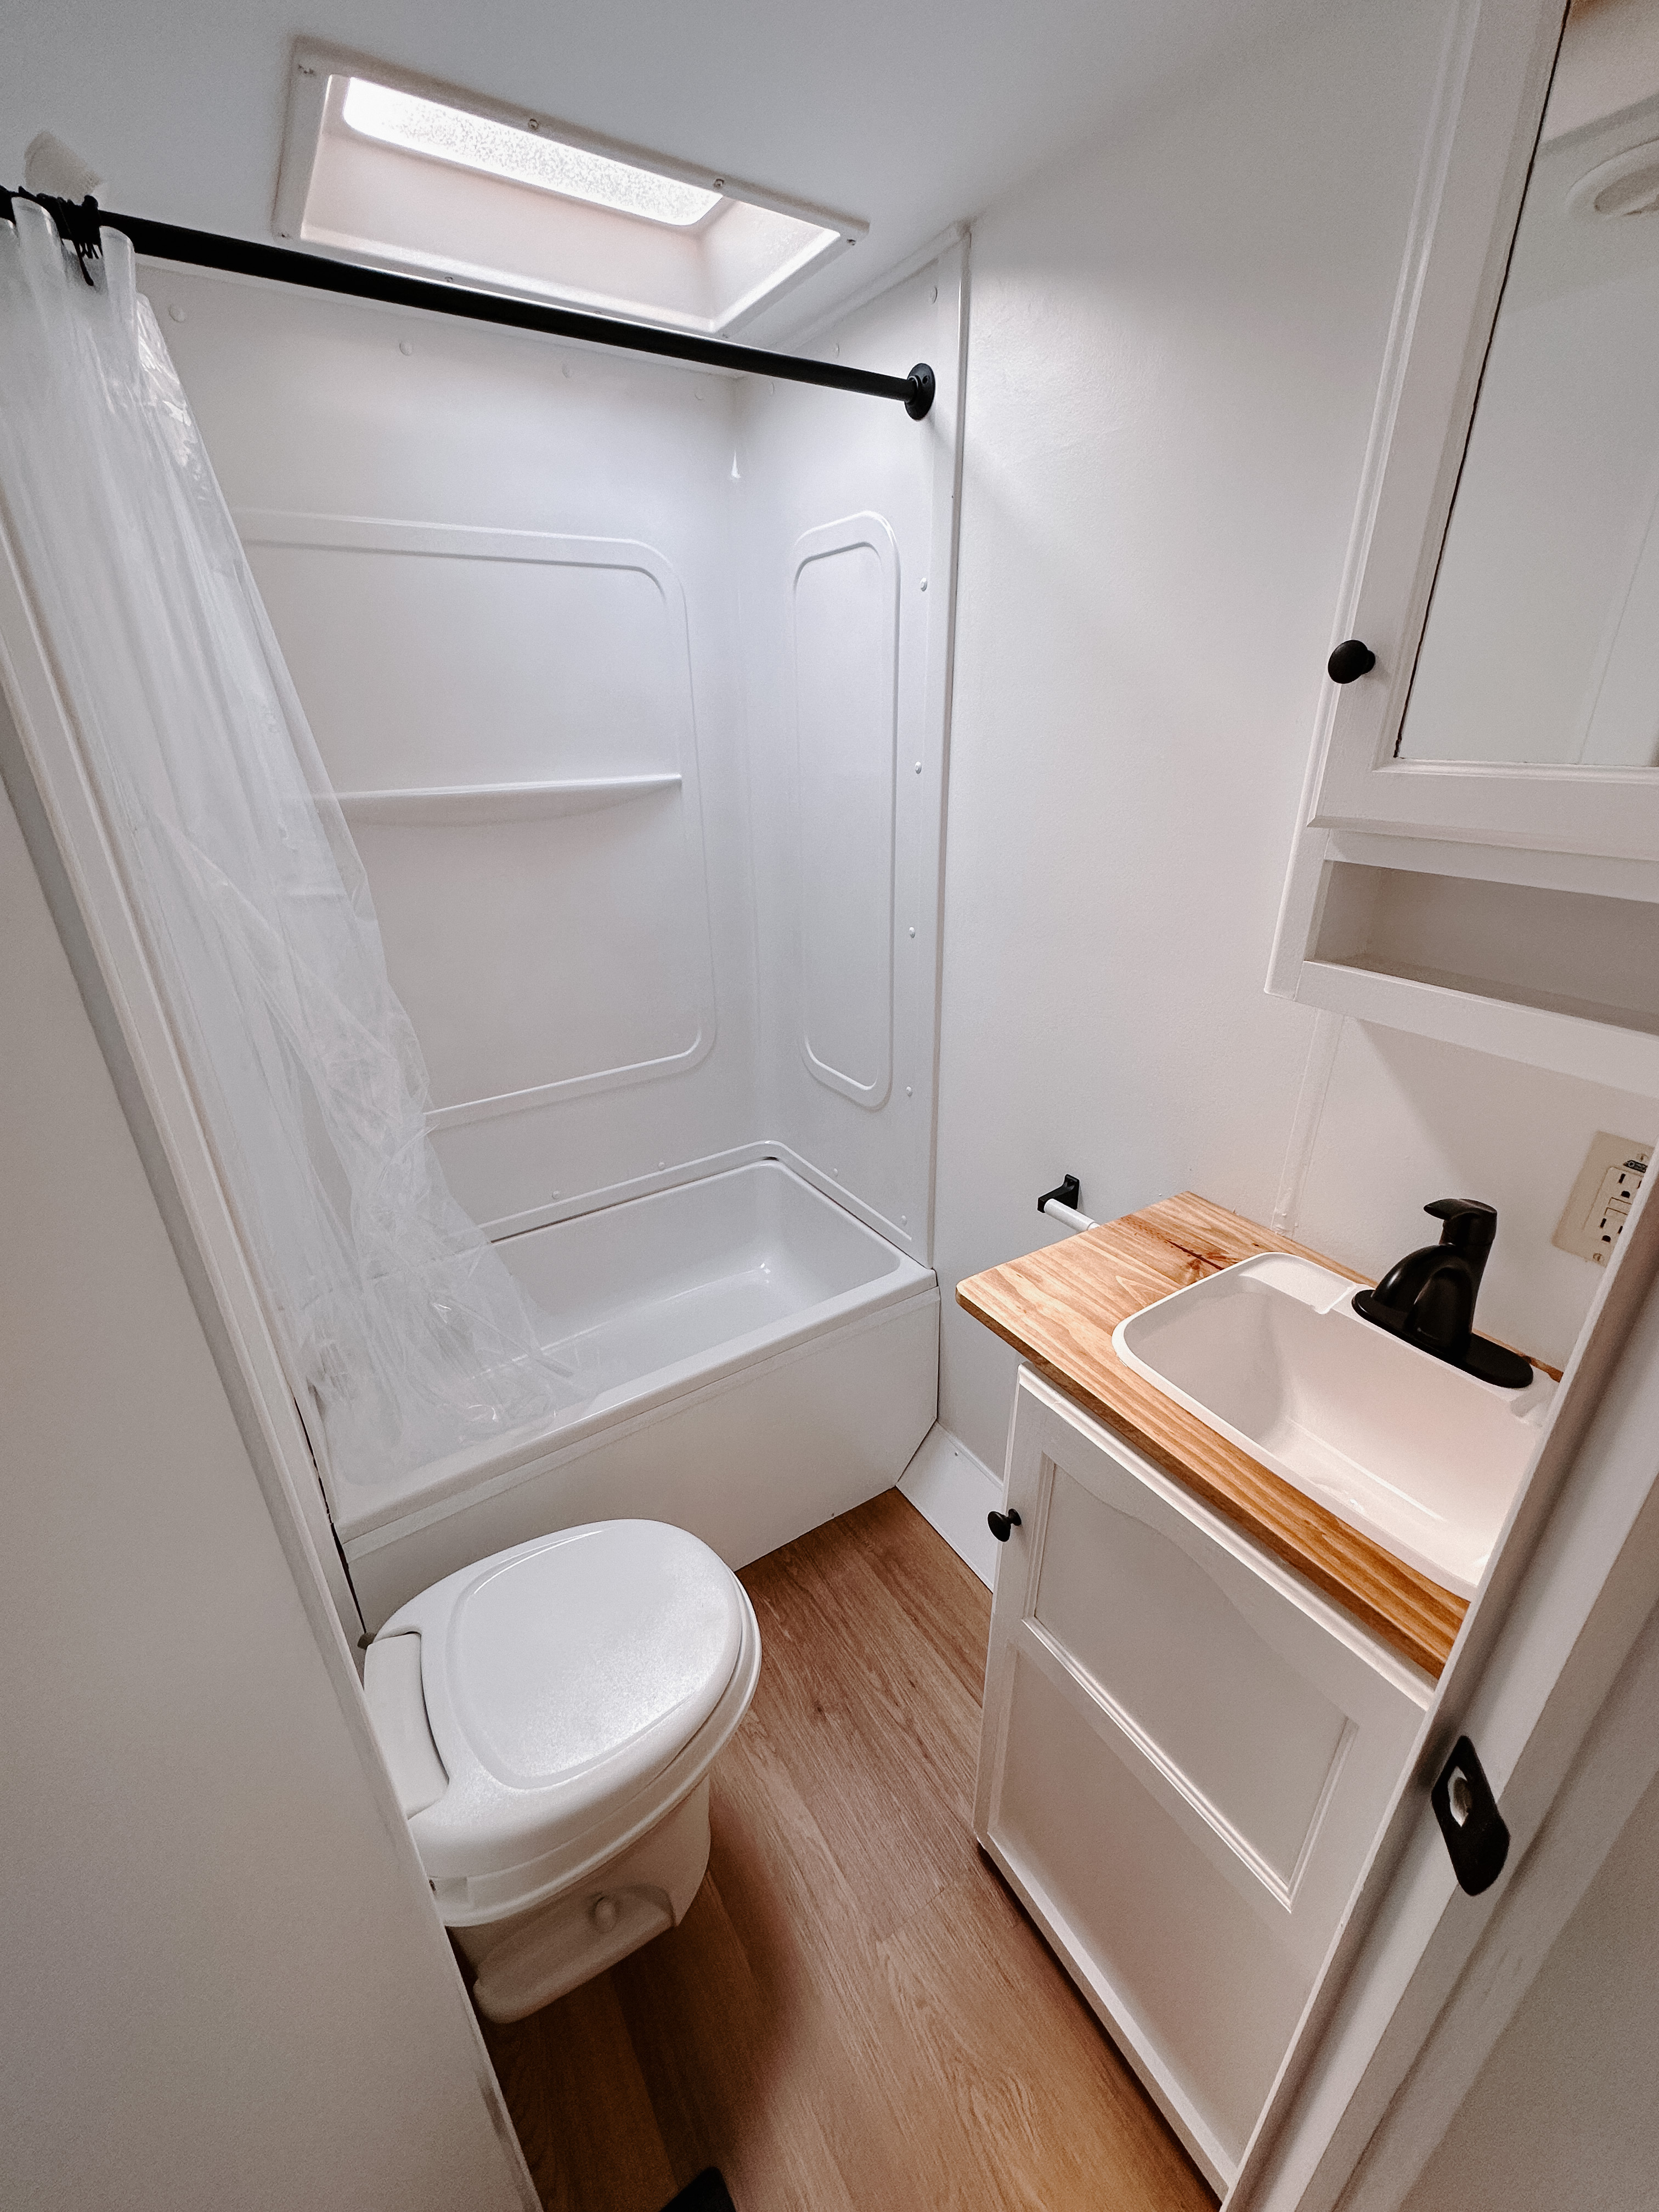
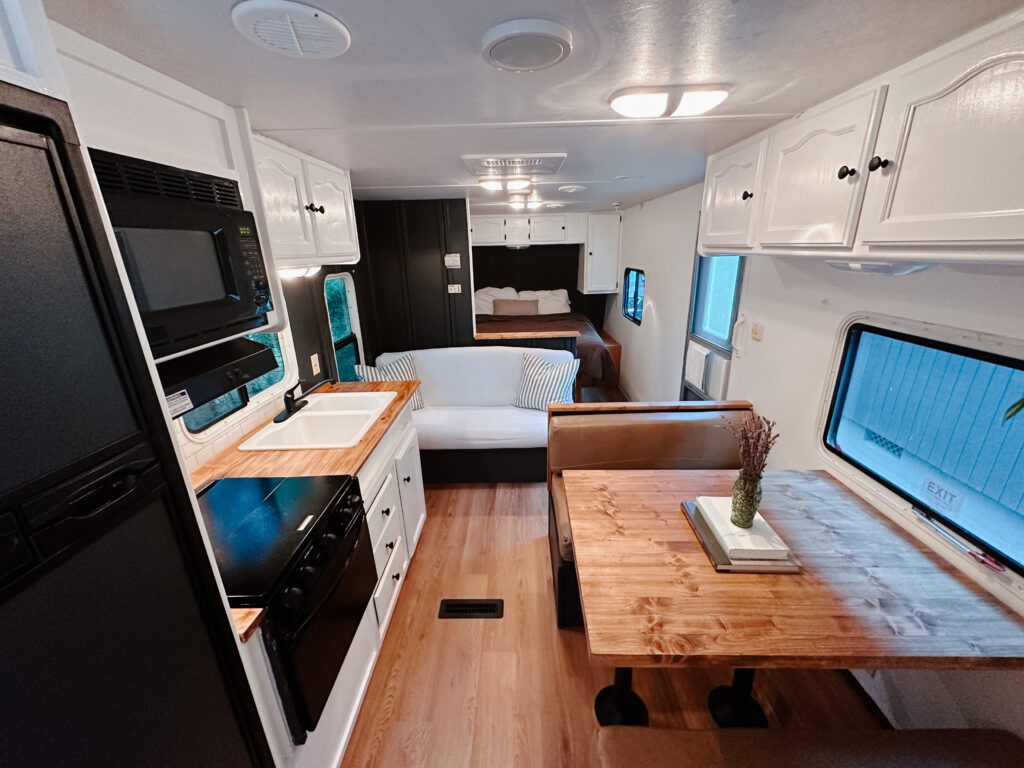
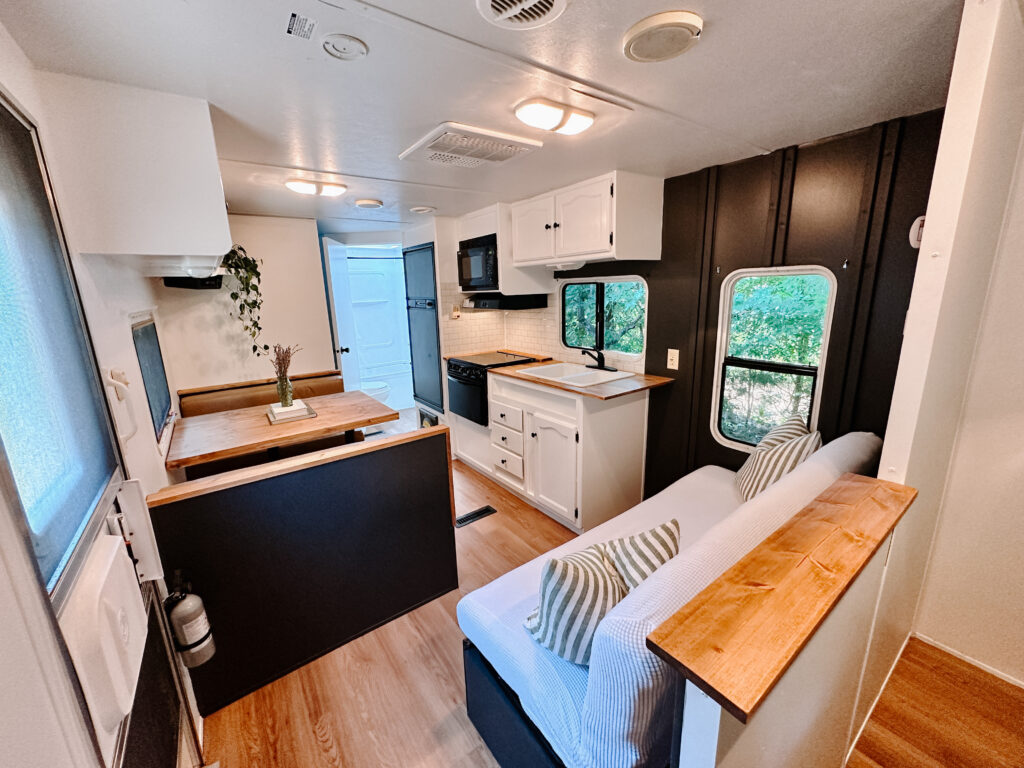
As you can see from the before and after photos, the Camper went through a crazy transformation for not very much money! Our intention the entire time we were renovating was to spend as little as possible and re use everything we possibly could, while also doing our best to make it a cozy place to live.
Paint
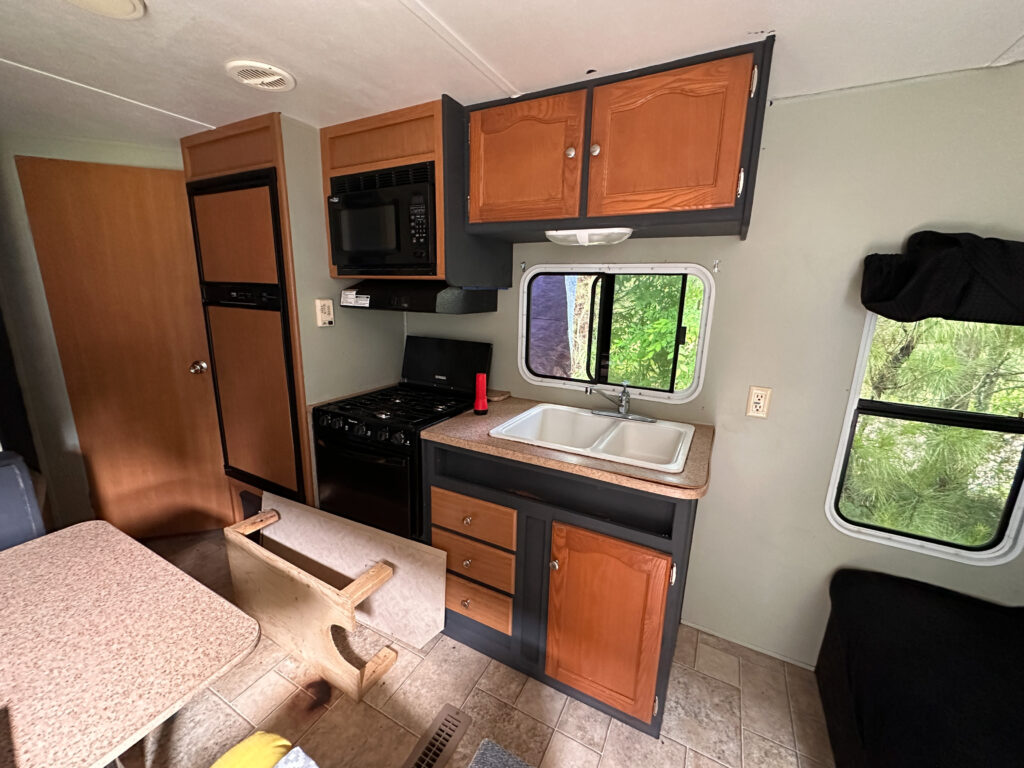
Before I jump into exactly what paint we used, I want to take a second to talk about the texture of typical camper/RV walls. It’s a very glossy texture compared to a wall in a typical house. It also has a weird, almost fake wallpaper like texture. I would recommend using a paint that is super high quality and maybe even has a primer built in to ensure durability.
Painting the Camper Walls
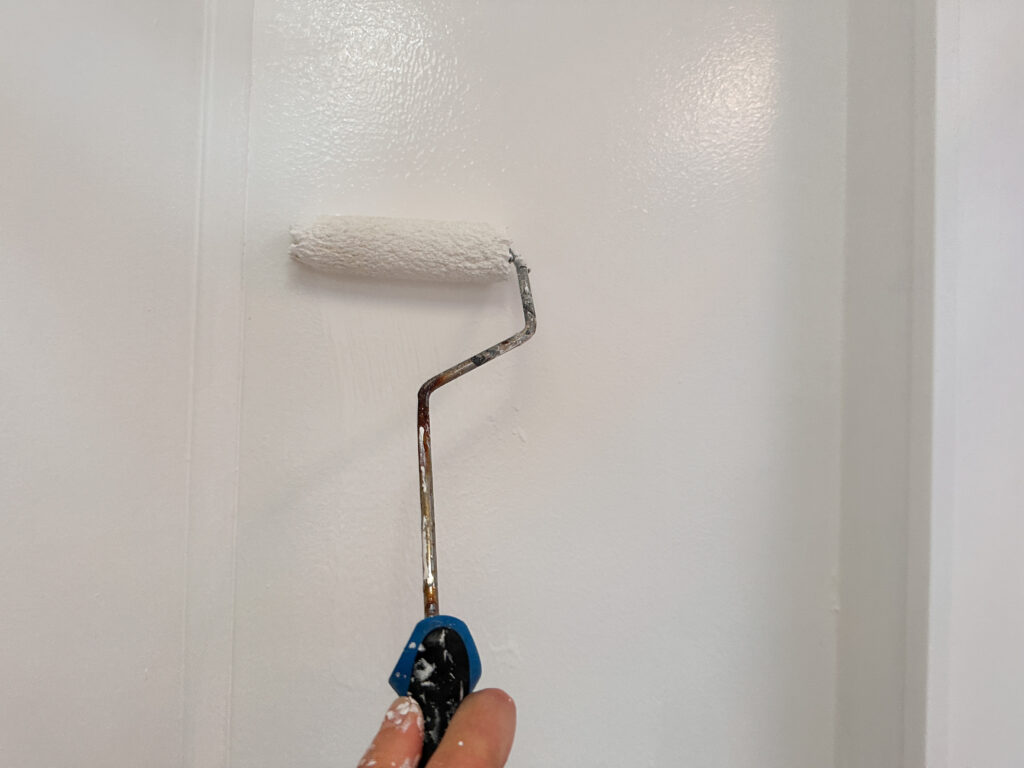
To create a clean, durable look in our camper, we opted for white eggshell paint for most of the main areas. This finish not only makes the walls easy to clean but also ensures long-lasting durability, perfect for the wear and tear of RV life.
For added contrast and a touch of style, we chose charcoal gray as our accent color, painting the dinette and select accent walls. This combination of neutral tones with a bold accent color adds depth and visual interest to the space, breaking up the white without overwhelming the design. I’m so happy with how the walls turned out!
Painting the Camper Cabinets
When painting our camper’s cabinets, we used a combination of techniques to achieve a professional-looking finish.
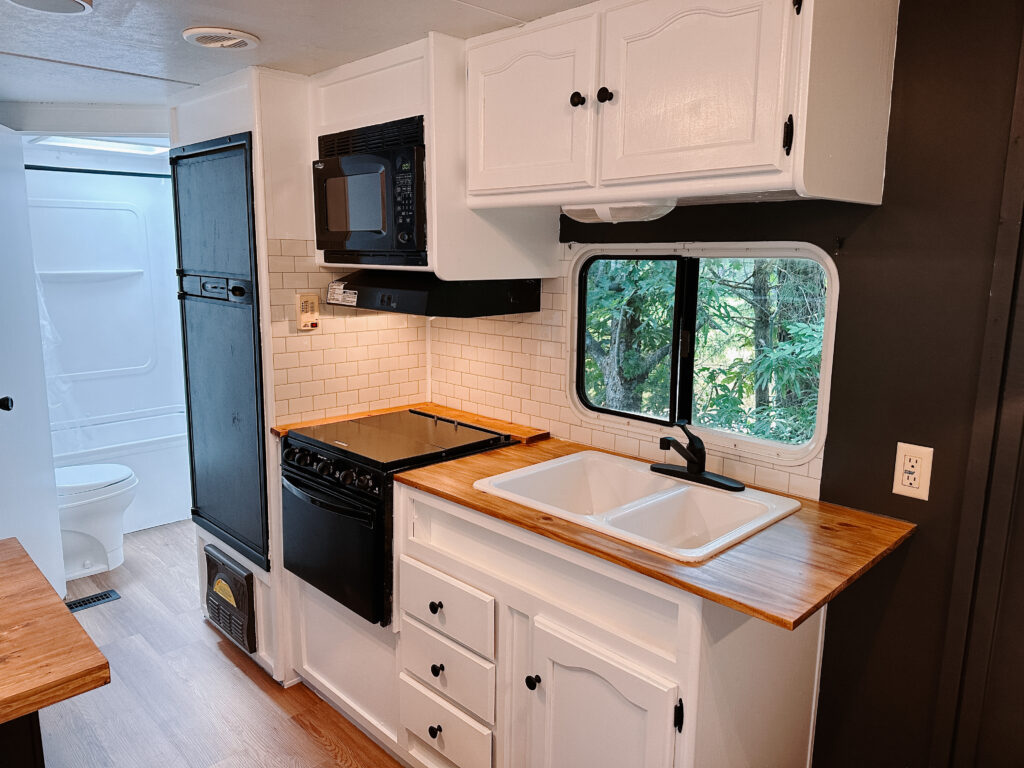
For the built-in parts of the cabinets, we painted with a brush, ensuring we got into all the nooks and crannies. I ended up painting 2 coats on each surface.
For the cabinet faces, we turned to a paint sprayer, which provided a smooth, even coat and a higher-quality finish. The paint sprayer helped achieve a flawless, factory-like look.
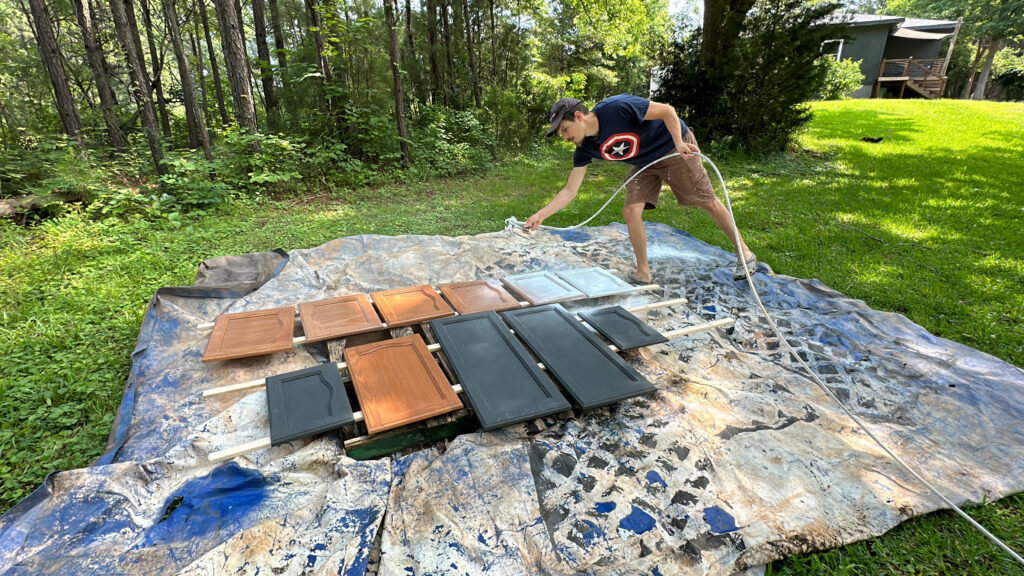
This combination of methods not only saved time, but also gave our camper cabinets a much needed update that’s both durable and visually appealing.
Check out our Must Have RV Essentials!
After living in an RV full time for 3 years, we’ve learned a thing or two about what you need and what you don’t. We’ve compiled a list of Must Haves for RV life, RV Organization Essentials, and more!
Kitchen Counters
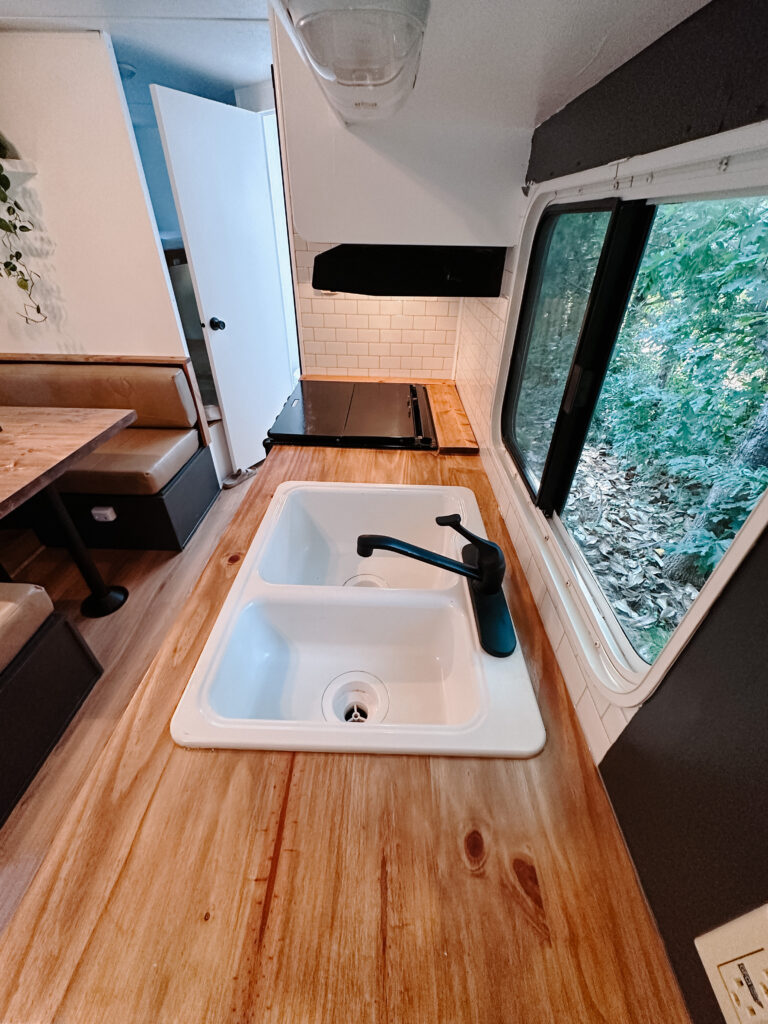
To create custom camper countertops on a budget, we used an edge-glued board from Lowe’s, which provided a solid, affordable option on our DIY budget.
After cutting the board to fit our camper’s layout, we carefully sanded it using several different grits, starting with a coarse grit and gradually moving to finer ones to achieve a super-smooth surface.
Once the wood was perfectly smooth, we stained it to bring out its natural grain, adding a rich, warm tone that would complement the rest of our camper’s design.
Finally, we sealed the countertop with a durable, water-resistant finish to protect it from wear and tear while ensuring it remained easy to clean.
This simple, cost-effective approach not only transformed our camper’s kitchen area but also gave us a beautiful, custom look without breaking the bank.
Tile Backsplash

For this camper, we decided on a stick-on tile backsplash. Mostly because it’s cost-effective, and way easier to install than traditional tile. Unlike traditional real tile, stick-on tiles are lightweight, easy to apply, and require no grout or mortar, making them perfect for small spaces like RV kitchens. They adhere directly to the wall with peel-and-stick backing, which means you don’t need professional installation or the mess of grout lines.
Alternatively, we’ve also installed a real tile backsplash in our personal RV. Of course I personally think it looks much better, but it also takes a lot more time, adds more weight to your camper, and requires a lot of tools and precision.
If you’re interested in potentially installing a real tile backsplash in your camper or RV, click the link below to read the blog post I wrote explaining all of the steps:
Flooring
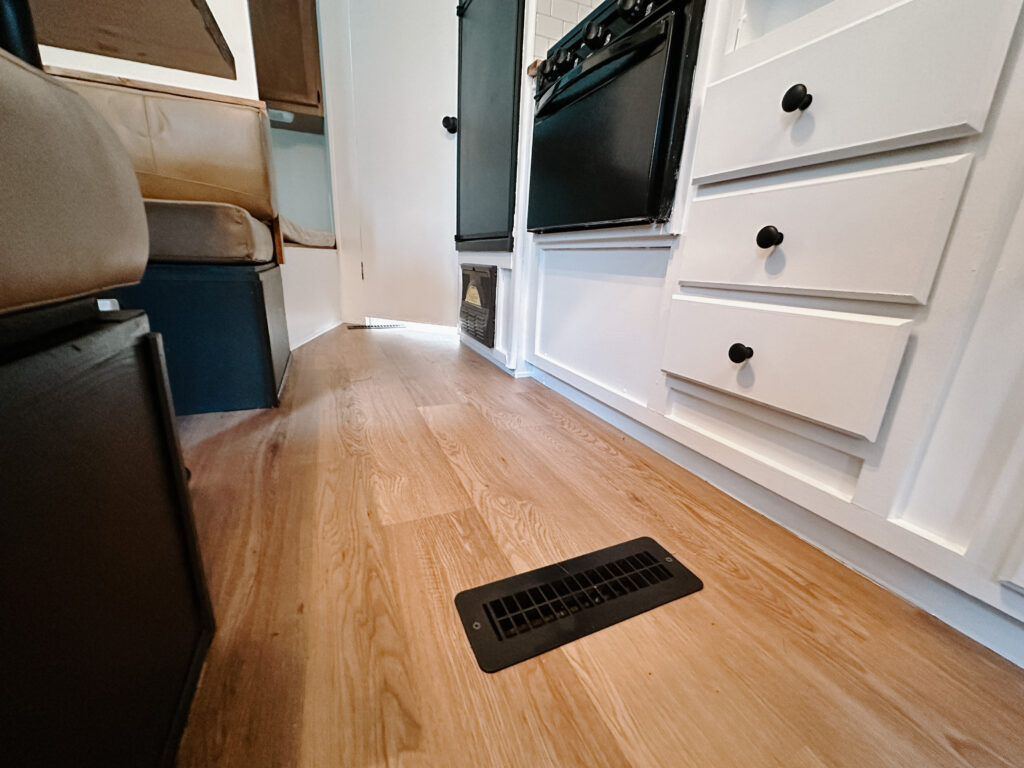
When renovating the flooring in our camper, we wanted a solution that was durable, flexible, and affordable—no small task, right? After searching for the perfect option, we found luxury vinyl plank flooring at Floor & Decor that checked all the boxes. This high-quality, cost-effective flooring not only offered the durability we needed to withstand the wear and tear of full-time RV life, but it was also flexible enough to handle the movement and vibrations while we’re on the road. Best of all, it was on sale, making it an even better deal for our budget-friendly remodel. The luxury vinyl planks were easy to install, water-resistant, and low-maintenance, giving our camper a sleek, modern look while ensuring the flooring would last for years to come—whether parked or driving down the highway.
Here’s a link to the flooring we used:
Start by measuring your RV’s floor and cutting the vinyl planks to fit, leaving a small gap along the edges for expansion.
Clean and prepare the surface, ensuring it’s free of dust and debris for optimal adhesion. Many luxury vinyl planks come with a click-lock installation system, making it easy to fit the planks together without the need for glue or nails.
Once installed, finish by adding baseboards or trim for a polished look. This durable, water-resistant flooring is perfect for RV living, offering both style and functionality.

Check out our Must Have RV Essentials!
After living in an RV full time for 3 years, we’ve learned a thing or two about what you need and what you don’t. We’ve compiled a list of Must Haves for RV life, RV Organization Essentials, and more!
Knobs + Drawer Pulls
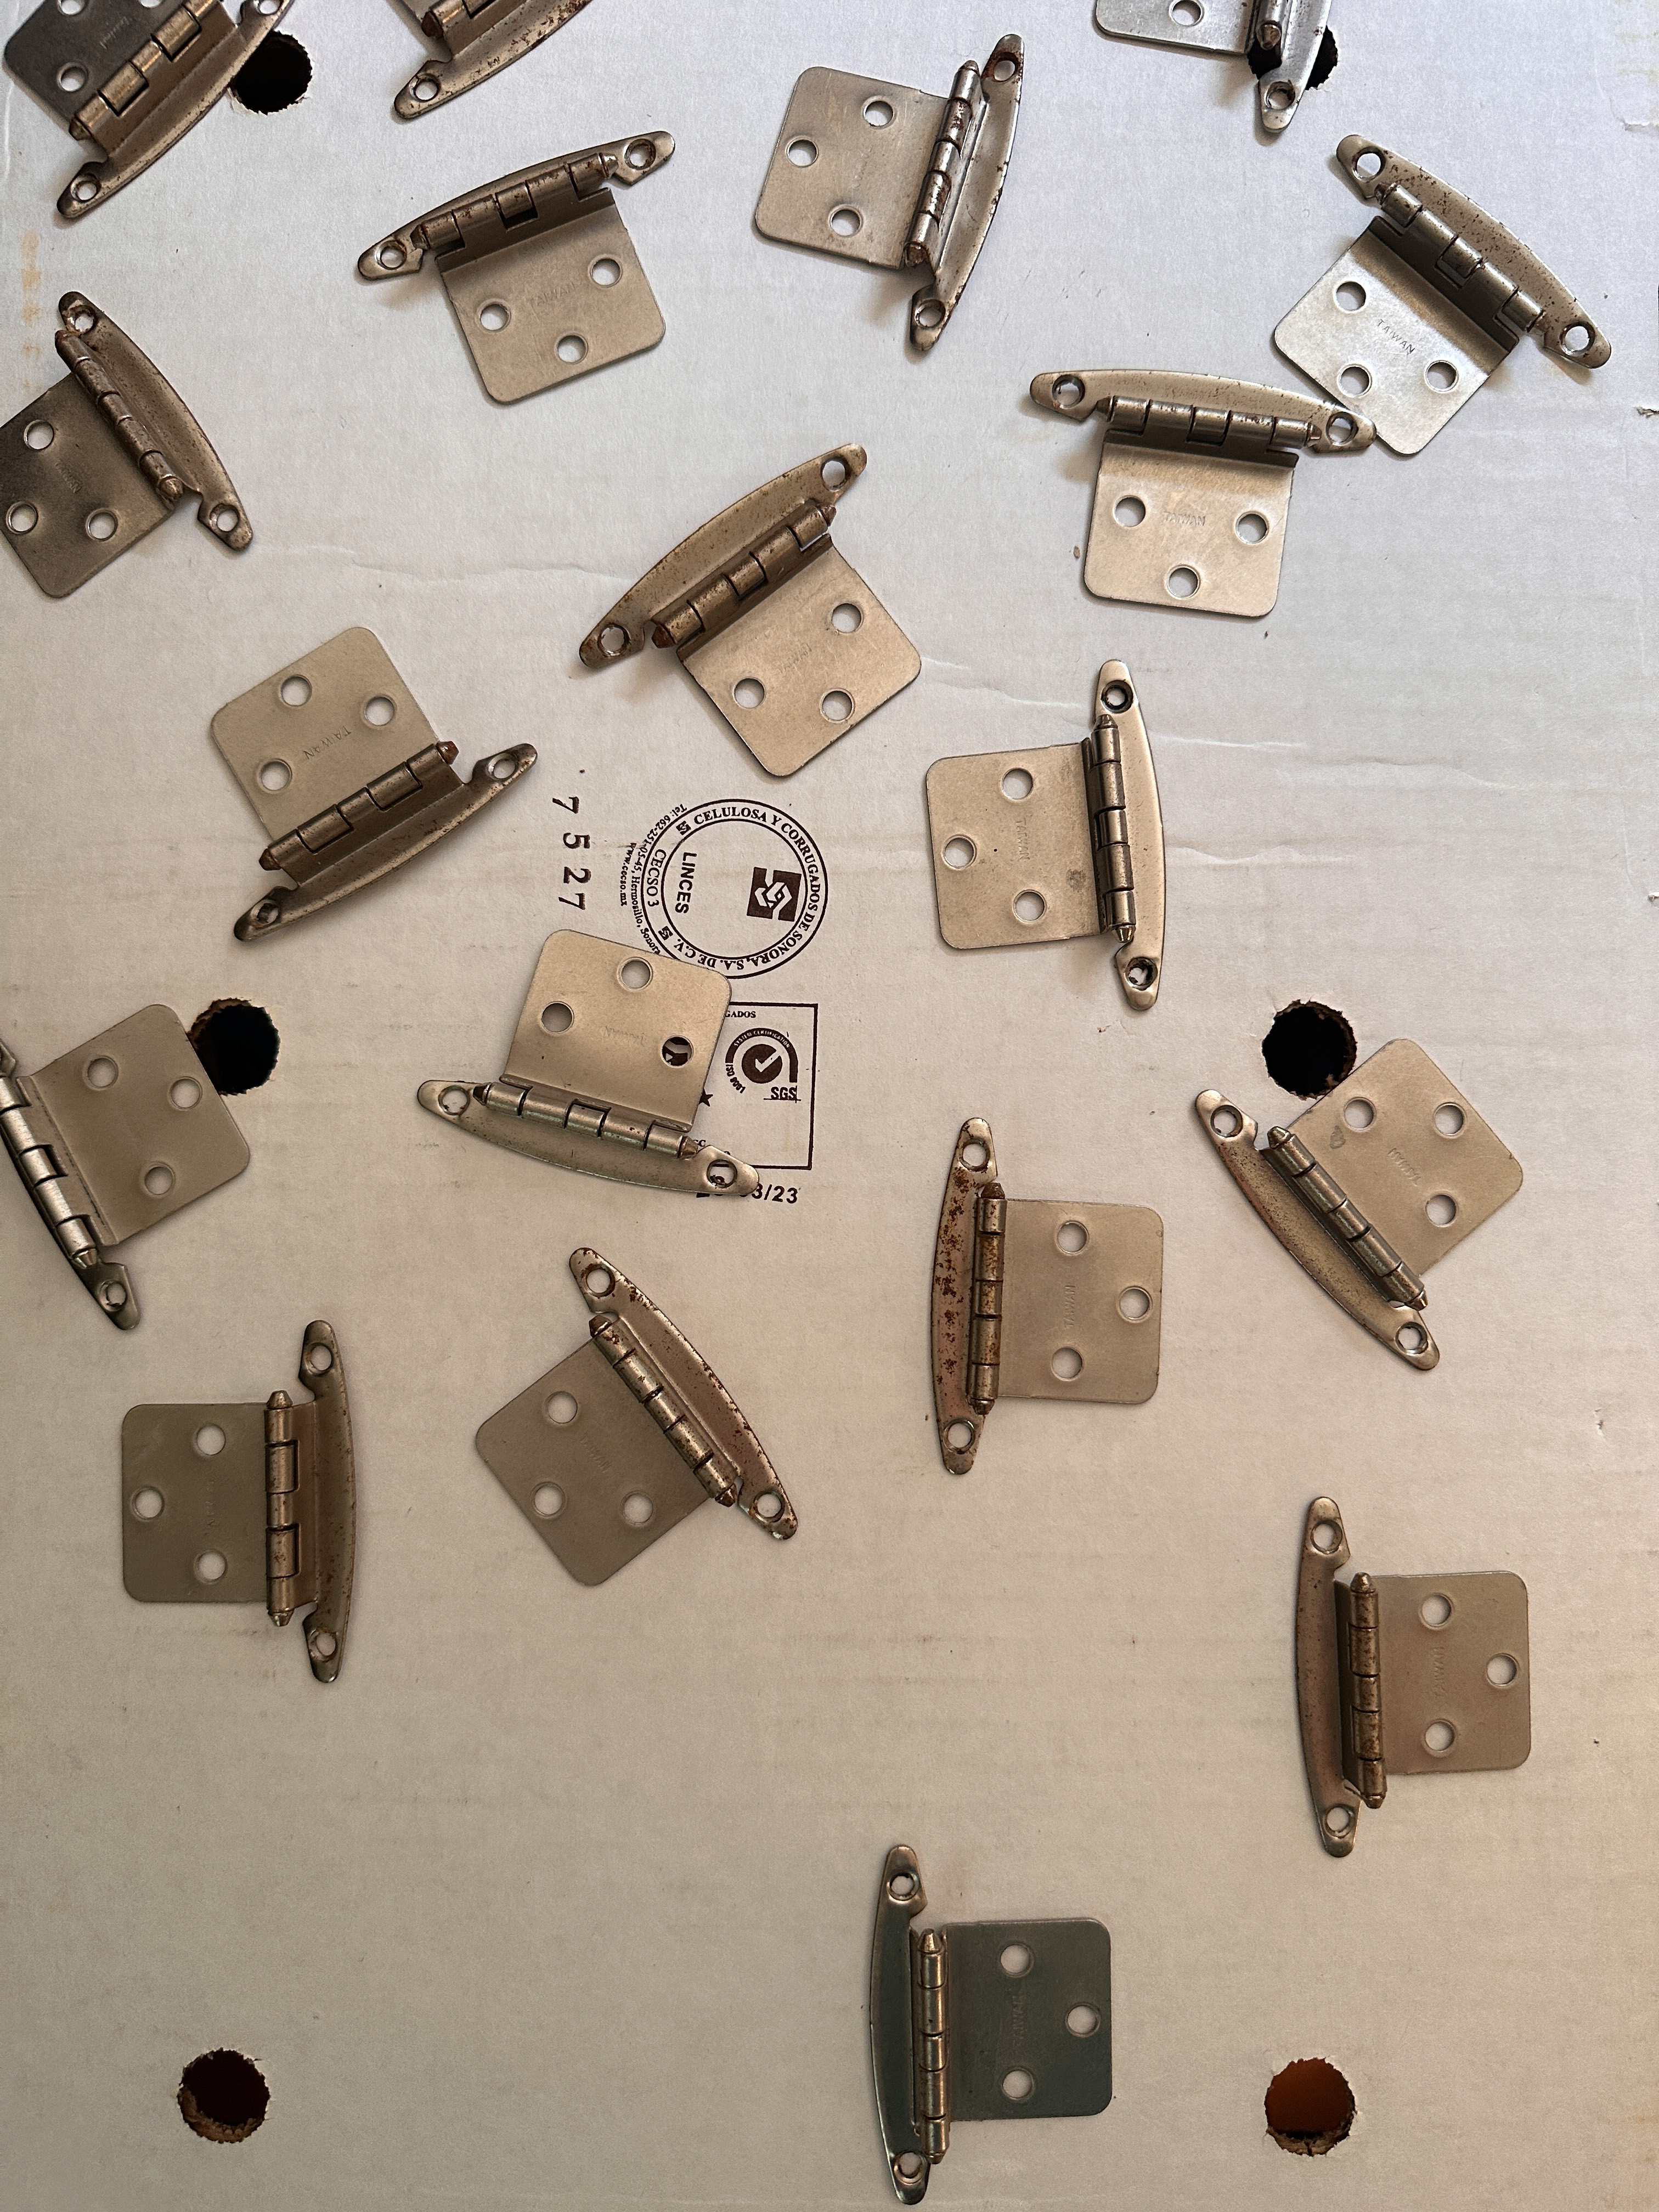
After updating and painting the cabinets, I knew that I didn’t want to leave the hardware as it was. Thankfully, we were able to re use the knobs and drawer pulls simply by spray painting them with a matte black spray paint!
I did two coats of spray paint, making sure to do a light, even coat both times. I used a piece of cardboard to put all of the screws in, so that I could paint the screw heads.
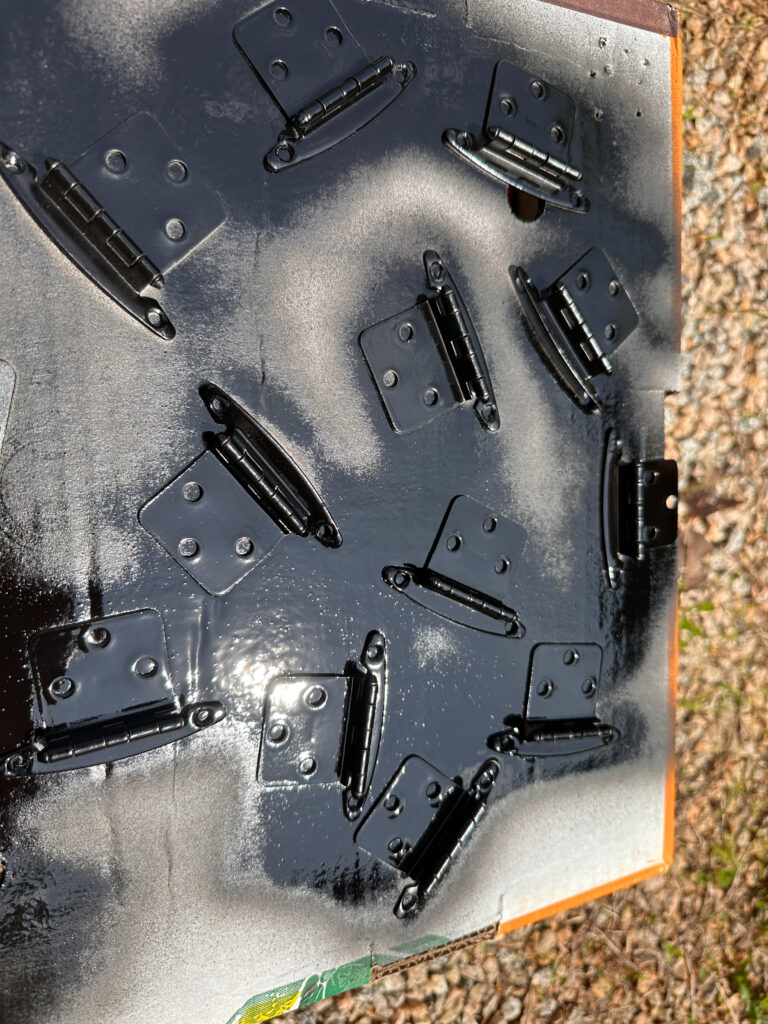
Here’s a link to that spray paint:
It’s held up pretty well! The paint has rubbed off some on the pulls that we use often. But all we’ve had to do with those is remove them and put another coat on them. Or if it’s a small patch that needs to be repaired, we just use a sharpie to fix it!
Accent wall in the Couch Area
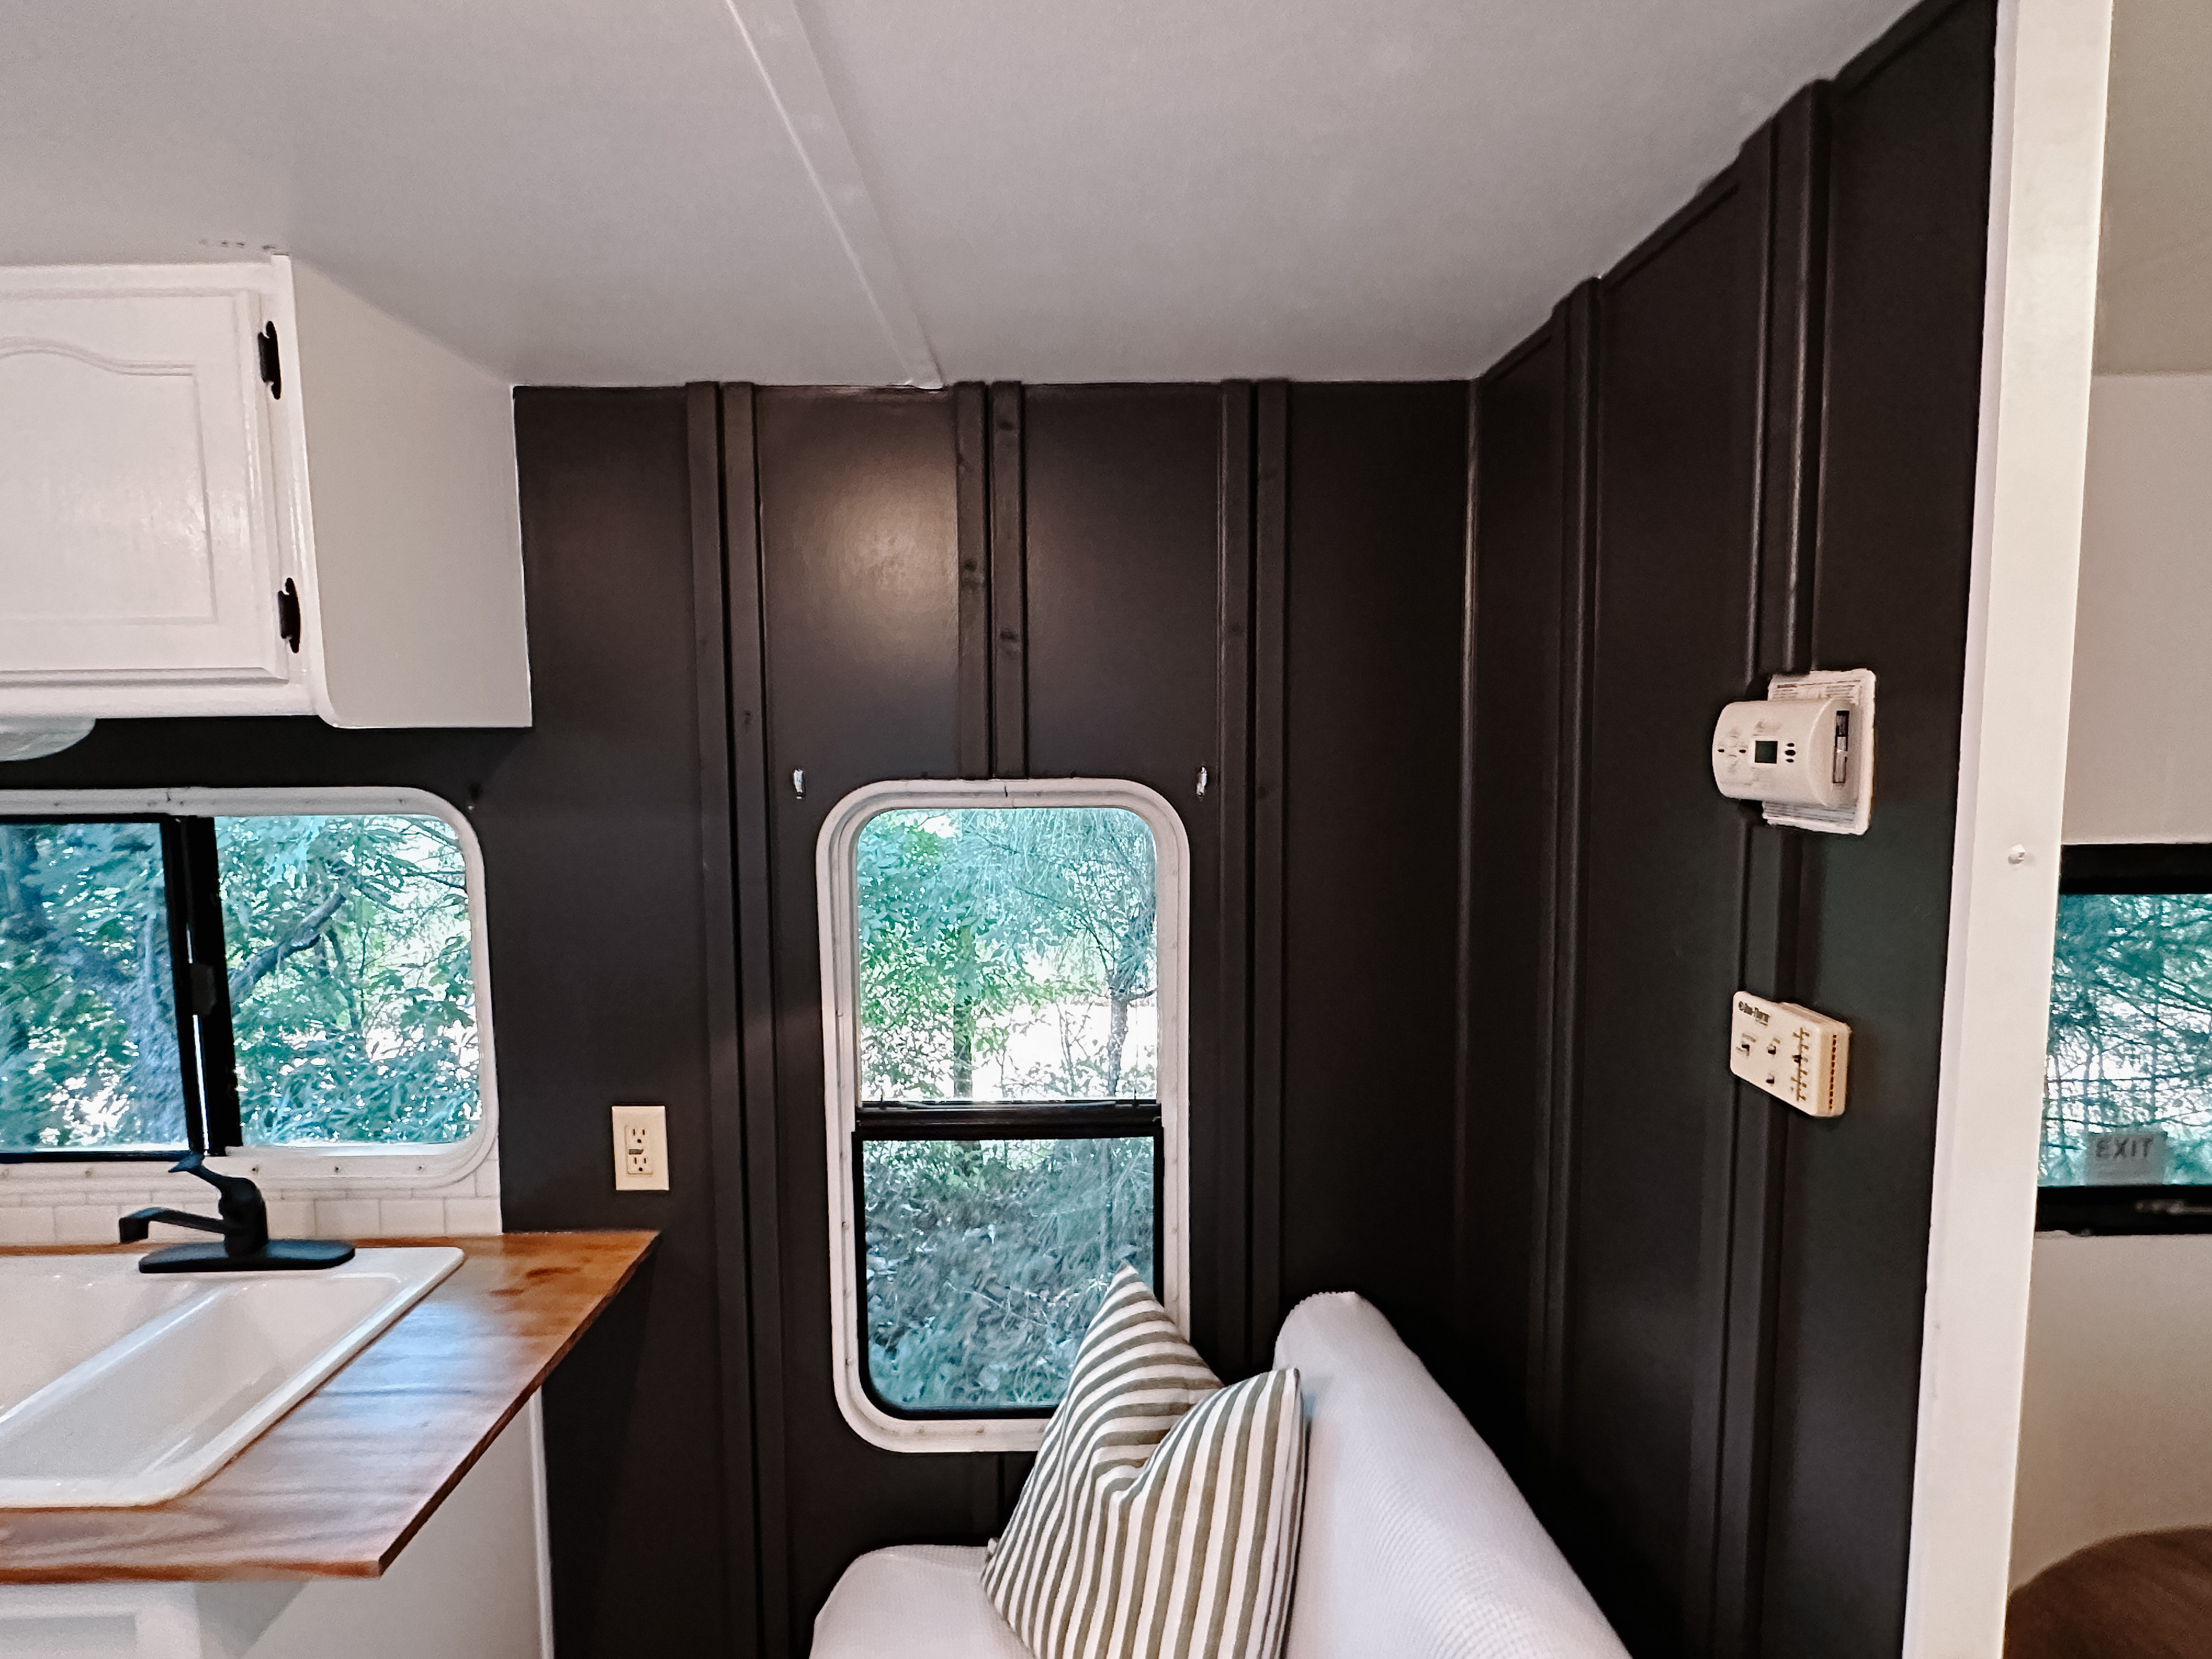
To create a fun accent wall in our camper, we used furring strips, a super budget-friendly, cheap material.
We spaced the strips about 1 foot apart, using 2 furring strips per section.
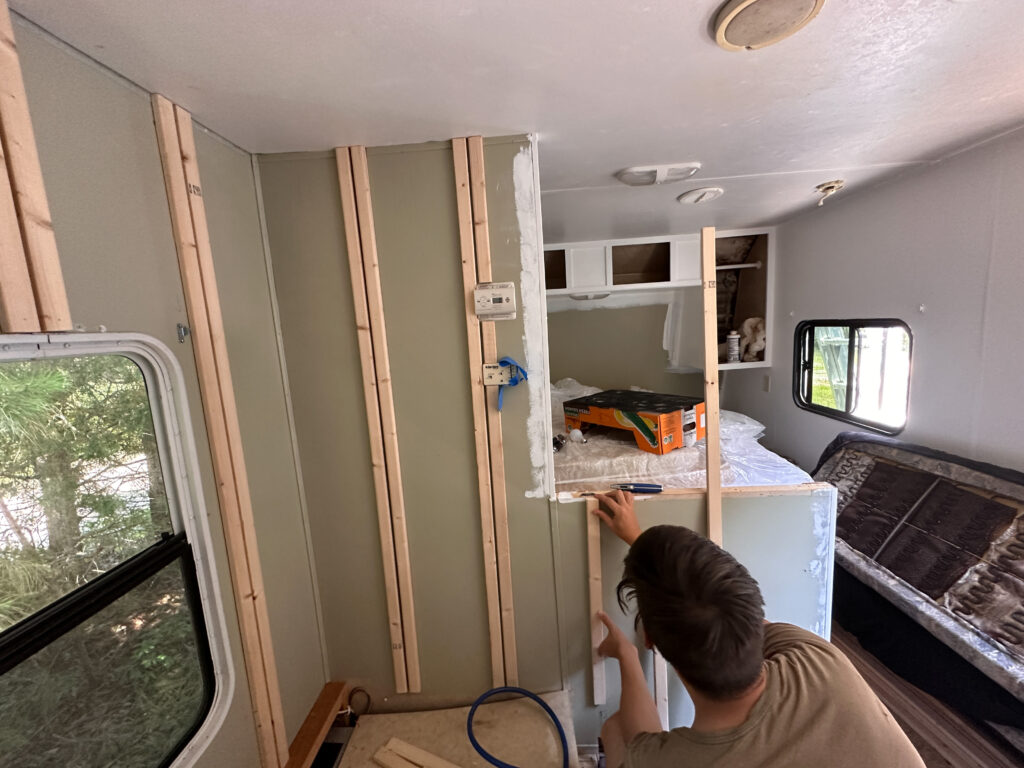
To secure them to the wall, we applied liquid nail adhesive to the back of each furring strip to ensure a strong bond to the wall.
Then, using a trim nailer, we secured each strip in place.
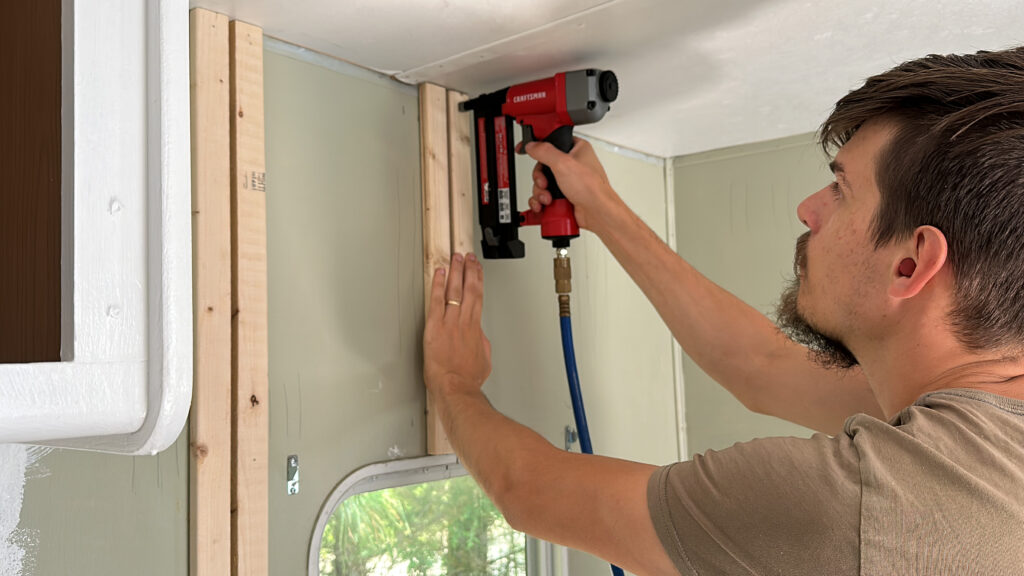
Once all the strips were up, we painted both the furring strips and the wall using the charcoal gray color. This easy-to-install, budget-friendly method added a touch of modern charm to our RV, transforming a plain wall into a standout feature of the space.
If you want to read more about our RV Renovation, click any of the links to my other blog posts below!
How We Renovated Our RV Kitchen on a Budget
5 Things I Wish I Knew Before Living in an RV
Thanks so much for reading!
Megan
Pin this post to save it for later:

7