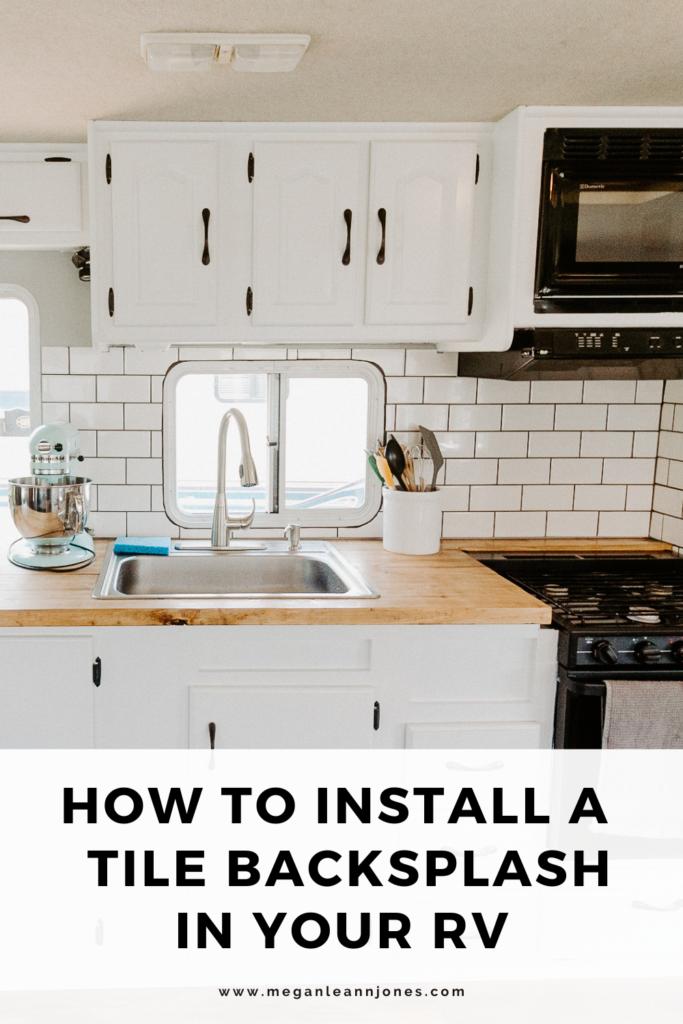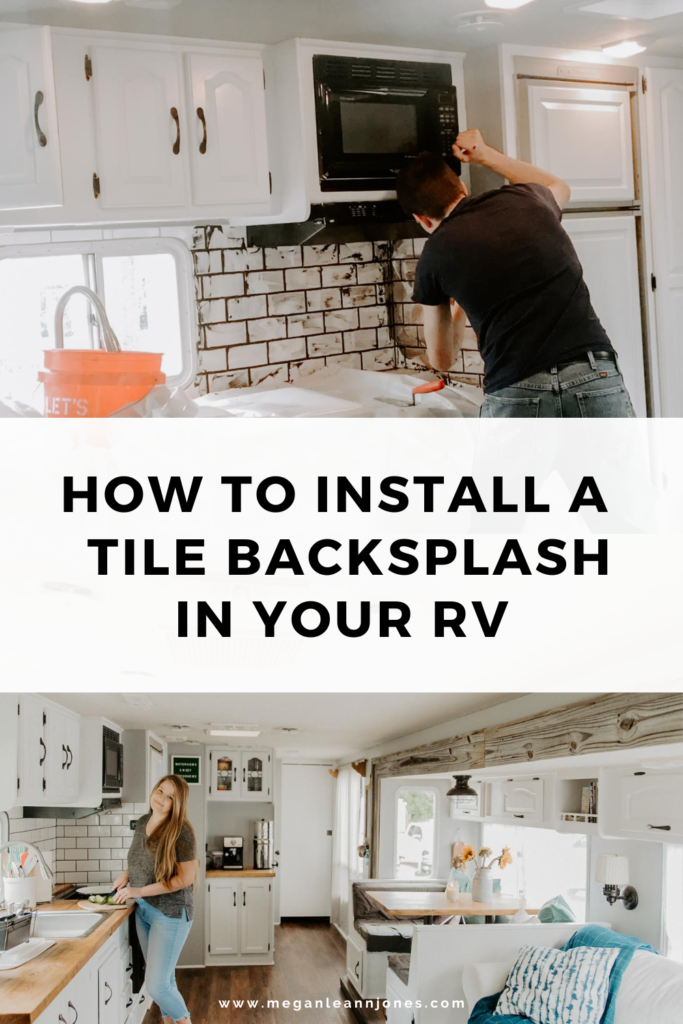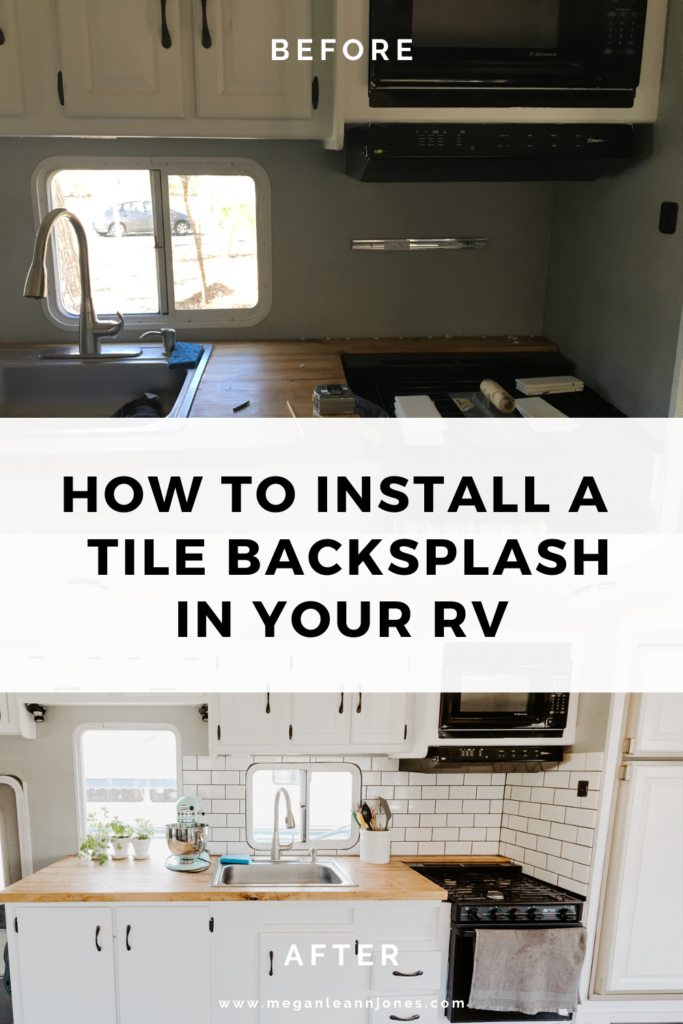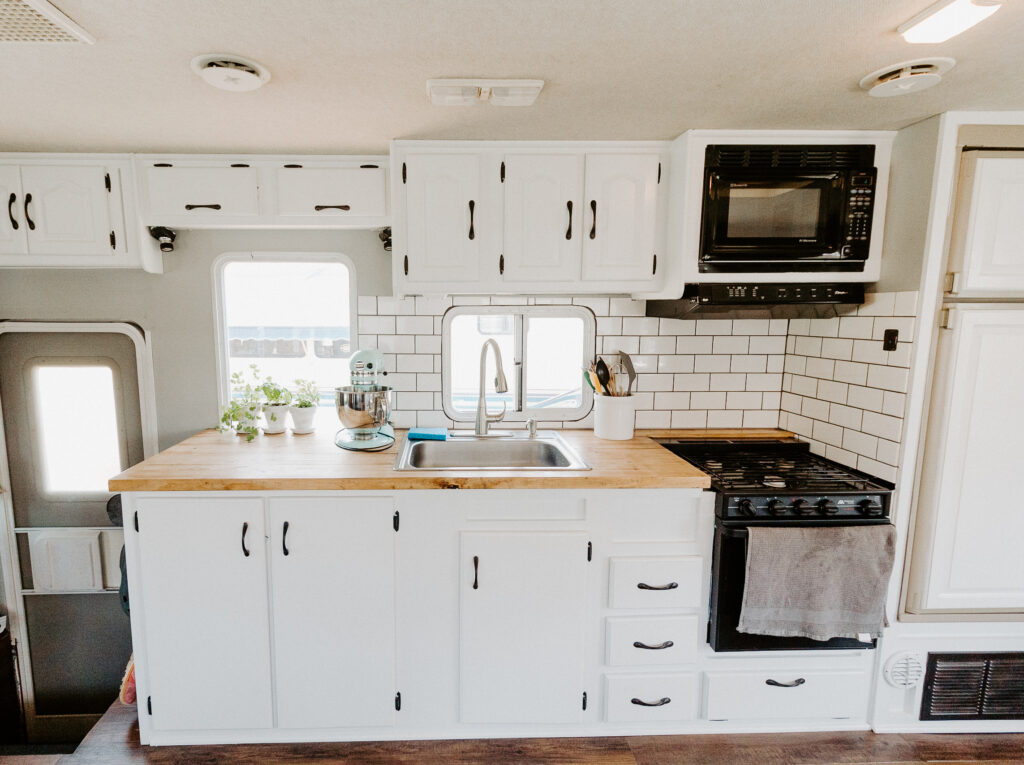
We love our newly renovated RV Kitchen, it has lots of counter space and an even an oversized sink! We decided it just needed something to make it pop. Looked into some options and finally landed on a real tile backsplash! You could also use peel and stick tile, but we felt like real tile would look so much better (spoiler – it does!). In this post we’ll go over the whole process of installing a real tile backsplash step by step, including hesitations and concerns we had and how we resolved them, the materials we used, and some helpful links so that you can get started on your own project!
Concerns and Hesitations of Installing a Real Tile Backsplash
Will the tiles fall off or crack when we’re driving?
The first concern we had (and one that I’m sure you have too!) was that the tiles might crack or fall off as we were driving. But after 3 years and many many miles, we have had no issues with durability whatsoever! And that is definitely thanks to the materials we used, because we drove down some sketchy, bumpy roads and never had any issues with anything cracking or breaking.
Were you concerned about how heavy real tile is?
Weight is definitely a consideration if you’re looking to install real tile instead of peel and stick. This totally varies between different RV’s. In our case, we were doing just fine weight wise, so we knew it would be totally fine to use real tile. I would recommend looking into it if you’re concerned.

How to Install a Real Tile Backsplash
You’ll need:
- Tile of choice
- Mastic Adhesive – https://amzn.to/3isF1U8
- Grooved Trowel –https://amzn.to/2NZ1OIR
- Tile Spacers
- A Wet Tile Saw
- Unsanded Grout in the color of your choice – https://amzn.to/2YTAQsC
1. Selecting your Tile.
The first step is selecting a tile that you like, we went with a white subway tile that we really loved. Subway tiles are great as they are affordable and also made of porcelain, so they are durable and have a smooth glazed finish that makes them easy to clean. We measured the length and height to get the necessary square footage. Fortunately we had access to a tile saw which makes cutting the tiles a breeze, you can also rent one for a day at Home Depot.
2. The Magic ingredient – Mastic!
One of the main reasons our tile never cracked, broke, or fell off was because we used mastic to install the tiles instead of traditional mortar. Mastic is much more flexible than mortar, meaning that the tiles could shift and move with the RV.
If you’re planning to live in your RV, make sure to check out our Amazon storefront for a comprehensive list of all the products you’ll need! We do earn a small commission if you decide to purchase anything, at no extra cost to you. Thank you for your support!
https://amzn.to/3XWQ0ZK
3. Installing your Tile Backsplash.
Starting with the bottom row we started installing tiles using a tile mastic adhesive and grooved trowel.
As you are installing each tile you will want to use tile spacers to ensure all tile are evenly laid. Spacers come in sizes between 1/16”- ½” and typically you would use smaller spacers for smaller tiles. We went with ⅛” spacers and were happy with the results.
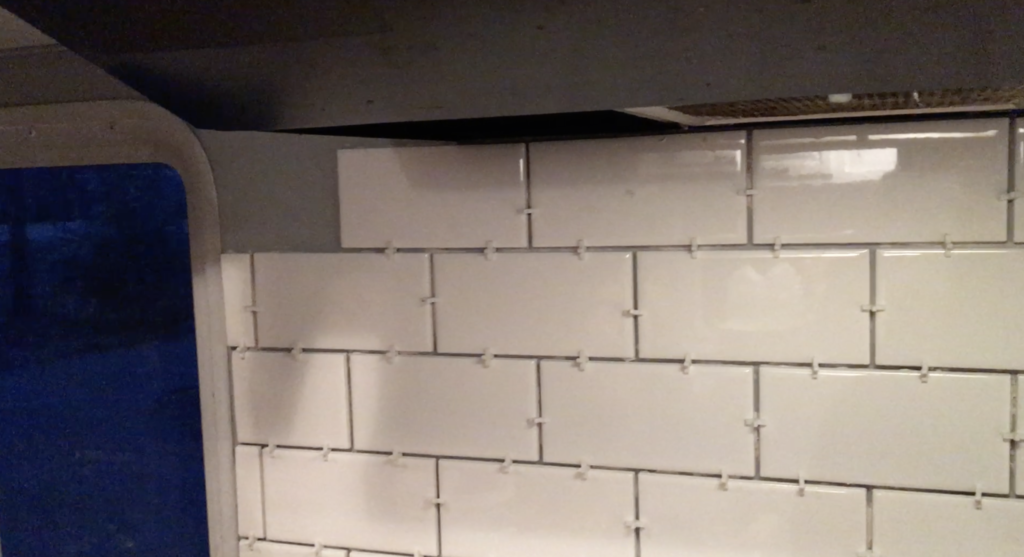
Continue applying tiles until you have covered the desired area, taking time to cut around windows and plugs, a more precise cut will look more finished. Allow the adhesive to dry according to the directions on the label typically 24 hours, and then you can move on to the next step: Grout.
There are a few considerations when selecting grout, the first would be color. At the store you should find a color card that has all the available colors, you can take this to the tile area and put the card on the tile to get a color combo that you like. We chose a dark gray shade to help the white tiles pop.
The next thing to consider is whether to get sanded or unsanded grout. Sanded grout simply has sand added to it and is cheaper, it is meant to fill spaces larger than ⅛”. Unsanded grout is much finer and is meant for use on spaces ⅛’ and smaller. For our spacing, the unsanded grout was the best option and less likely to crack, so that is what we used.
Mix the Grout following the directions on the bag. I like to use a couple pounds at a time to prevent it from setting up before I have finished. You want it to be the consistency of cake batter or peanut butter, smooth and spreadable, but not dripping.
Using a grout float, spread the grout into all the spaces, pressing firmly to push grout into the space. Be generous and work quickly, after a few minutes go back and clean up the excess grout with the float. You may have to go back and forth applying and cleaning so that the grout doesn’t get too dry.
After 10-15 mins, take a sponge and a bucket of water to wipe the tiles clean and smooth out the grout. You may have to gently scrub the grout lines until they are even. Do this several times over the next 30 mins until the tiles are clean, once the grout has dried, there may be a film of grout of the tiles, a wet paper towel can be used for this final cleaning.


And there you have it, a beautiful Kitchen Backsplash! I hope this has been a helpful guide to installing a tile backsplash, leave a comment below if you have any questions and I’ll be happy to answer.
Thanks for reading!
Megan
Pin this post to save it for later:
