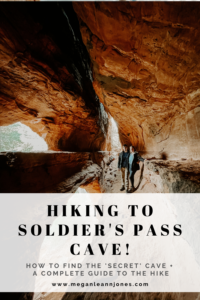
Soldier’s Pass Cave is one of Sedona, Arizona’s most captivating and scenic hiking trails, offering an incredible blend of natural beauty and adventure. This 4.5-mile trail is packed with unique features, including stunning red rock formations, the famous Devil’s Kitchen sinkhole, and the tranquil Seven Sacred Pools. What truly sets this hike apart, though, is the hidden Soldier’s Pass Cave—a must-see destination that feels like discovering a secret treasure in the heart of the desert.
Instead of hiking all the way to the main viewpoint, we took a side trail that led us directly to this incredible cave, making the experience even more memorable. Scrambling up to the cave adds an adventurous twist, but the payoff is worth every step. With its dramatic openings and awe-inspiring views, Soldier’s Pass Cave is undoubtedly one of the most unique and rewarding things to do in Sedona.
Keep reading for detailed tips on how to find this “secret” cave, navigate the side trails, and make the most of your hike!
Hike Details
Distance: 3.1 miles
Difficulty: Moderate
Time Needed: 3 hours (or more if you’d like to take lots of photos)
Cost: FREE if you park in the main lot, a Red Rock Pass is required if you park elsewhere (read below for more details on this!)
Where to Stay on a Budget in Sedona
Click the name of the hotel to be redirected to the hotel on Expedia!
1. Sedona Village Lodge
- Cost: $85–$150 per night (depending on the season)
- Details: Located in the Village of Oak Creek, this lodge offers clean, simple rooms with great views of Bell Rock. It’s close to hiking trails and more affordable than staying in central Sedona.
- Tip: Book early for the best rates, and look for weekday discounts.
2. GreenTree Inn Sedona
- Cost: $120–$150 per night (varies by season).
- Details: Located near West Sedona, this hotel offers clean, comfortable rooms with free breakfast, Wi-Fi, and a pool. It’s a short drive to popular attractions like Tlaquepaque Arts & Shopping Village and Cathedral Rock.
3. Baby Quail Inn
- Cost: $100–$140 per night.
- Details: A quaint and cozy inn in a quieter area of Sedona. Rooms are simple but well-maintained, and the property includes a hot tub. It’s close to hiking trails and downtown Sedona.
Tips for Hiking in Sedona
#1 – Go Early.
I feel like this is such an obvious tip, but it’s true for any of the popular hikes in Sedona. The earlier you go, the less people. Another reason to go early is to get less sun exposure. Most hikes in Sedona are in the full sun, with very little shade.
#2 – Bring more water than you think you’ll need.
I don’t think I really need to expound on this one. You probably already know that Sedona is in the desert and it gets very dry and hot (even in Winter/Early Spring!). Please make sure to stay hydrated and bring more water than you think you’ll need!
#3- Bring lunch if you can.
On most of the hikes we did in Sedona, we spent more time exploring than we thought we would. I always tried to bring lunch or at least a good snack with us so we don’t get hangry!
#4 – Take a photo of the trail map on each hike you go on.
It’s very very easy to go off the trail in Sedona. Tourists have started to make their own well worn side trails, please do your best to stay on the marked trail!
#5 – Leave no trace!!
As Sedona becomes more and more popular, it seems tourists think leaving trash and graffitiing the red rocks is okay. Please don’t be this person. Please hike responsibly, stay on trails as much as you can, and pack out all of your trash! Let’s keep Sedona beautiful so that as many people as possible can enjoy it’s beauty!
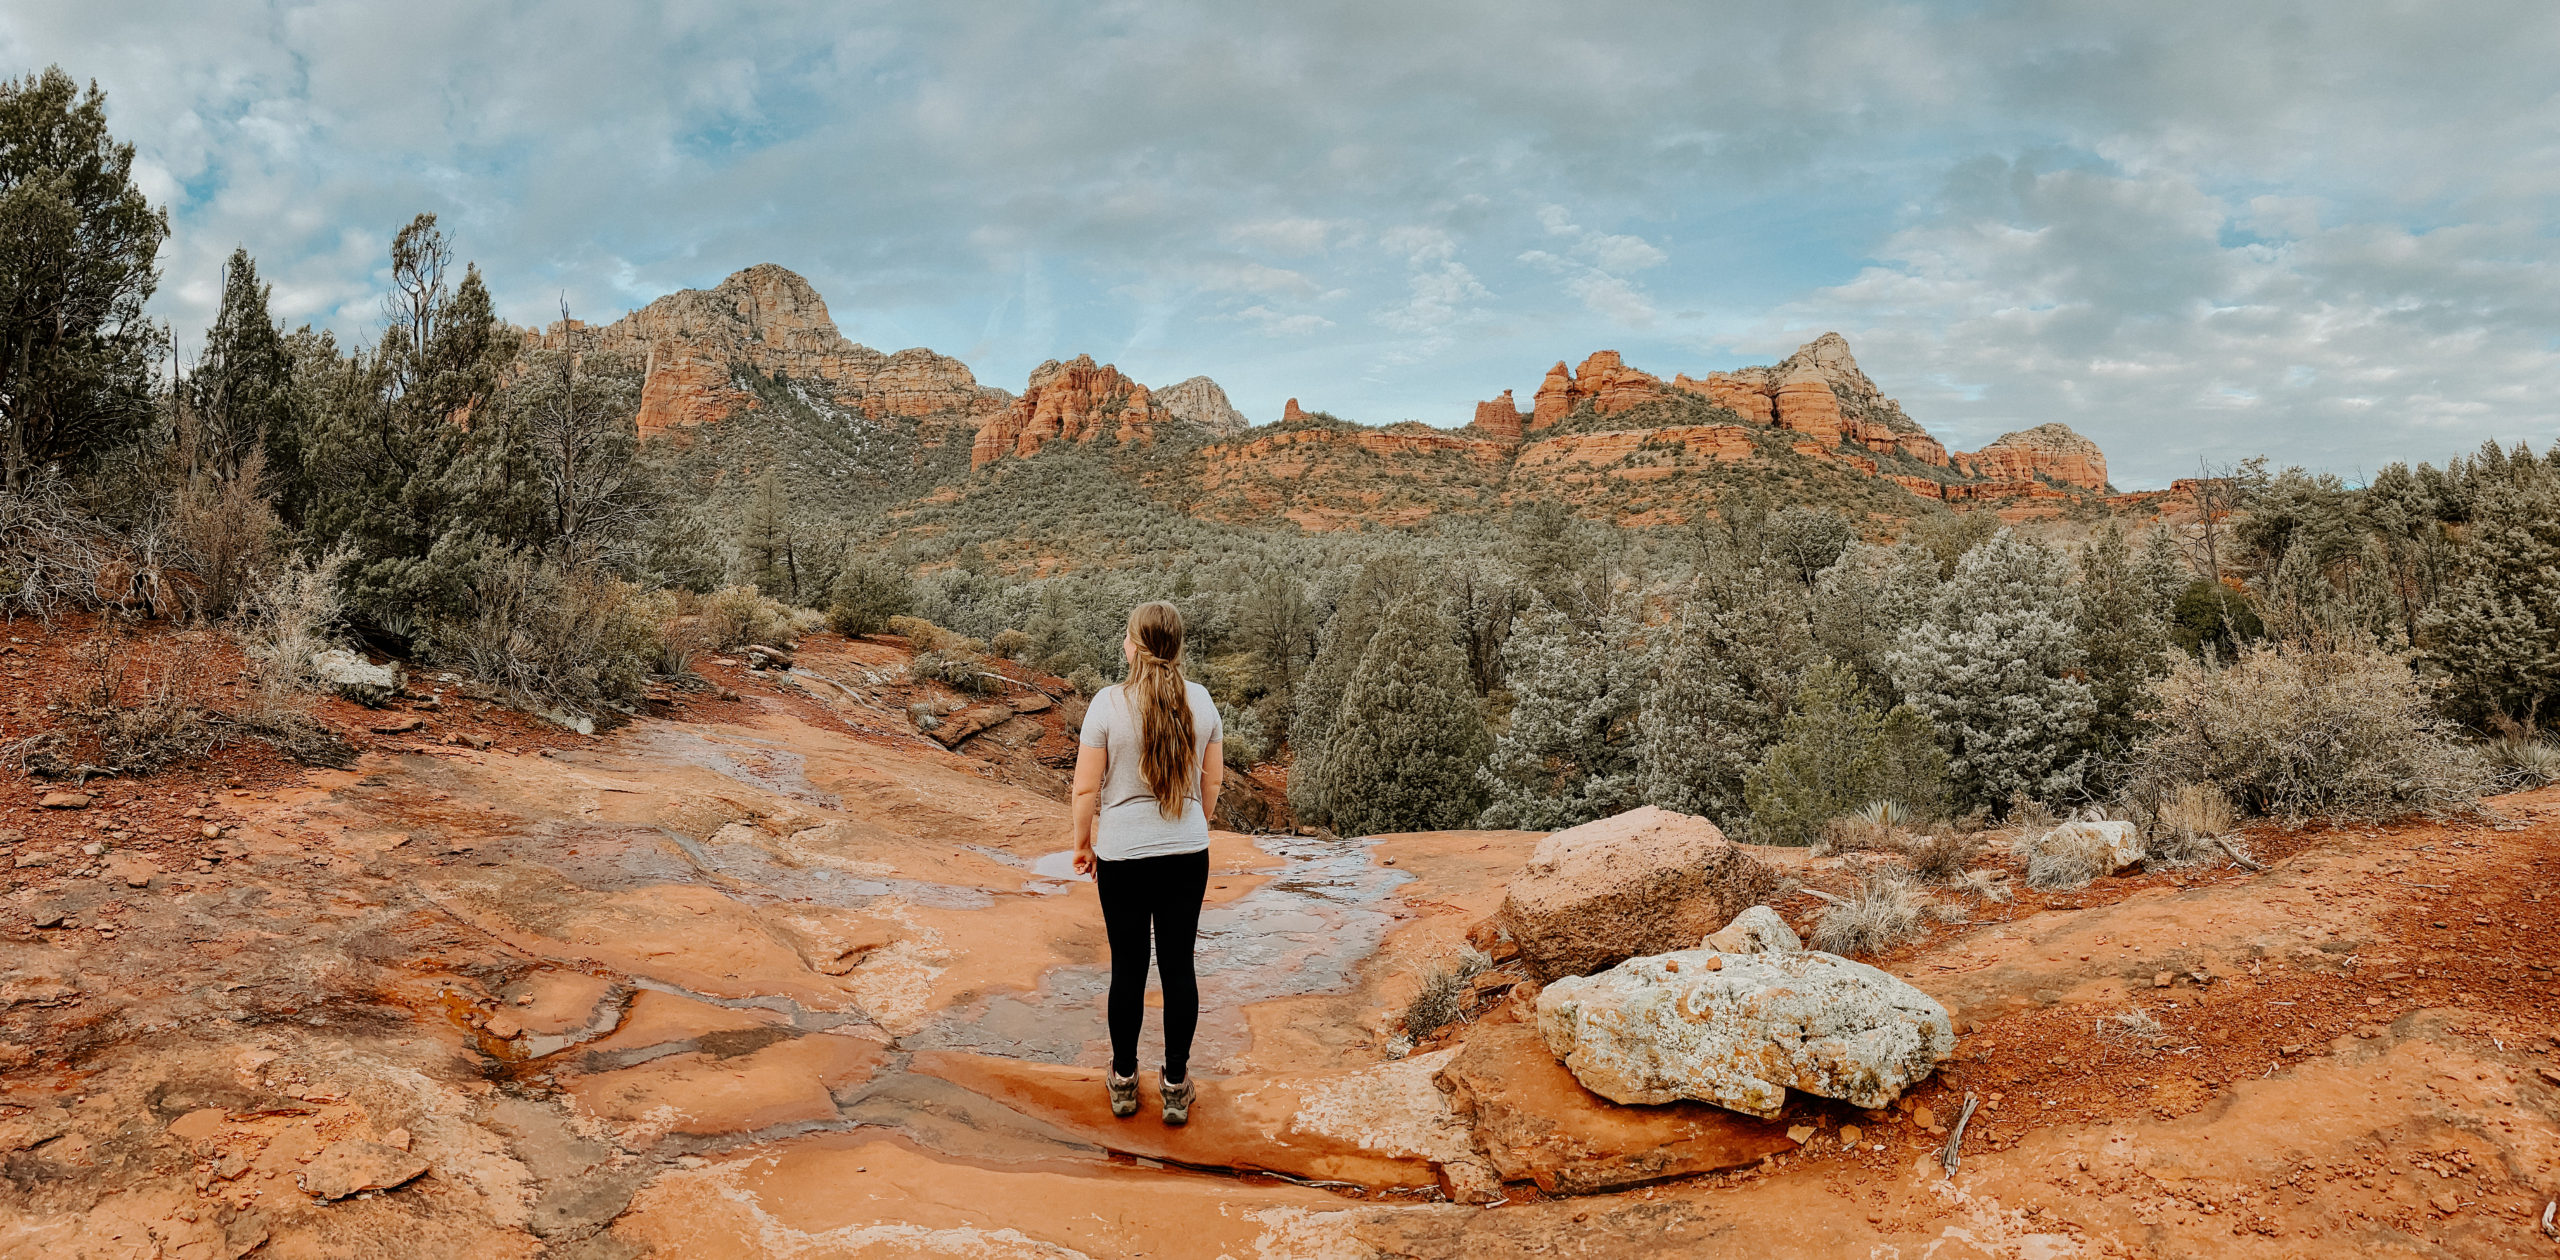
Travel Smarter with My Must Have Essentials!
Planning your next adventure? Check out our curated Amazon Storefront filled with budget-friendly travel gear, RV must-haves, and family travel essentials. From packing hacks to on-the-road comforts, we’ve got everything you need to make your trip stress-free and unforgettable.
Hiking to Soldier’s Pass Cave in Sedona
Parking

First of all, we need to talk about parking. Possibly the smallest parking lot for a hike that I’ve ever seen, the main lot for this hike has a total of 14 spots. Yes you read that correctly. Fourteen spots. It is absolutely essential that you know the rules for parking before heading off on this hike!
If you want a shot at getting one of the coveted spots right up next to the trailhead, the lot is open from 8 AM – 6 PM. It is gated, and the gate automatically opens at 8 AM. We arrived at around 7:30 AM, and there were already a few cars in line. As it got closer to 8 AM, more and more cars started showing up. We went on this hike in the middle of the week in early February. I can only imagine how quickly those 14 spots would fill up on the weekend during peak season.
Whatever you do, DO NOT park on the road outside of the lot. This trail is located in the middle of a residential area, and you will be towed. Nothing sucks more than to come back from a long hike to find your car has been towed.
If you’re unable to get a spot right when they open the lot, I would suggest checking it again at around 10-11 AM. The first hikers of the day will most likely start returning around then, and you might be lucky enough to grab their spot!
If you can’t find a spot at that parking lot, head down W Park Ridge Road to the Jim Thompson Trailhead, where you’ll find a bigger (but still pretty small) parking lot that can hold around 75 cars. If you decide to park here, keep in mind that the hike from here will be longer, and you will need to pay to park. You will need to have a Red Rock Pass ($5 per day or $15 per week) in order to park here without getting fined. There are bathrooms at this trailhead and a machine to purchase your Red Rocks Pass if you don’t have one already.
Stop #1 – Devil’s Kitchen

Instead of hiking on the main hiking trail, take the Jeep Trail instead. It’s a little bit longer than taking the main trail, but the sinkhole is pretty impressive!
Stop #2 – Seven Sacred Pools
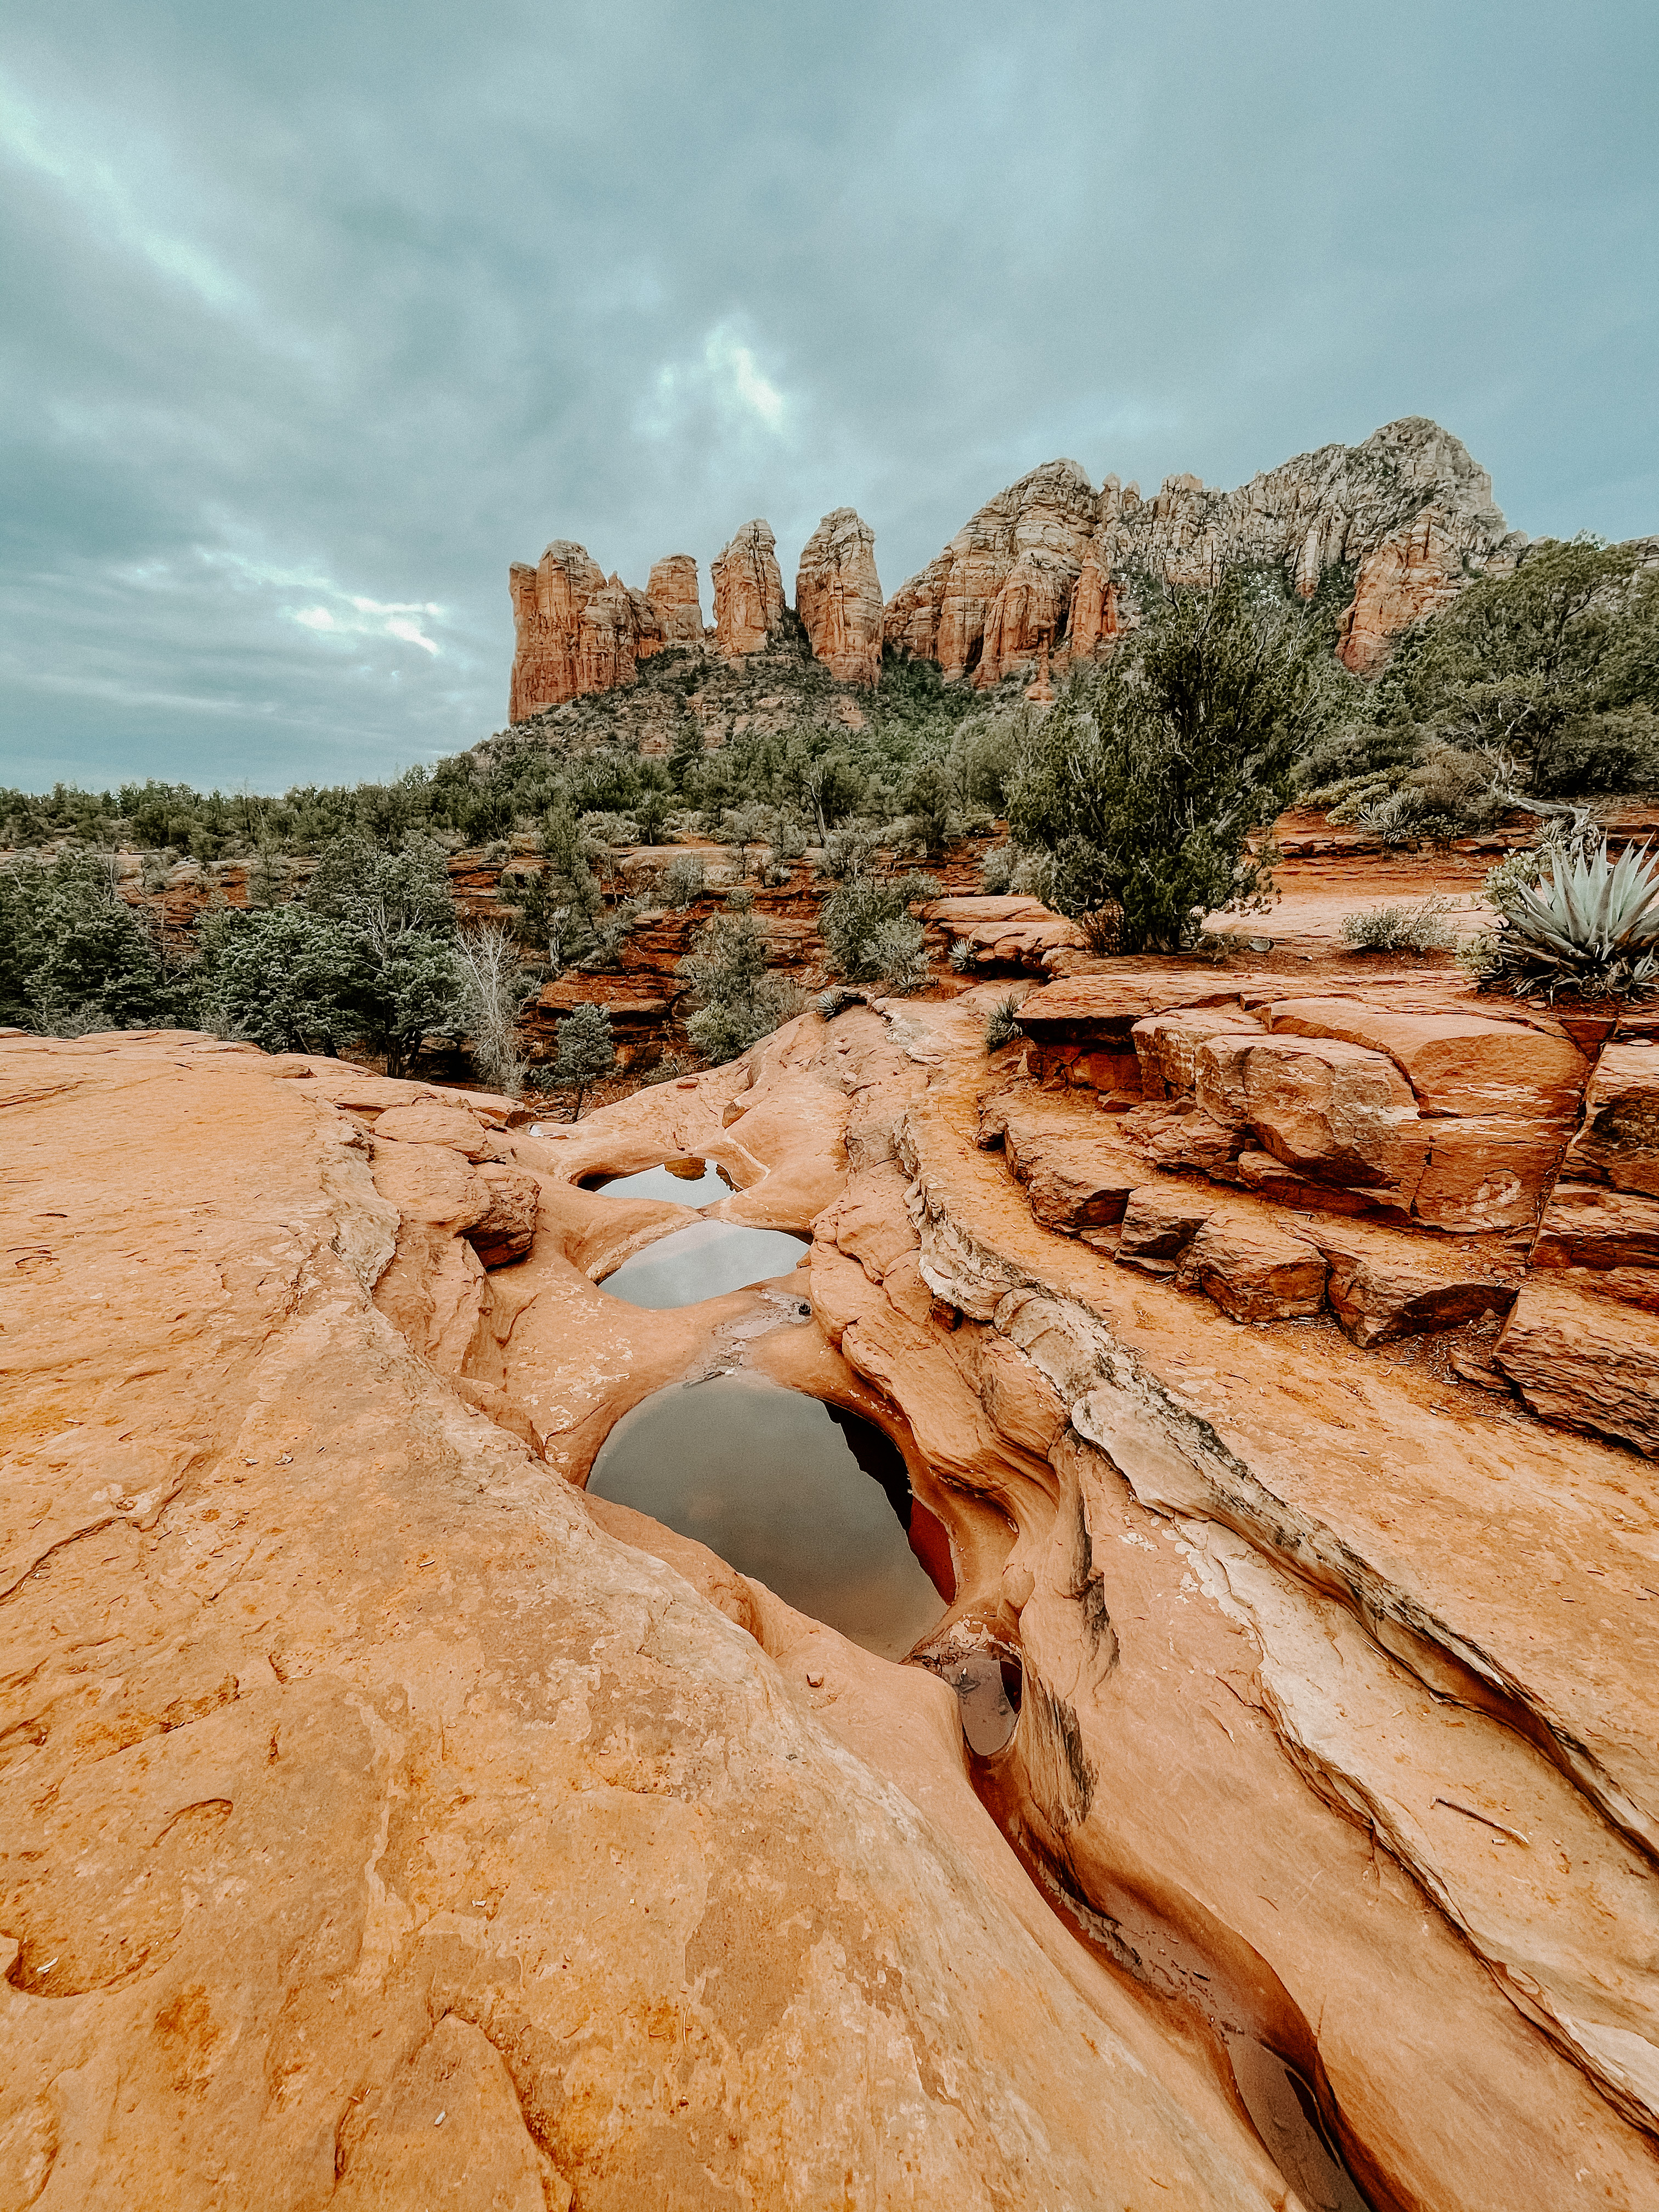
After about 1 mile of hiking, you’ll come across the seven sacred pools. Depending on the time of year you’re hiking, they may be empty or frozen over. When we went in February, they were full of water and made for a beautiful photo!
Turning off the main trail to get to the Cave
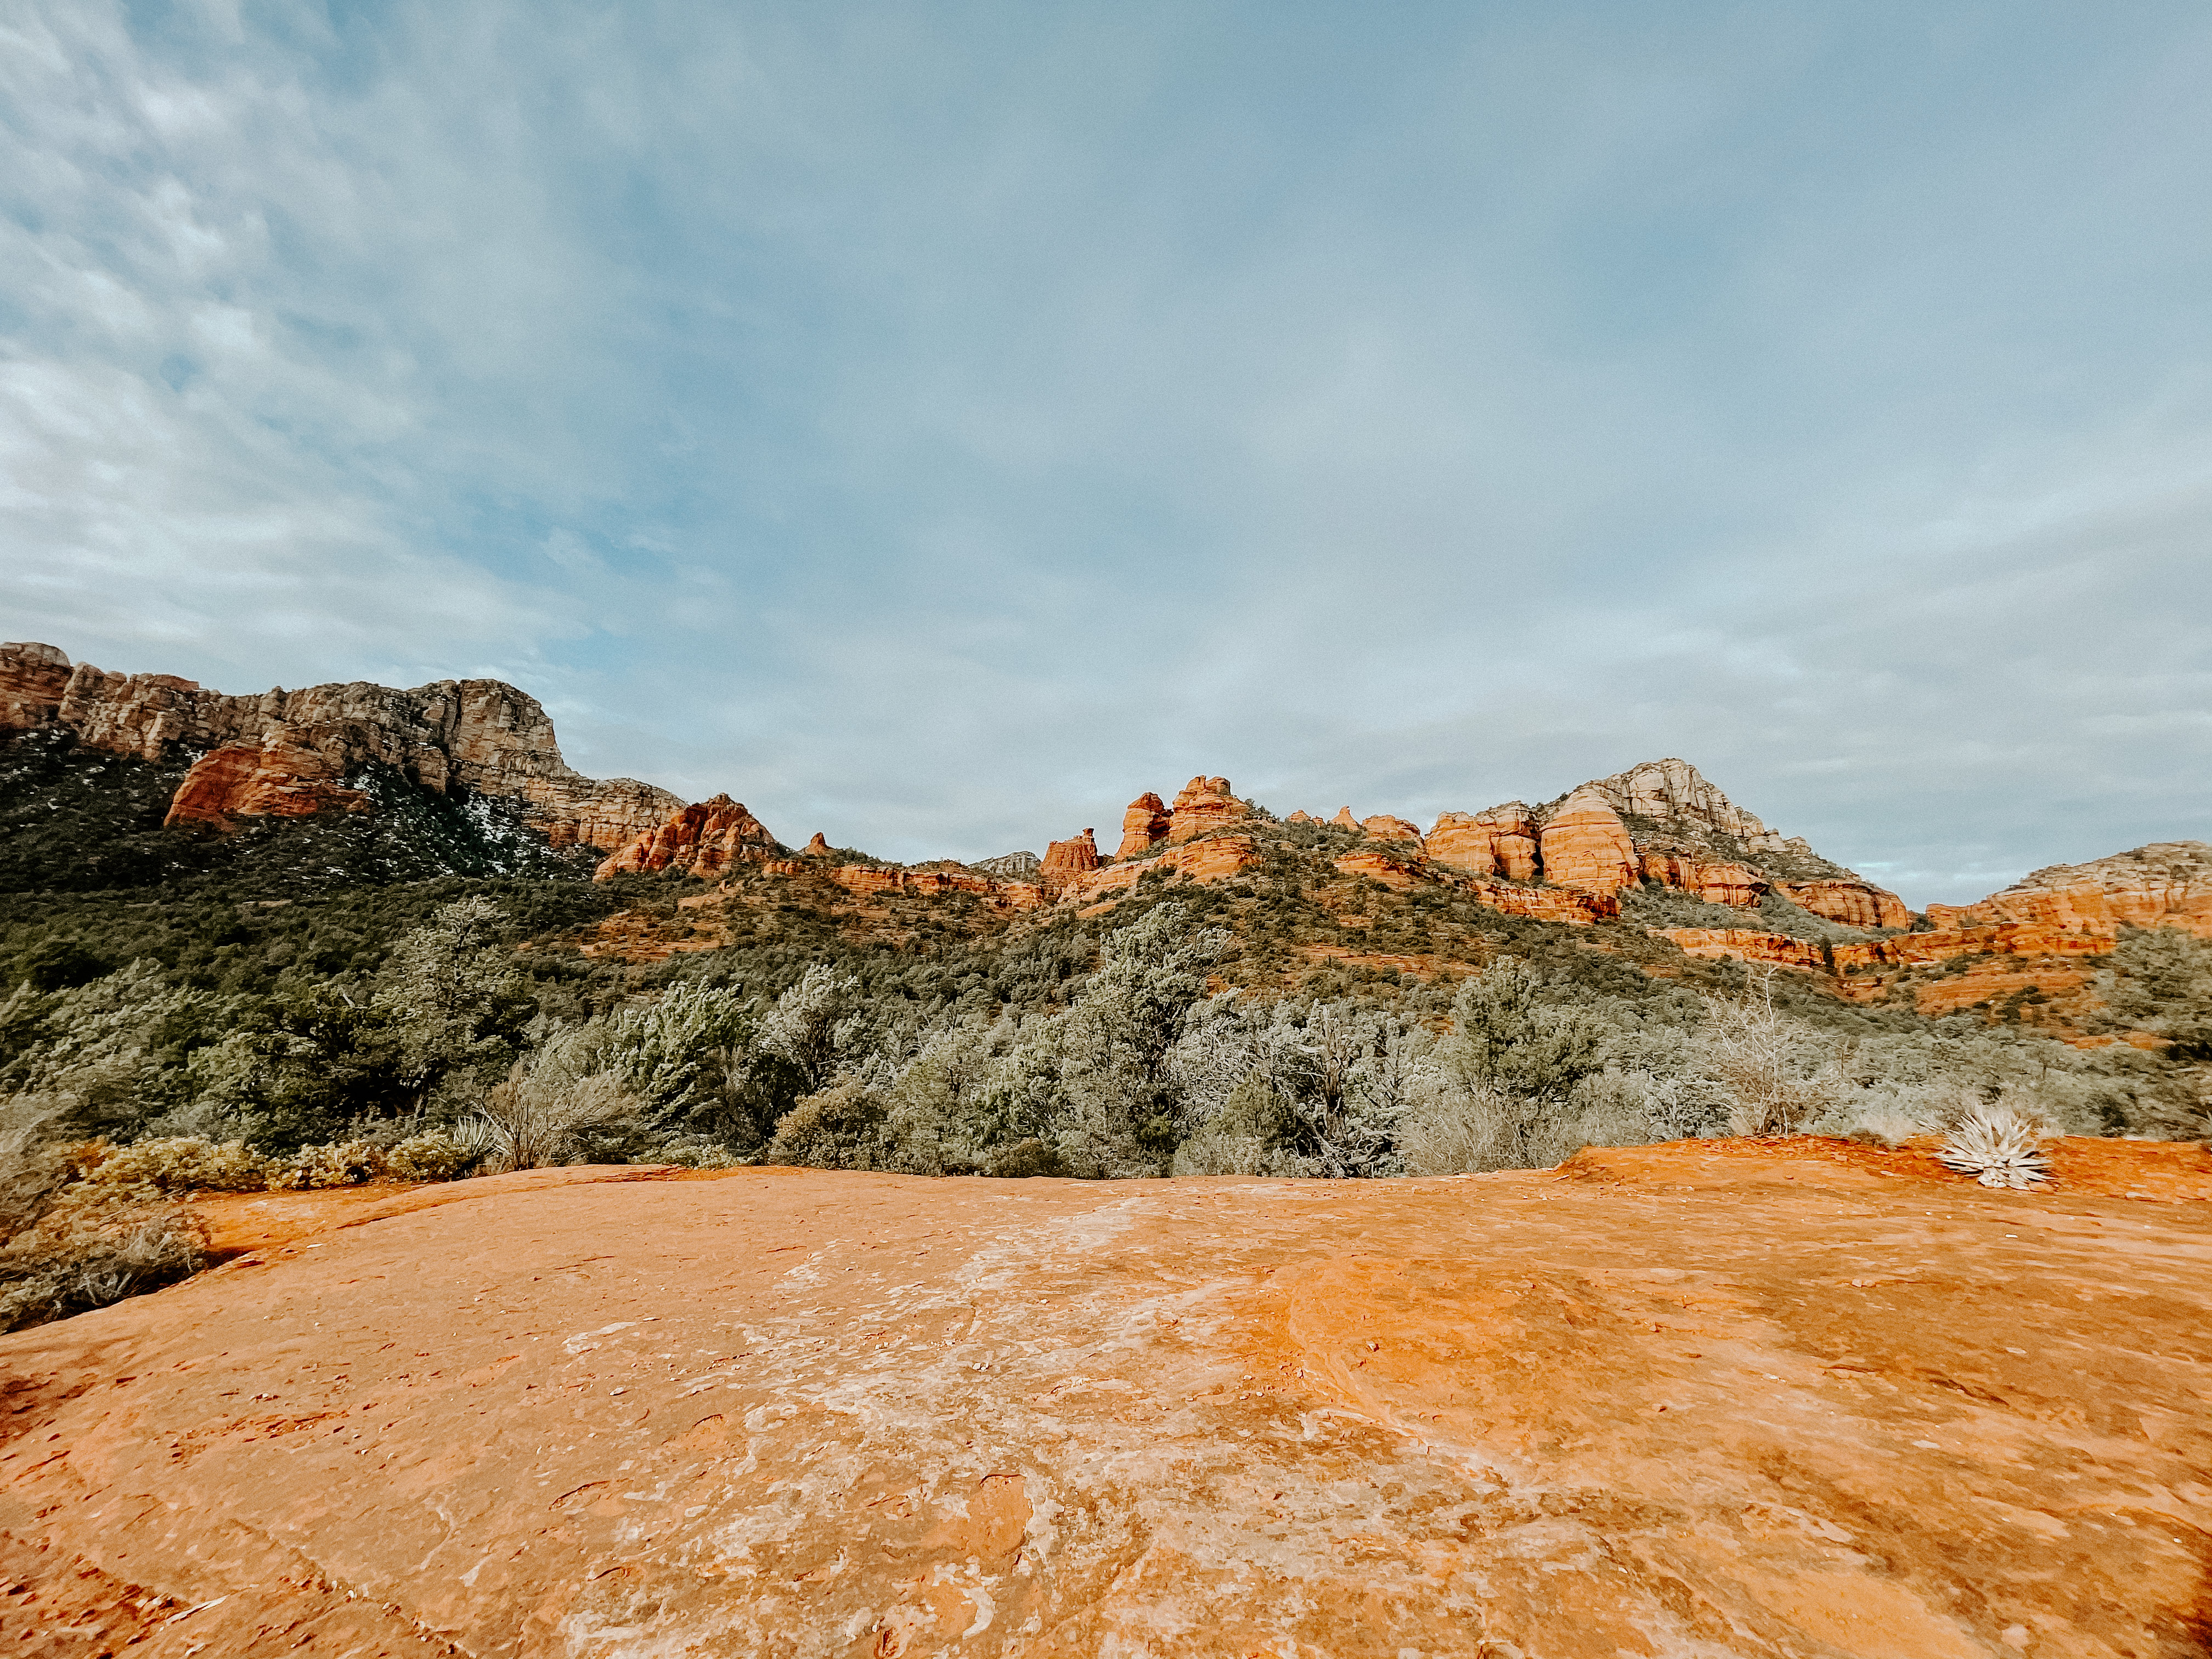
After hiking for another mile (so 2 miles in total), you’ll see a fork in the road. You’ll want to take the trail on the right. You’ll cross an open mesa (photo above). Then you’ll want to keep left, and begin hiking up the somewhat steep trail to the cave entrance. Once you get to the entrance to the cave, you’ll have to scramble up some rocks to get inside. Don’t underestimate this part – it was very difficult! Once you’re inside the cave, make sure to check out the ledge where you can get a view of the whole valley!


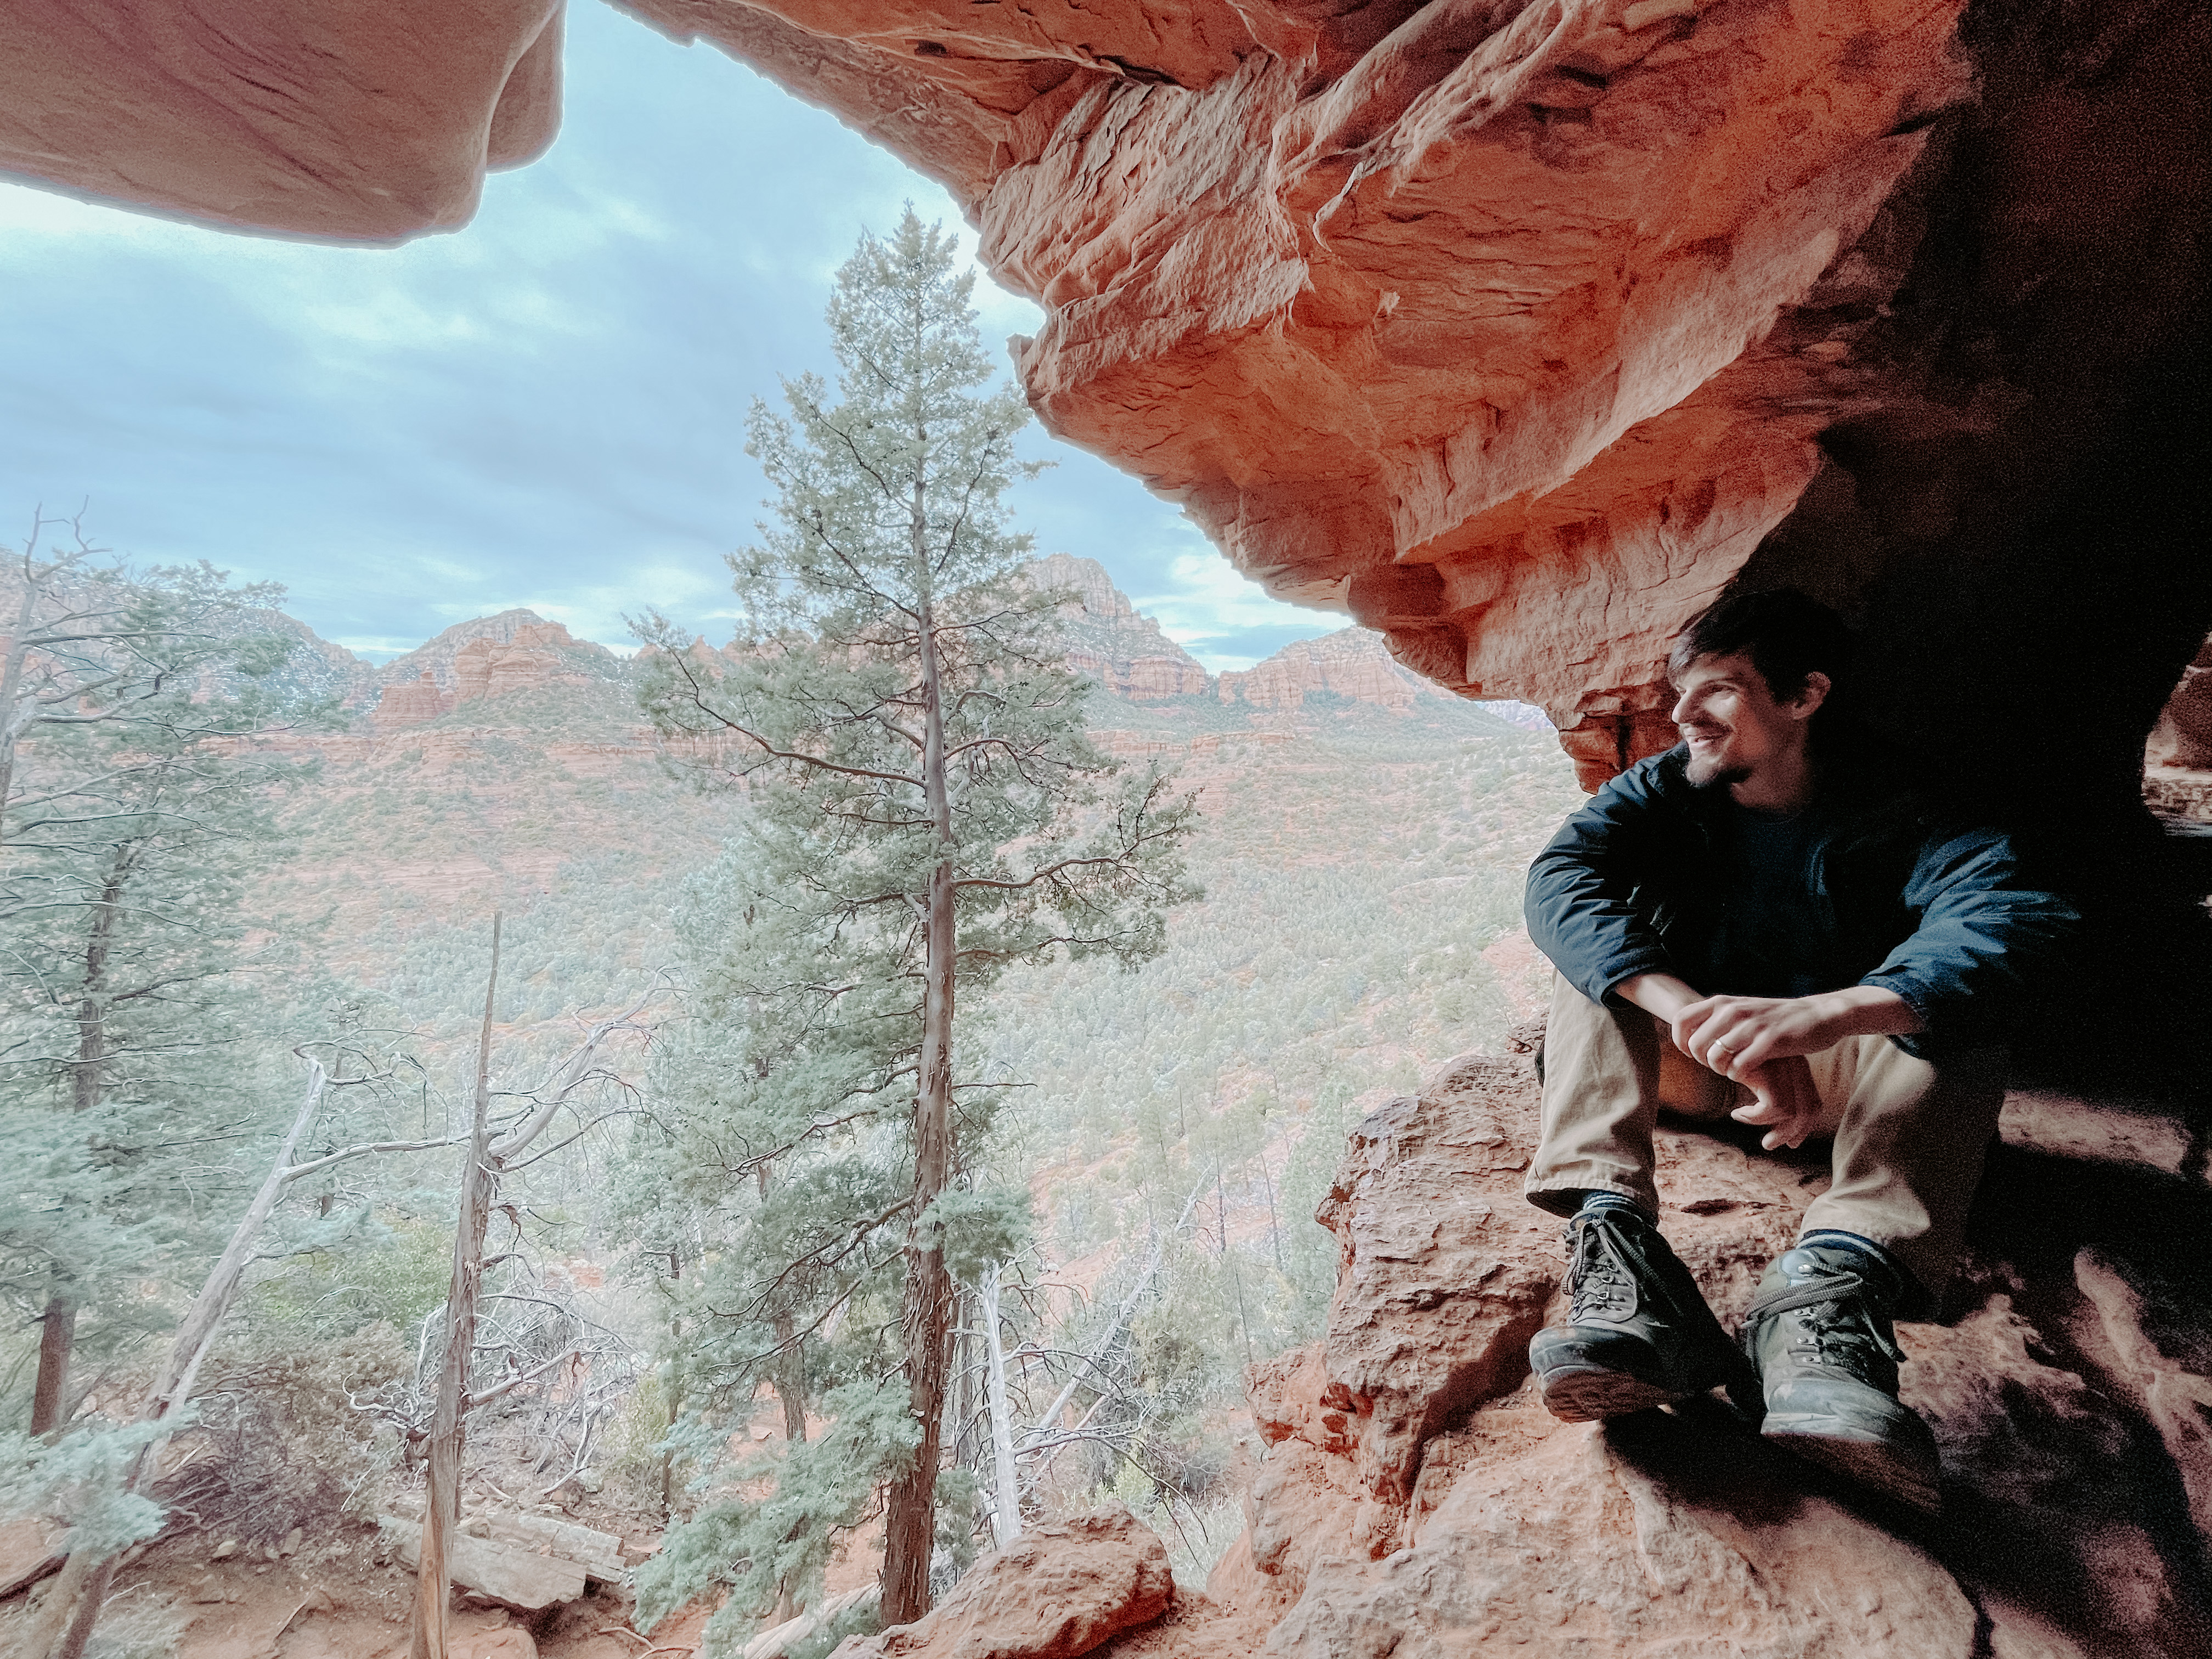
Overall, if you can get a parking spot, the hike to Soldier’s Pass Cave is definitely worth it!
If you have any questions about the Soldier’s Pass Hike, please let me know in the comments!
Thanks for reading!
Megan
Heading to Sedona soon? Check Out These Related Blog Posts:
Pin this Post to save it for later:
