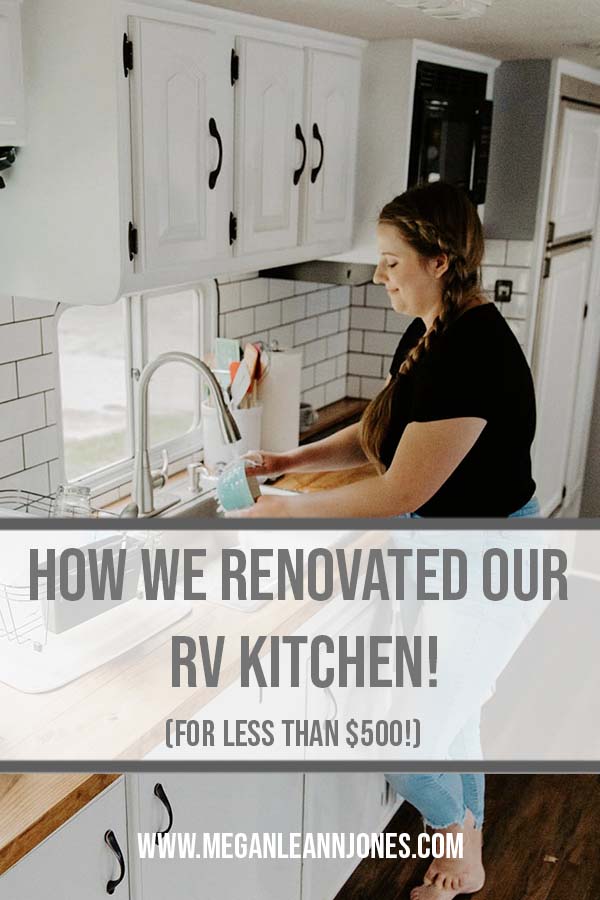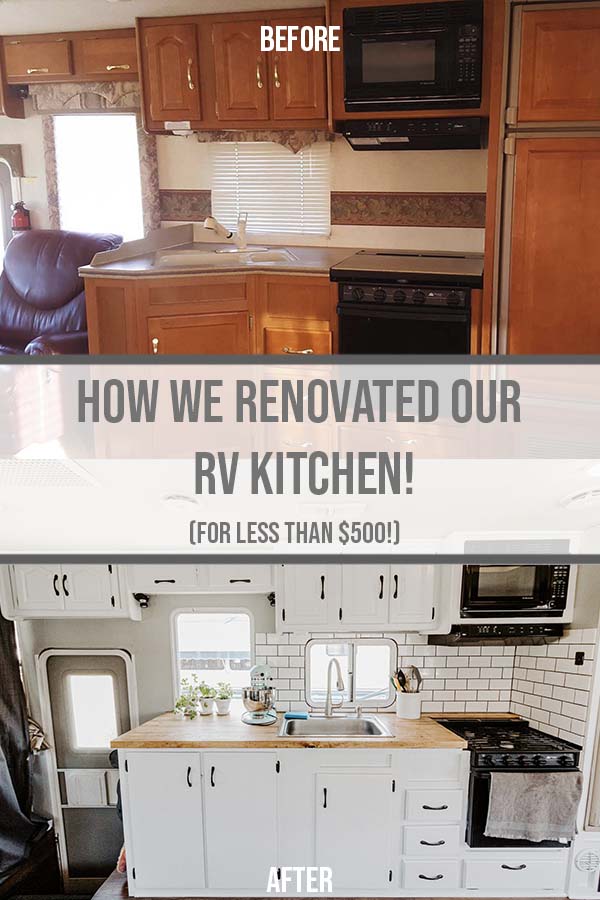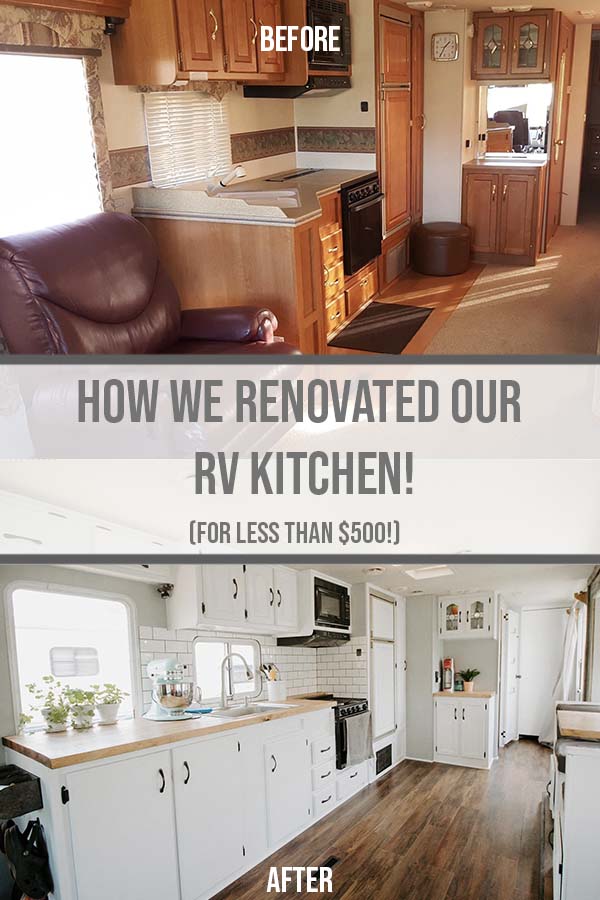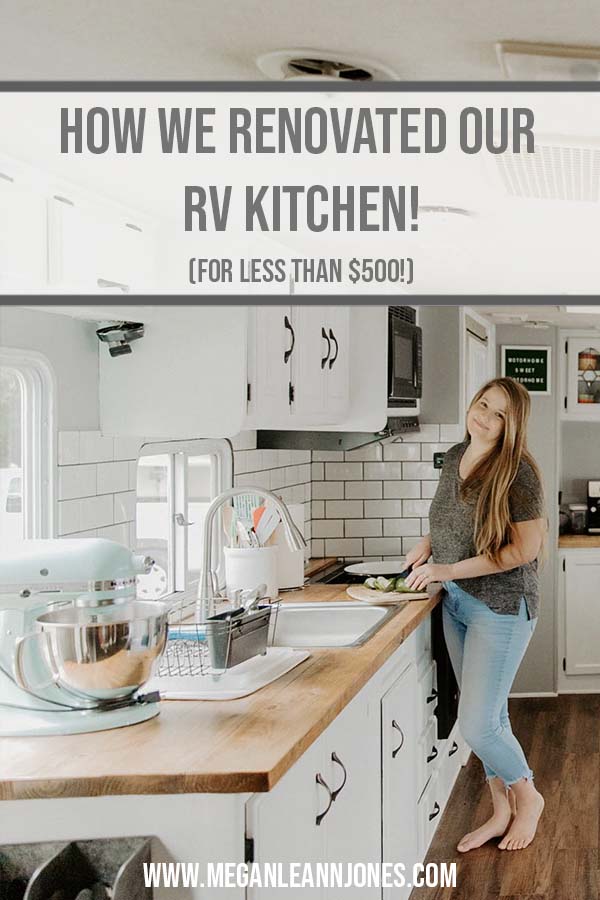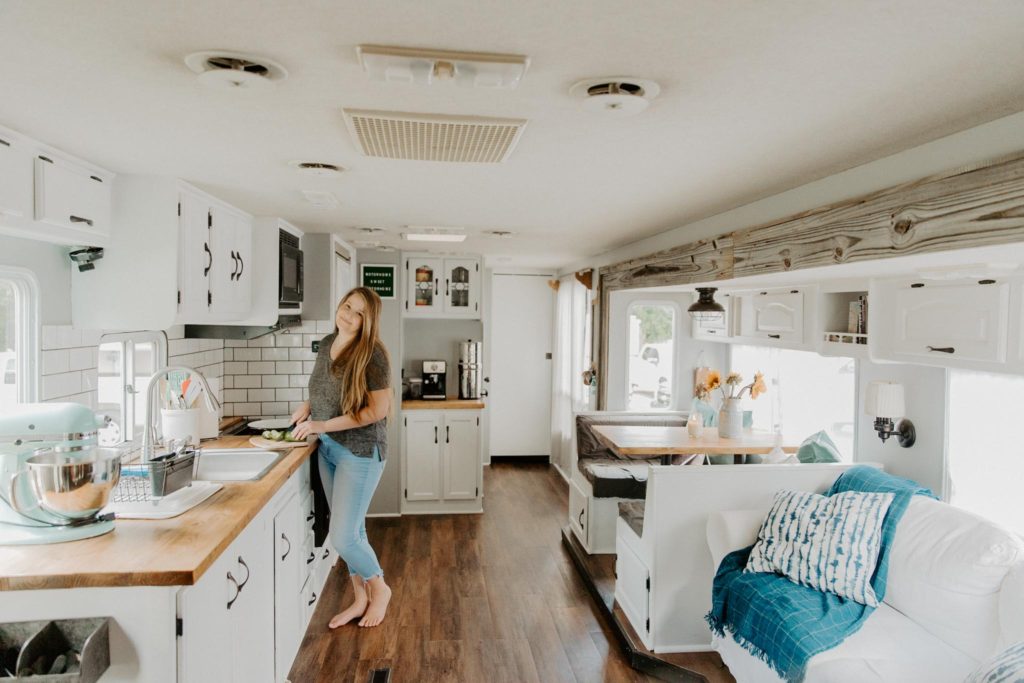
I’ve been asked countless times over the years about how we Renovated our RV Kitchen on a budget. How we created our RV countertops, how we put an actual tile backsplash in the RV kitchen without it falling down or cracking, and how we added on to the counter space and cabinet space! I am so excited to finally be pulling back the curtain today and giving you all the info and all the links you’ve been asking for!
Also, if you haven’t read Part 1 of the RV renovation series, click here to go check it out! I share links to the specific paint and flooring we used throughout the RV, and also share before and after photos of the whole RV. And now, here’s how we renovated our RV Kitchen in Part 2 of the RV renovation series!
Taking the Angle out of our Cabinets + Creating more Cabinet + Counter space
When people look at the Before and After photos of our RV, one of the first things they notice is that there is a lot more cabinet space now!


After buying the RV, one of the first things we decided was we needed to create more counter and cabinet space. Now that we’ve lived in the RV for almost 3 years, I can honestly say that was one of the best decisions we made in the whole renovation!
Okay, now let’s get into how we actually went about taking the angle out of our cabinets and added on counter and cabinet space!
Taking out the recliner.
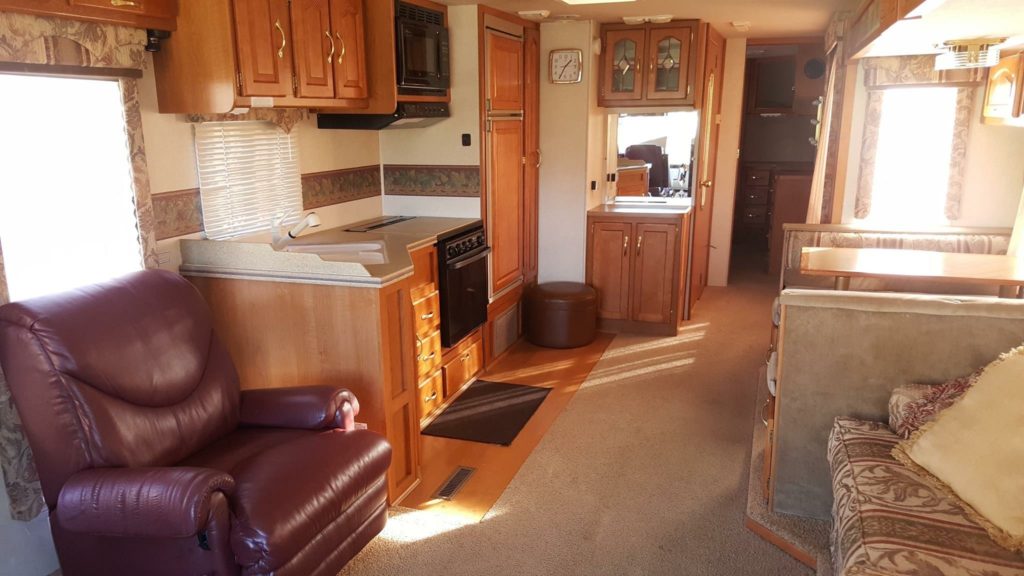
First of all, we took out the super comfortable recliner that was in the RV when we bought it. We were so sad to have to take this thing out, but we knew we were going to have to sacrifice some comfort to get the things that we really needed from the space. You have to remember, RV’s were created to be recreational vehicles, and to go on short trips. They weren’t traditionally created to be lived in full time.
Anyways, we took the recliner out, which gave us all the space to create more counter and cabinet space.
Taking out the old countertop and sink.
Next we took out the old counter top and sink, bye bye and good riddance! The sink was literally tiny, definitely not suited for full time hand washing dishes!
Taking the angle out of the current cabinet.
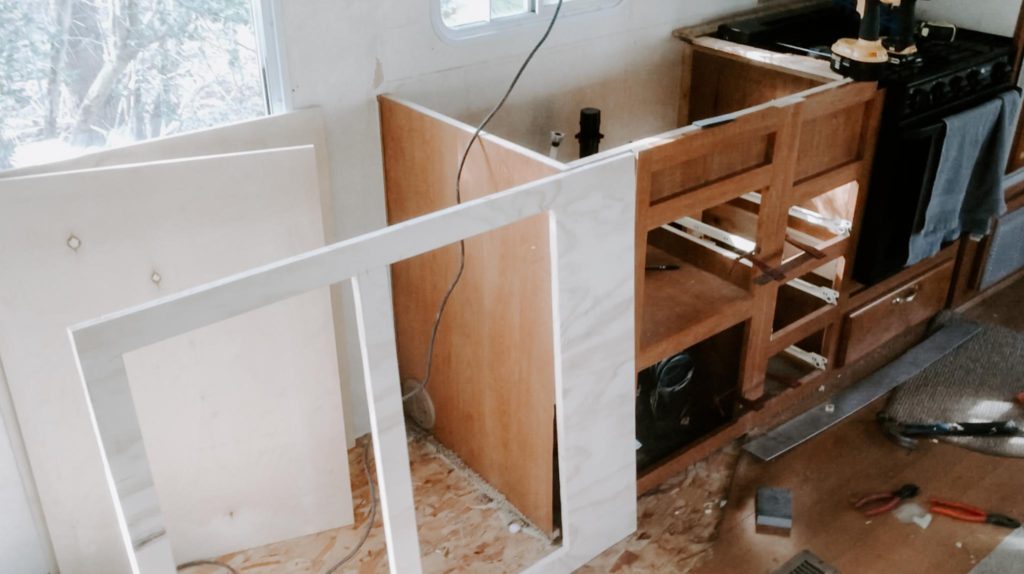
After that, we had to figure out how to take the angle out of the big cabinet on the end. We took it out, and using a table saw, made both sides of the cabinet straight. Then with an oscillating saw, we cut the angle out of the shelf and made it straight. That’s now our middle cabinet in our kitchen!
Building a new cabinet.
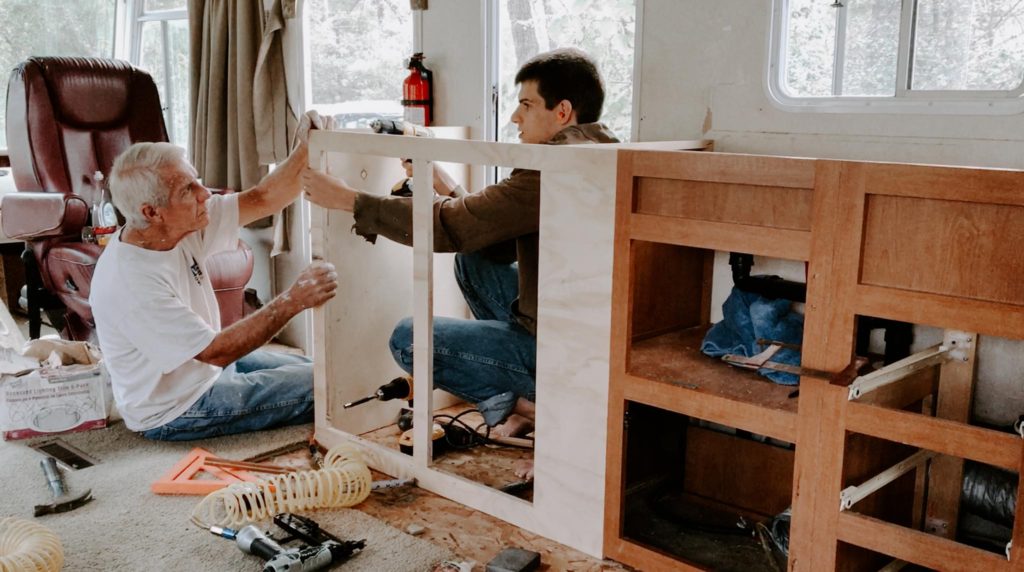
Then we built one large cabinet on the end where the recliner was before. We used 3/4 inch plywood to create the frame for the cabinet, and cut out space for the cabinet doors on the front panel. Using clamps and wood glue, we put it all together inside of the RV and lined up everything to make it straight.
Keeping it all together + making it seamless.
To keep everything together, and keep the seam between the old cabinets and the new one from cracking, we nailed a small board inside of the cabinets over both seams.
Creating new cabinet doors
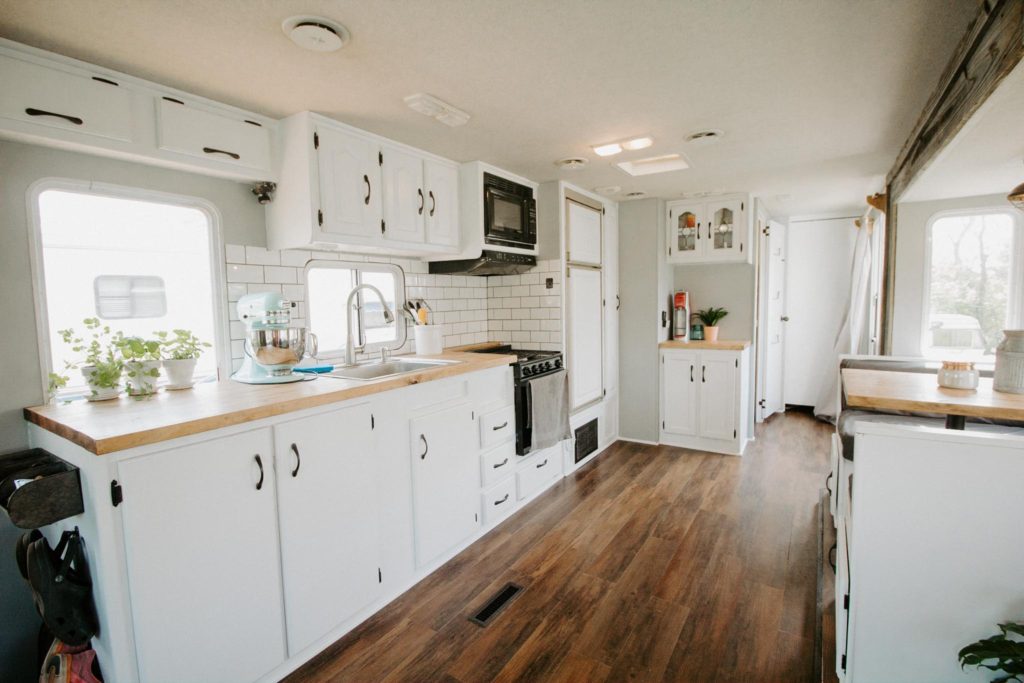
Since we were using a combination of new and old cabinet doors in our kitchen, we knew we would have to create doors that would somewhat match the old ones.
To create new cabinet doors, all you’ll need is:
- Masonite material from Lowe’s (higher quality than plywood, plywood has layers which wouldn’t look good when you use a router on the edges of the door)
- A Router
We purchased masonite material from Lowe’s, cut it to the size of the cabinet door (remember to make your cabinet doors a little bit wider than the opening of the cabinet for hinges). Then, we used a router around the edges to somewhat match the design of the other cabinets. And it worked beautifully!
Painting the Cabinets
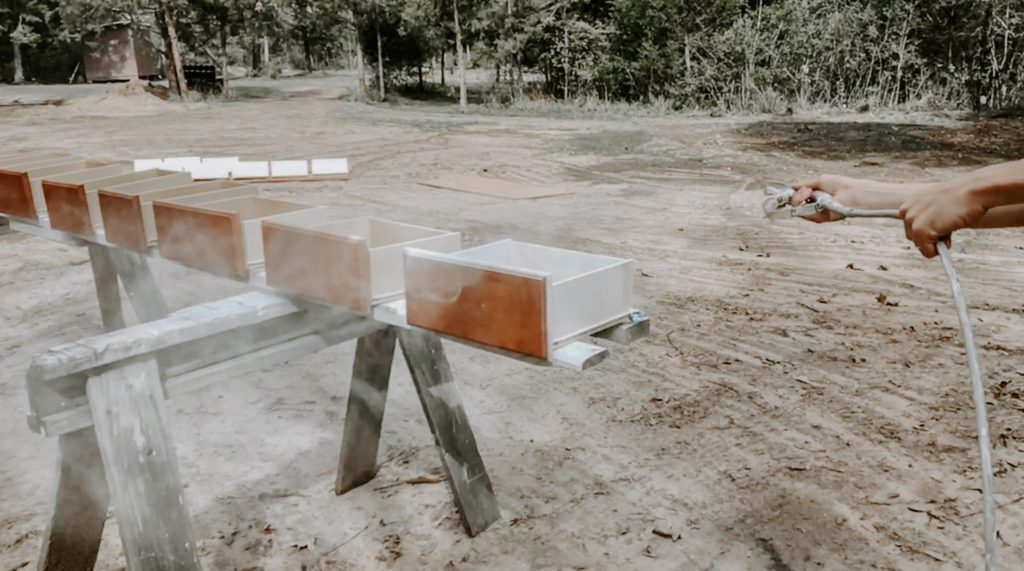
The next thing we did was paint our cabinets, including the new ones that we had just built. We painted the cabinet structure by hand, if you’re interested in learning more about what paint we used and how well it’s held up, click here to visit part one of my renovation blog series for more of our painting process!
To paint the doors and drawers of all the cabinets, we removed each individual one, and painted them using a paint spray rig. If you don’t have one, I would highly recommend renting or buying one! It saved us so much time and the paint went on so smoothly, and has stayed a lot better than if we had painted it by hand.
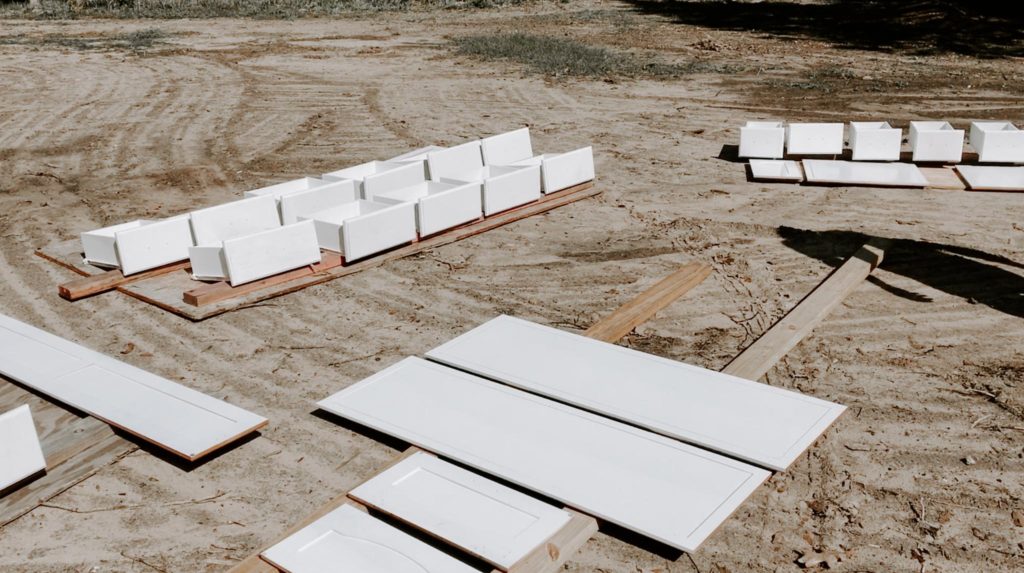
* Just a note, don’t ever use a paint sprayer inside, unless you want paint droplets all over the inside of your RV! Make sure to remove everything you want to paint and paint it outside. *
Creating our Countertops
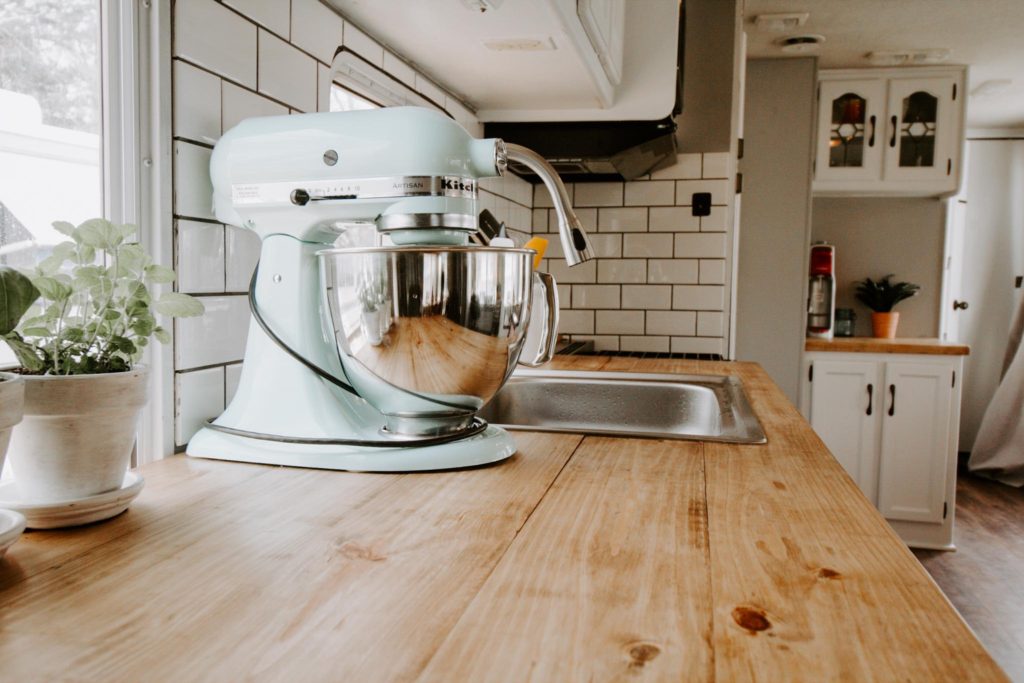
Every time I post a photo of our kitchen on Instagram, I get so many questions about our countertops because they’re so unique and look expensive! People are always so surprised when I tell them that we created our countertops for under $30!
To create your own wood countertops, you’ll need:
- Pine 2×6’s from Lowe’s
- Jigsaw
- Belt Sander
- Router
- 1/4 inch flat steel
- 1/8 inch metal bit for drill
- 1 inch Pan head screws
- The stain color of your choice – We used Minwax Stain in the color Early American (https://amzn.to/3gn2JyZ)
- Poly to seal it
Here’s how we did it:
Removing the beveled edges from the boards.
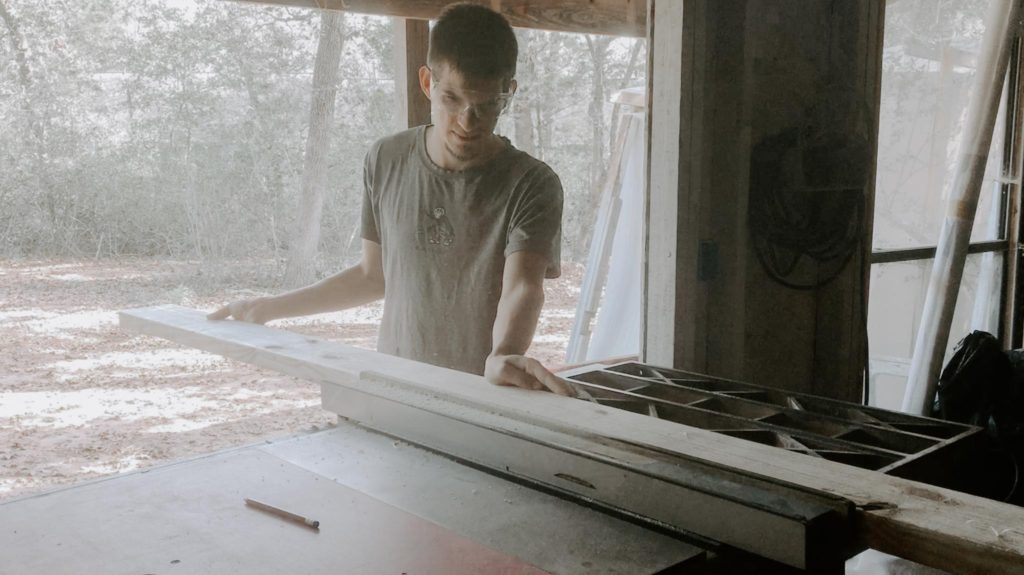
First, we purchased several 2×6’s from Lowe’s. Then using a table saw, we removed 1/8 of an inch off of each edge of each board to remove the beveled edge. This was to ensure they would all fit together without any gaps. We did not remove the beveled edge from the board on the outside of the counter so that the outside had a rounded edge.
Joining the boards together.
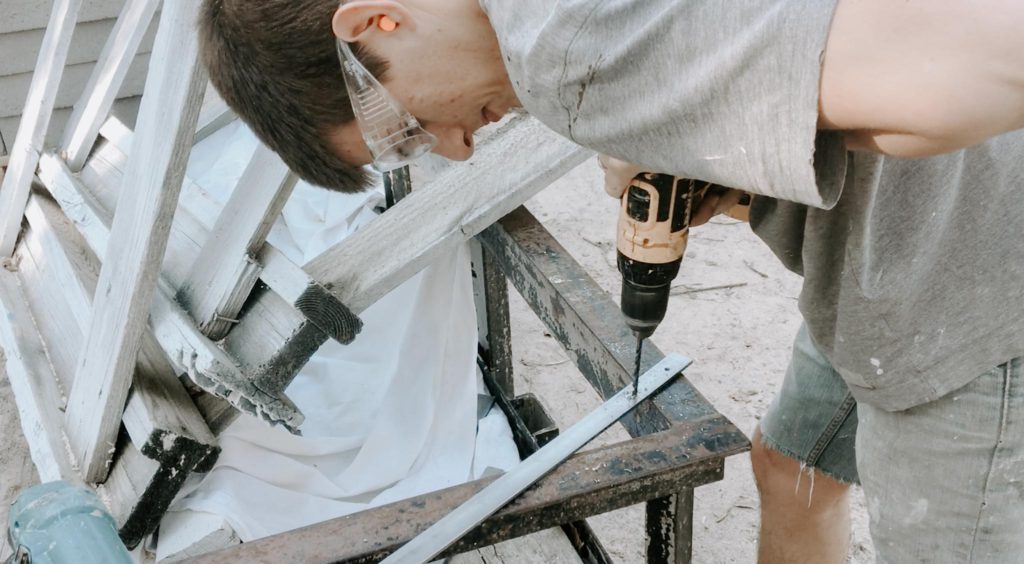
Then to join them all together, we used a router to inset a space for the 1/4 inch steel, and then using an 1/8 inch metal bit, we created screw holes in the steel for the screws. Then we screwed them all together. Next, we used a jigsaw to cut out the space for the sink to fit into.
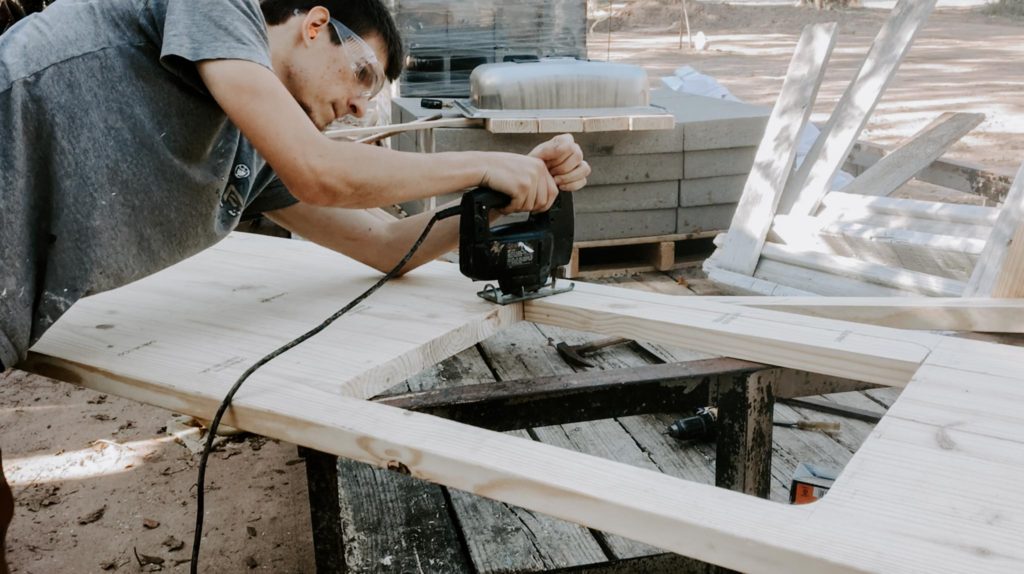
Sanding the Countertop to make it smooth.
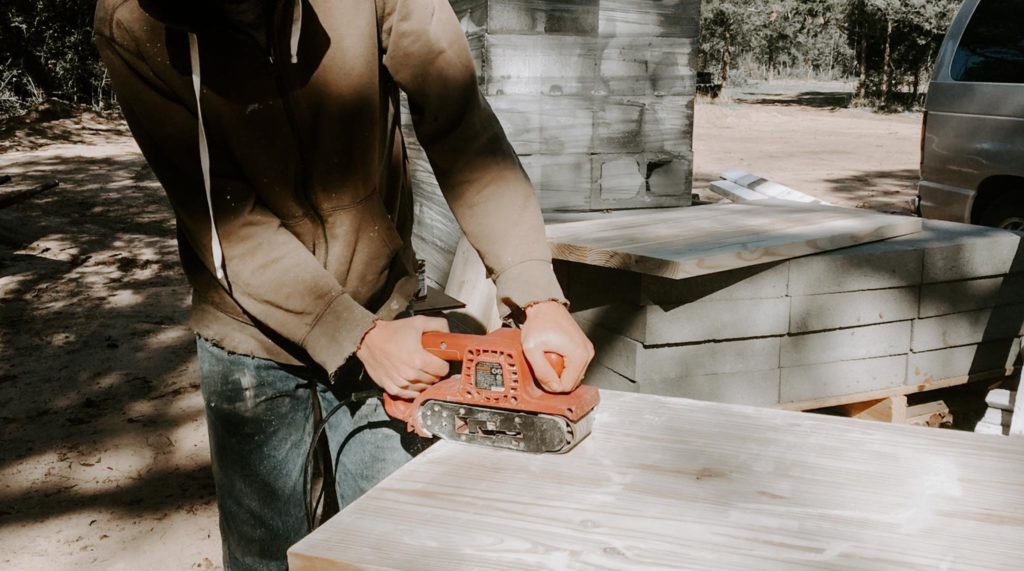
Next, we used a belt sander to make our new countertop as smooth as glass. We did this by going over it several times with different grit sandpaper. We used 80 grit, then 120 grit, then 400 grit to finish. The 80 grit helps to get everything even, the 120 grit helps to remove scratches left by the 80 grit, and the 400 grit finishes it off by making it super smooth.
Staining the new Countertop.
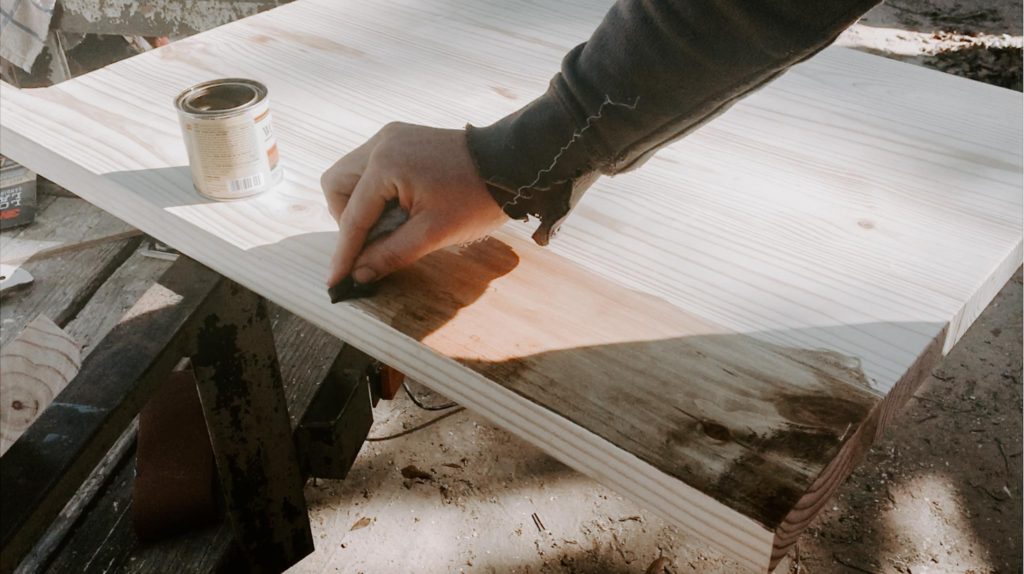
Then, we used the stain that we bought (we chose the color Early American from Minwax) very sparingly across the whole counter top. Be careful when applying stain, it’s not at all like paint where you can spread it around easily. Once you’ve applied some stain to an area, it stains! So take it easy at first, and see how dark you want it to be before applying a lot.
Sealing the Countertop.
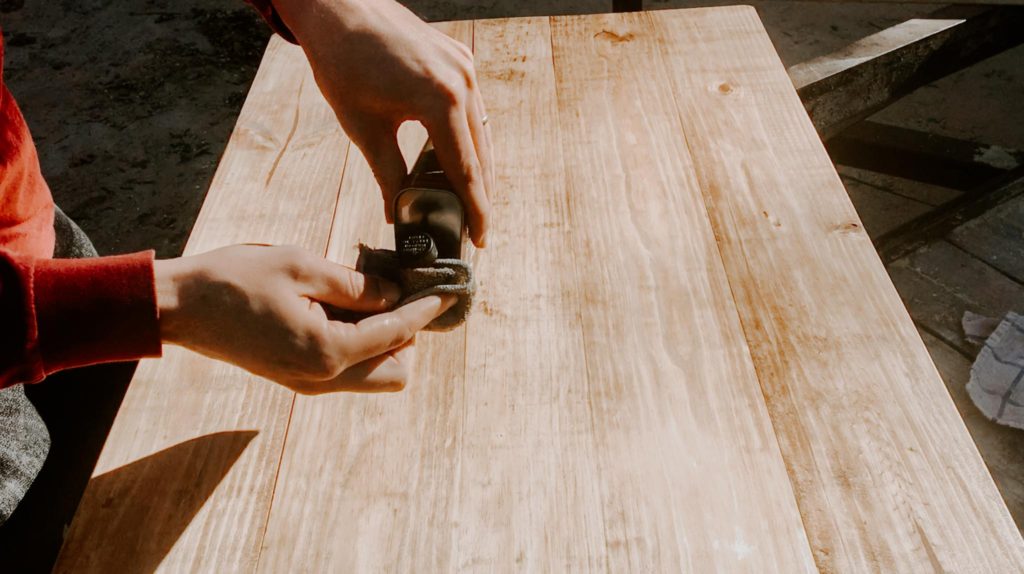
Next, we used poly to seal our countertops. We put on several layers and let it dry in between. And then we installed them!
The one thing I wish we had done differently with our countertops was I wish we had used even more poly.
Over time, water has gotten underneath the poly in some places (specifically where our dish rack sits), and has molded the wood. We’ve already had to sand the counters one time and re stain and seal them since we installed them 3 years ago. If you’re going to create your own wood countertops, I would recommend getting a really thick, high quality poly to seal them!
Replacing our sink and faucet
Like I said earlier, we took the old sink and faucet out almost immediately. We knew if we were going to be living in the RV full time and washing dishes by hand, we would need a bigger sink and a better faucet.
Most RV’s come with water saving faucets, so water pressure isn’t great. But if you’re someone that’s considering living off the grid a lot, maybe re consider getting rid of those water saving faucets. We definitely go through our water tank a lot faster than we would’ve if we’d kept the old faucet!
We got our sink and faucet from Lowe’s! Here are the links to similar designs on Amazon:
Tile Backsplash
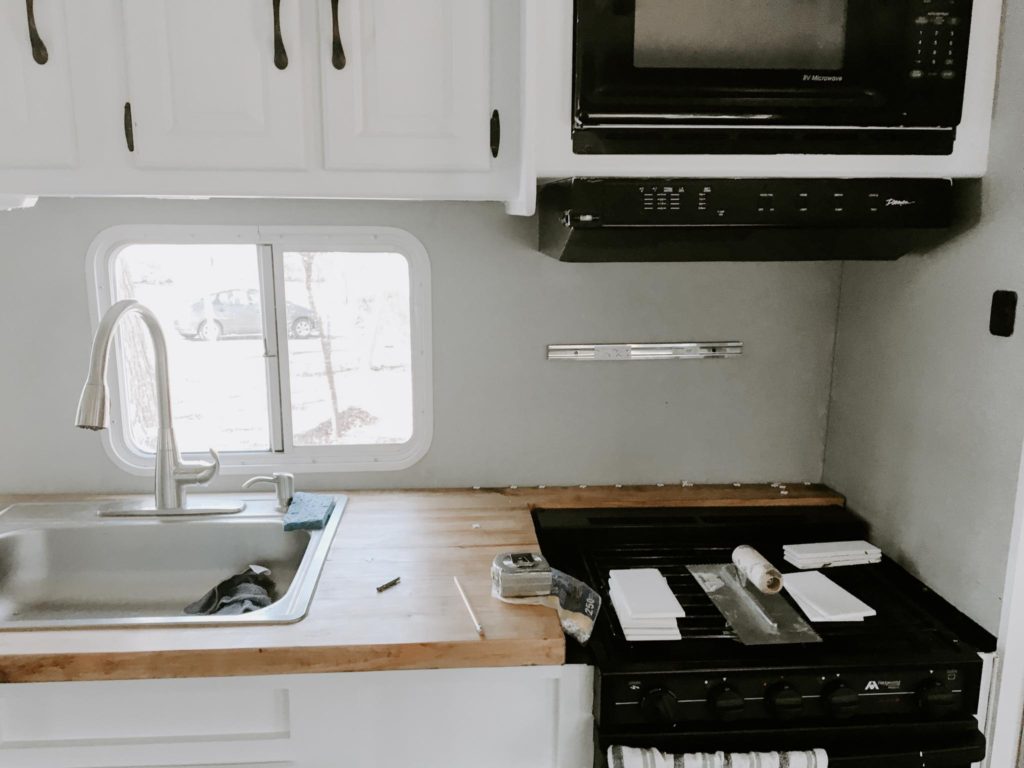
Most people use peel and stick tile for their RV backsplash, because they’re concerned that real tile will fall off or crack when they move. And while that’s definitely a great option, I was not a huge fan of how peel and stick tile looked.
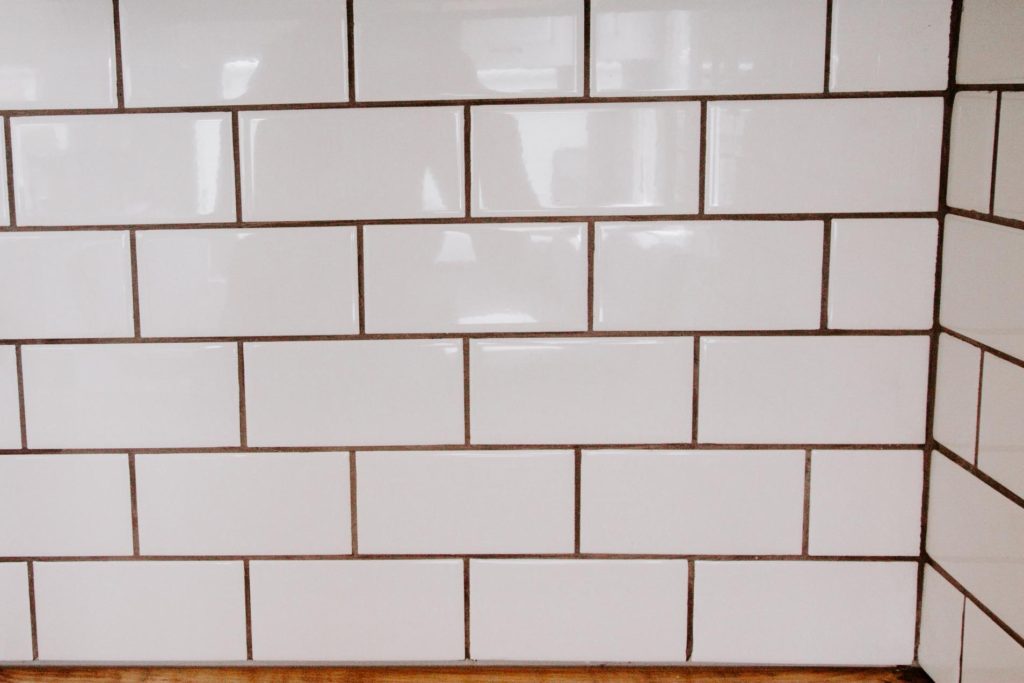
So, we decided to just go for it and use real subway tile in our kitchen, and I’m so glad we did!! We’ve been living in the RV for almost 3 years now, and not a single tile has cracked or fallen.
To create your own tile backsplash you’ll need:
- A wet tile saw
- Mortar Trowel – https://amzn.to/2NZ1OIR
- Mastic (helps the tiles to be more flexible than traditional mortar) – https://amzn.to/3isF1U8
- Unsanded Grout in the color of your choice (Sanded grout has larger grains, unsanded does better for small seams and helped it not to crack) – https://amzn.to/2YTAQsC
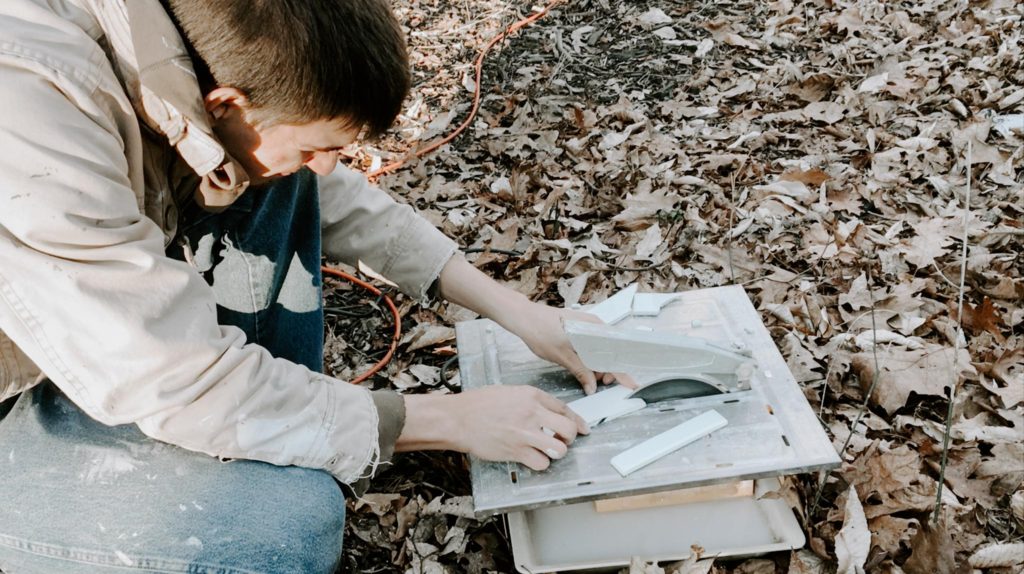
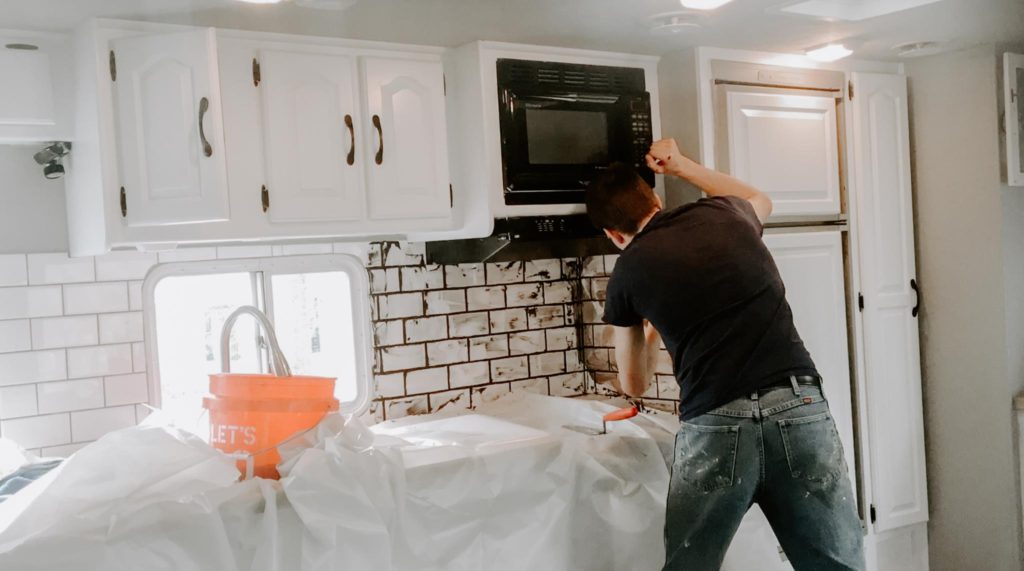
Here’s a great YouTube video explaining how to put up a tile backsplash (just remember to use Mastic instead of mortar):
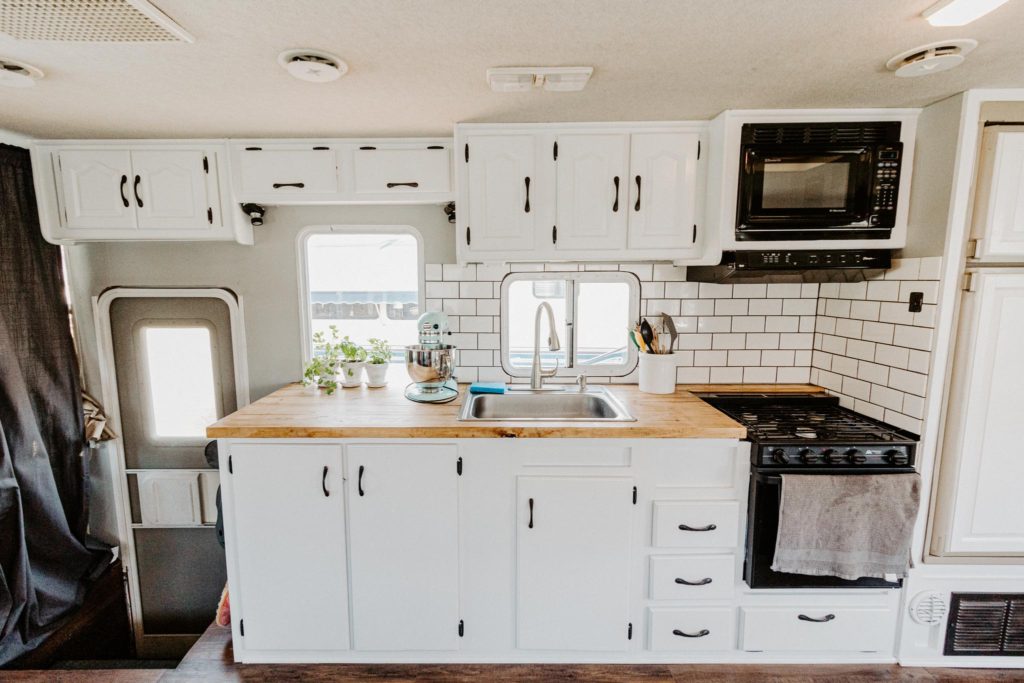
And that is how we renovated our RV kitchen on a budget! Next time, I’ll be sharing how we renovated our bathroom, so make sure to subscribe to get notified when I post!
Thanks so much for reading!
Megan
Pin this post to save for later:
