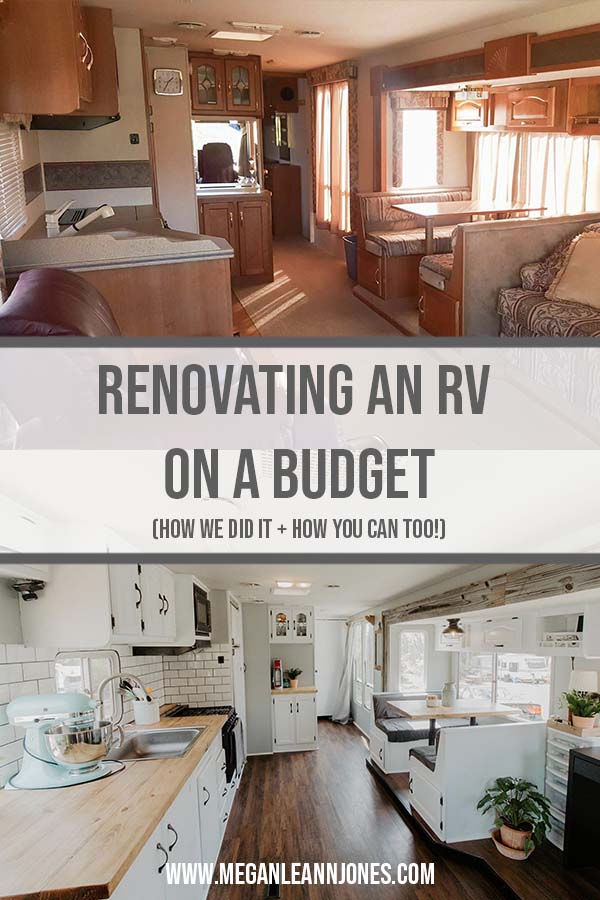
Over the past 3 years of living in an RV, I’ve been asked tons of questions about how we renovated our RV on a budget, and asked countless times for links to specific products we used. As we’re transitioning to moving into a house, I’m finally sharing exactly how we renovated our RV in this 5 part series called “Renovating an RV on a Budget – how we did it and how you can too!”
First of all, if you haven’t read the story about how we got into RV life, and where we got our RV, click here to read that blog post!
This post is going to serve as a general before and after of our entire renovation, and then in future posts I’ll outline what we did specifically in each room to save money and turn our dingy, dark motorhome into a bright, modern farmhouse motorhome for less than $2000!
Note: this guide contains affiliate links, which means that if you use the links provided and make a purchase, we get a small commission at no extra cost to you. Thank you for supporting us!
Our RV
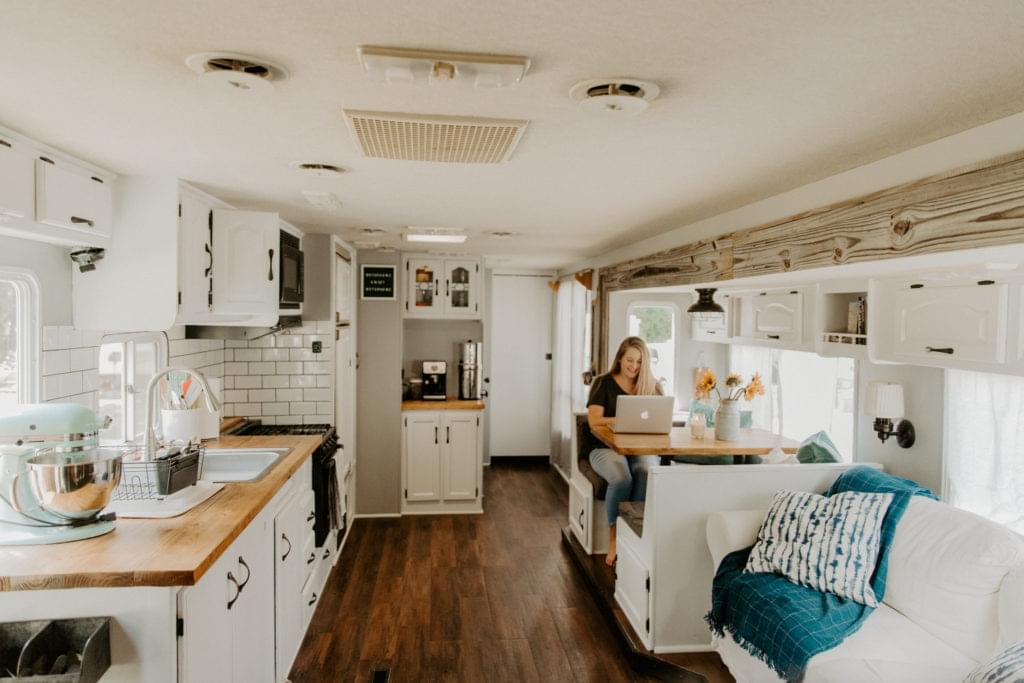
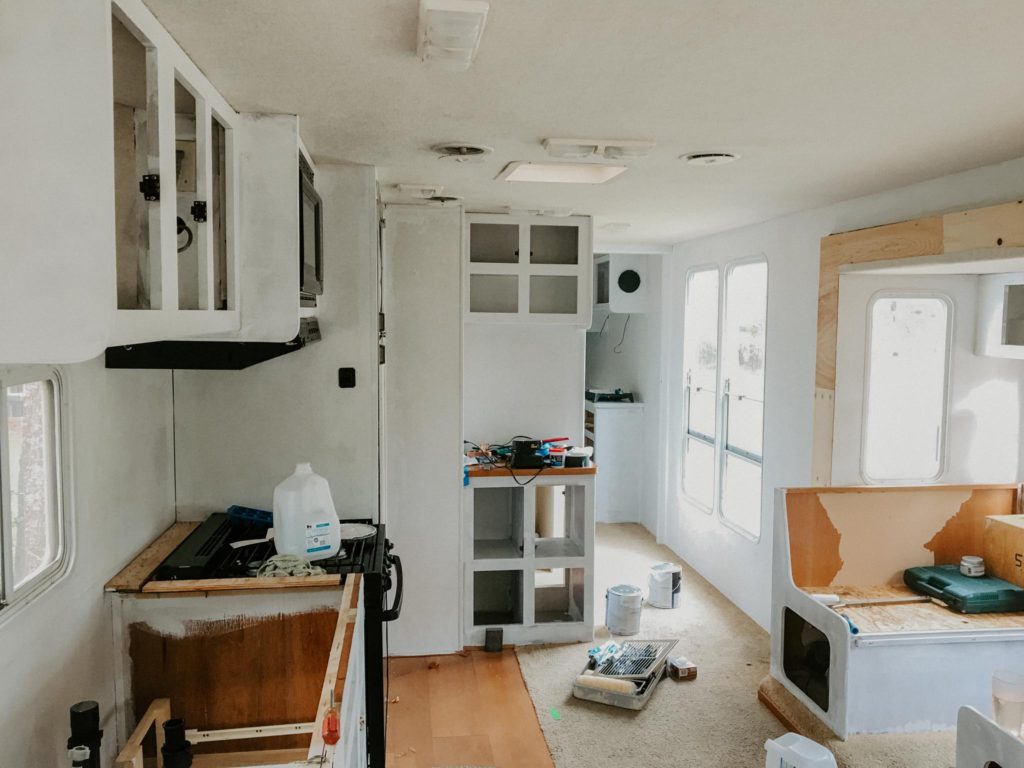
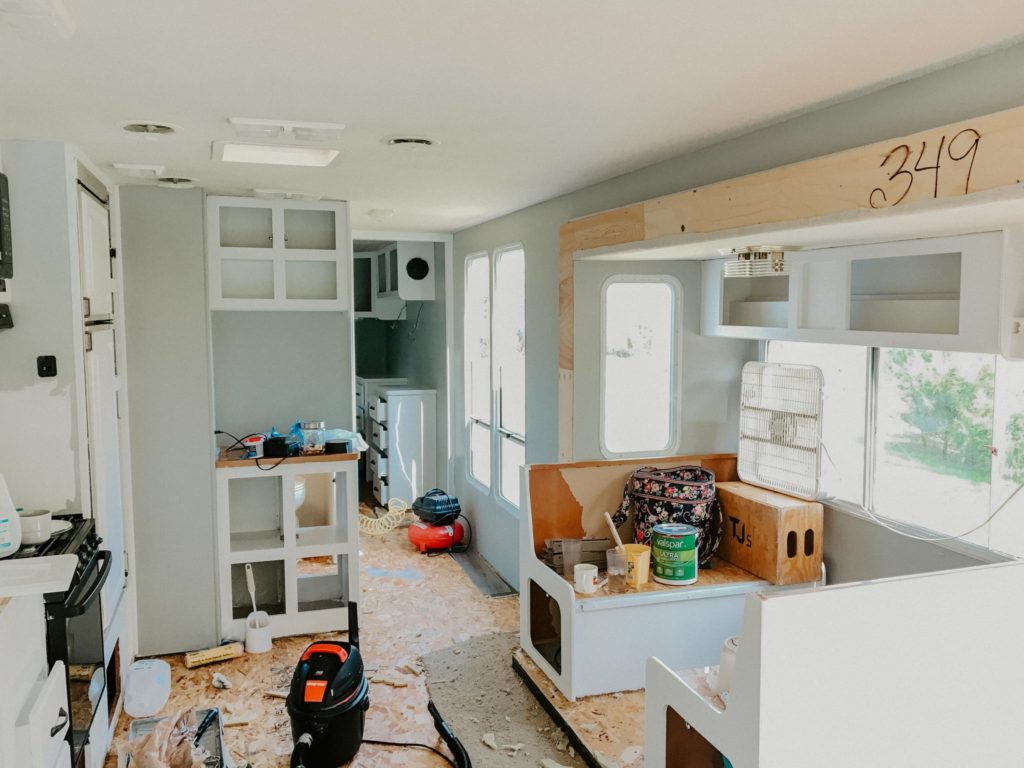
We bought our 36 ft 2000 Damon Intruder off of Facebook Marketplace in October of 2017. The interior was in great shape, but it was just soooo outdated. I am not an interior designer at all, but I did know that I wanted to brighten up the space and make it more our style. We spent about a month renovating the inside, and learned so much along the way. Check out the insane before and after photos of our rig below!


As you can see from the before and after photos, our RV went through a crazy transformation for not very much money! Our intention the entire time we were renovating was to spend as little as possible and re use everything we possibly could, while also doing our best to make it a cozy place to live.
Of course there were things that we used in every single room, like paint, flooring and cabinet hardware. I figured I would share what we used for those in this blog post, and then go into specifically what we did in each room in later posts!

Check out our Must Have RV Essentials!
After living in an RV full time for 3 years, we’ve learned a thing or two about what you need and what you don’t. We’ve compiled a list of Must Haves for RV life, RV Organization Essentials, and more!
Paint
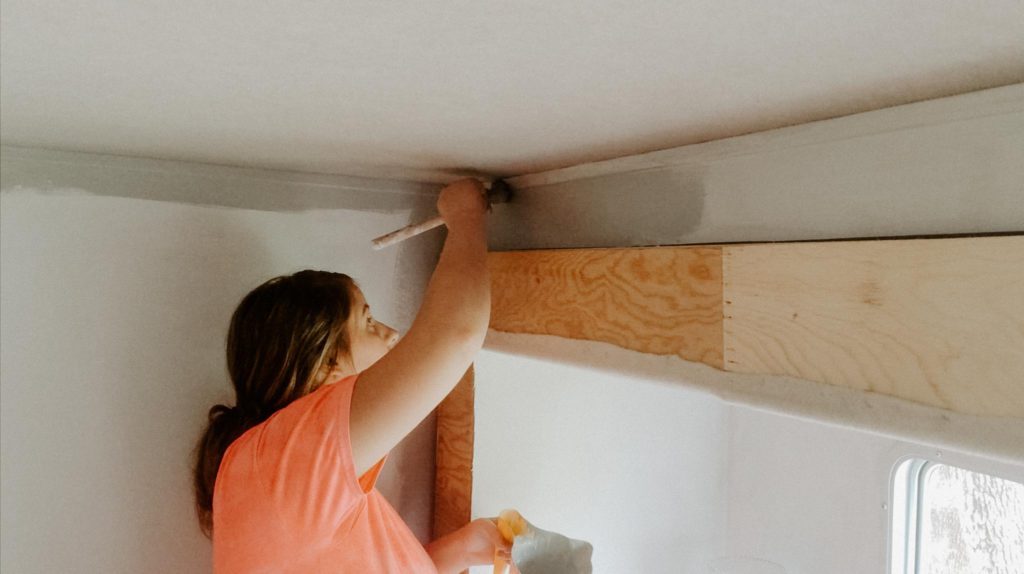
Painting took WAY longer than we originally thought. Because the walls in an RV are so much smaller than a typical home, we did a lot of cutting in and not a whole lot of rolling. And we had to do at least 3 coats – 1 coat of primer and 2 coats of the final paint. So as you can imagine, that took a really long time, even though we had help!
We got all of our paint from Lowe’s, so you should be able to find everything listed below by going into one of their stores!
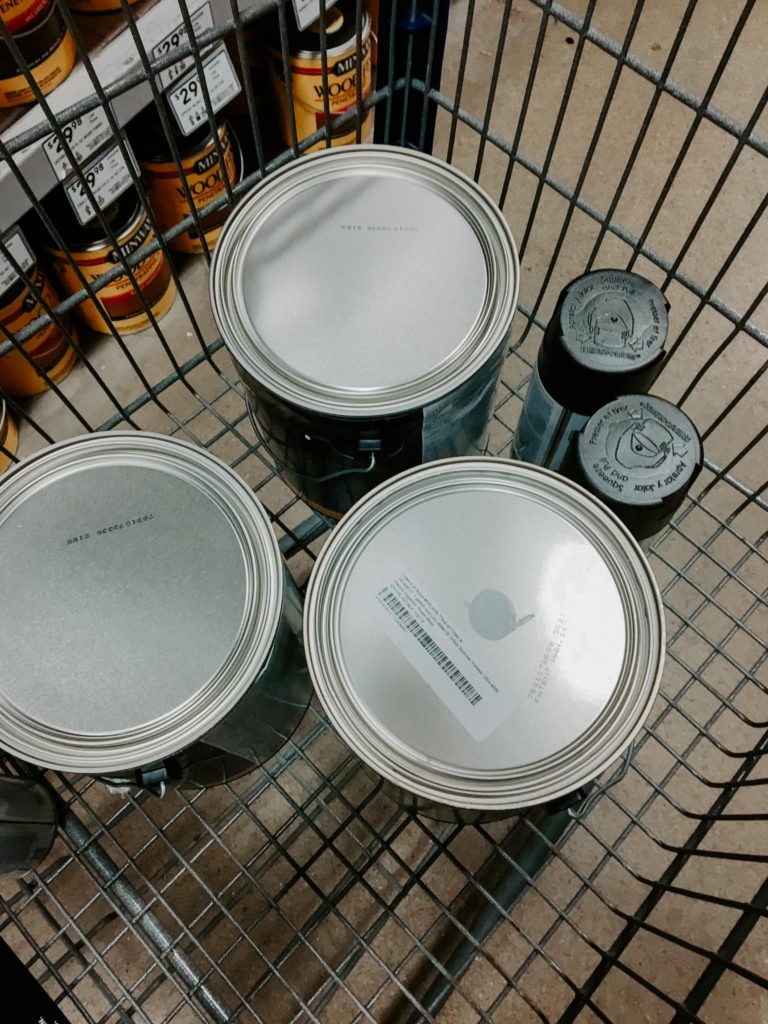
Products we used to paint our RV:
Walls – One coat of Bonding Primer from Valspar, two coats of Valspar Ultra 2000 Eggshell paint in the color Urban Sunrise
Cabinets – One coat of Bonding Primer from Valspar, two coats of Valspar Ultra 2000 Semi Gloss Paint and Primer in the color High Hide White
The paint overall has stayed really well! Only in spots that we use really frequently, like certain cabinets and the fridge and such, has the paint worn off over time. All we’ve had to do is grab the leftover paint and touch it up every year or so!
Flooring
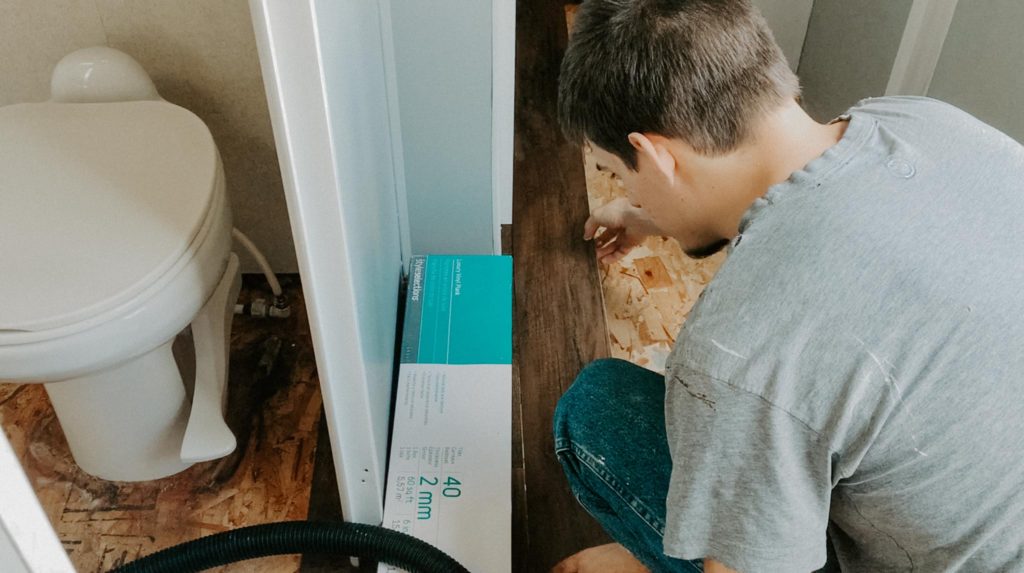
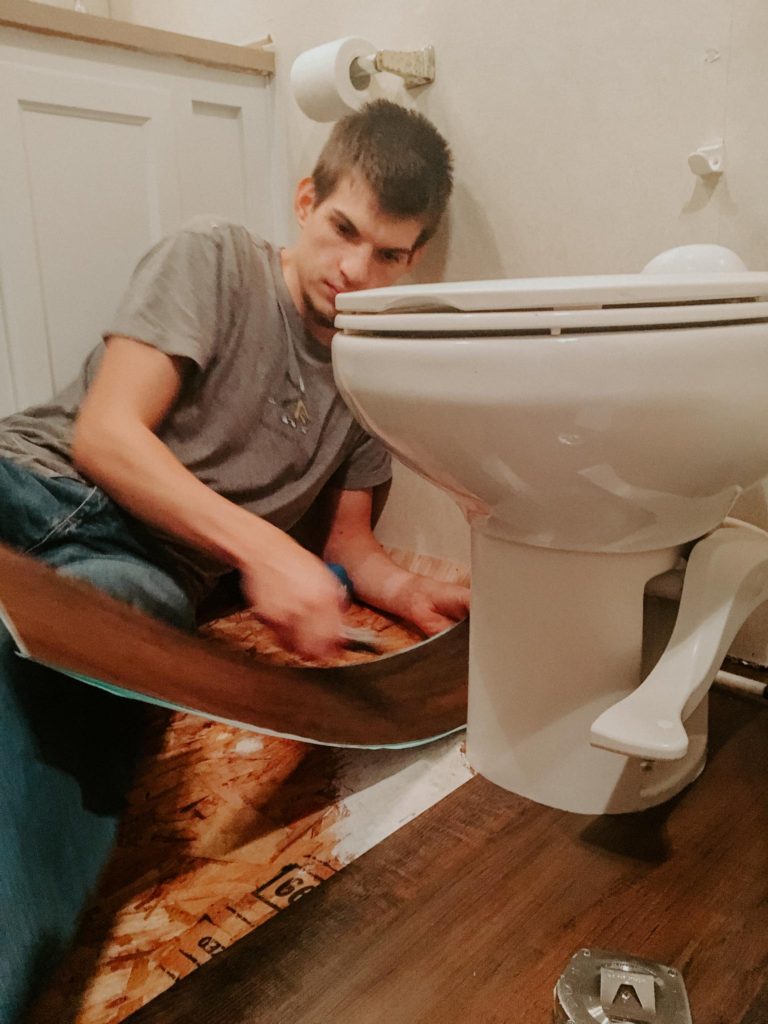
I get asked all the time where we got our flooring from. Like I said earlier, we wanted the flooring to be durable enough to last. But also be flexible while we’re driving, and not too expensive. Sounds like a lot to ask for right? Turns out Lowe’s has super cheap stick down faux wood vinyl planks for less than a $1 per panel! We stuck it down to the OSB that was already on the floor, but if we had wanted to do it completely correct in order to qualify for the warranty, we would’ve needed to put a sub floor down first.
The thing I love most about this flooring is that it’s suuuuper easy to keep clean! It’s stayed in place for the most part. The only spots where it has come up or moved are where the kitchen and bedroom slides come in. When we’re driving somewhere, the slides shift a little bit, and have worn a spot on the floor. All you would need to do to help with this would be to put some cardboard down on the floor and roll your slide wheels on to that. We didn’t know about that trick until it was already too late unfortunately.
Here’s a link to flooring that is similar to what we used, they also have a few different wood color options:
Knobs + Drawer Pulls

Thankfully, we were able to re use the knobs and drawer pulls that were already in the RV! We did this by spray painting them with an oil rubbed bronze spray paint.
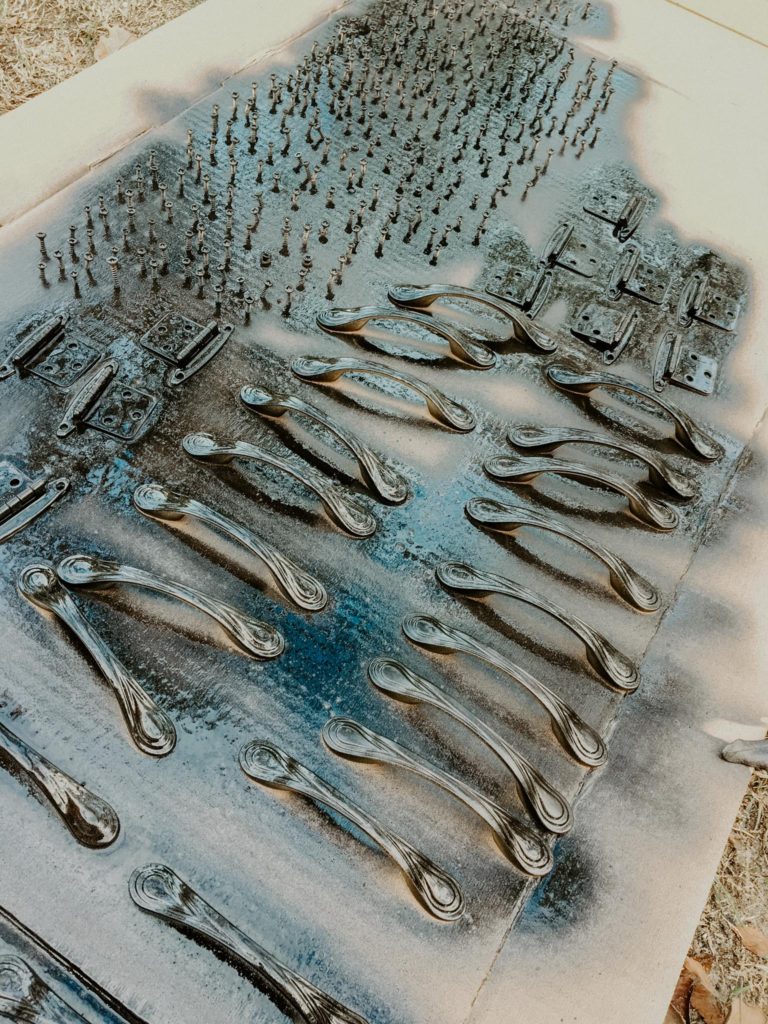
Here’s a link to that spray paint:
It’s held up pretty well! The paint has rubbed off some on the pulls that we use often. But all we’ve had to do with those is remove them and put another coat on them. Or if it’s a small patch that needs to be repaired, we just use a sharpie to fix it!
Lighting Fixtures
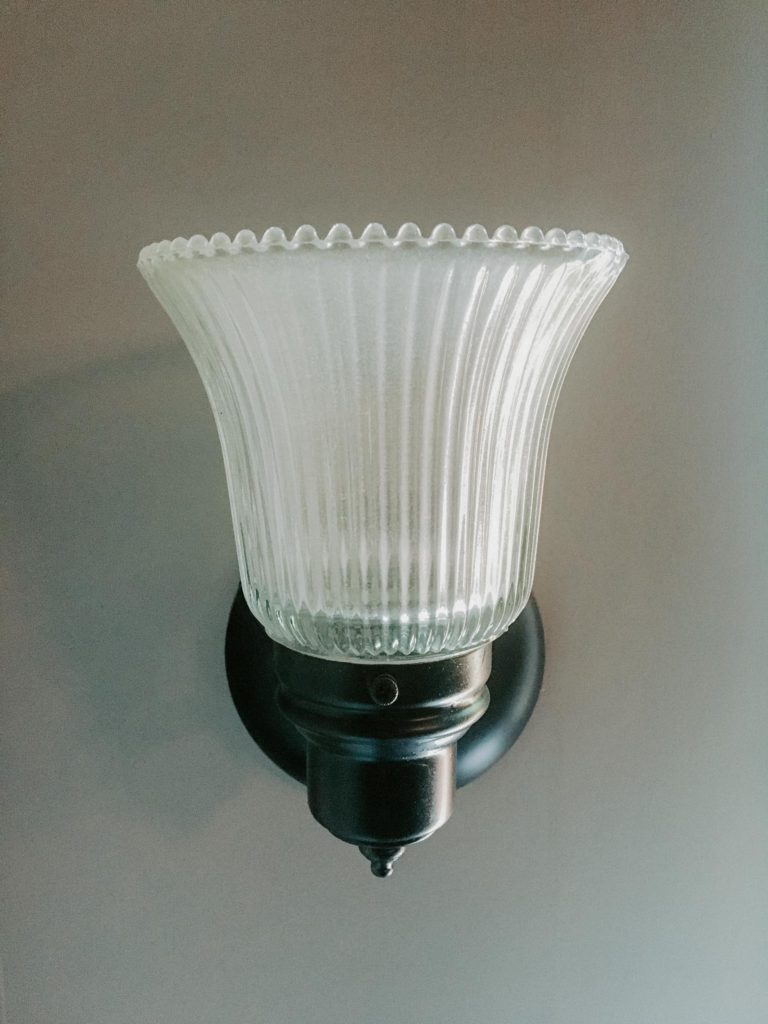
I think a lot of people get confused (I know I did!) when it comes to picking out lighting fixtures for an RV. I think people assume that you have to get RV specific fixtures, but that’s just not the case! All we did was get a fixture that we liked for the kitchen, and then used a 12V LED Edison Lightbulb inside of the fixture!
Here’s a link to the bulbs we used that are safe for using while you’re off the grid (12V):
Here’s a link to Budget Friendly Lighting Fixtures that would be great in any RV:
Budget Friendly RV Lighting Fixtures Link
My husband actually wired the kitchen light to where we were able to still use the push button to turn it off and on. If you’d like more details on how he did that, please leave a comment below!
For the rest of the RV, we re used the light fixtures that were already in the RV, by once again painting them with spray paint. The fixtures were a gaudy gold finish before, which made them super easy to spray paint. We haven’t had any issues with paint coming off on any of the fixtures!
If you want to read more about our RV Renovation, click any of the links to my other blog posts below!
How We Renovated Our RV Kitchen on a Budget
5 Things I Wish I Knew Before Living in an RV
Thanks so much for reading!
Megan
Pin this post to save it for later:
166